Showing posts with label summer 2017. Show all posts

Tuesday, July 6, 2021

A Long Delay: Work in Progress

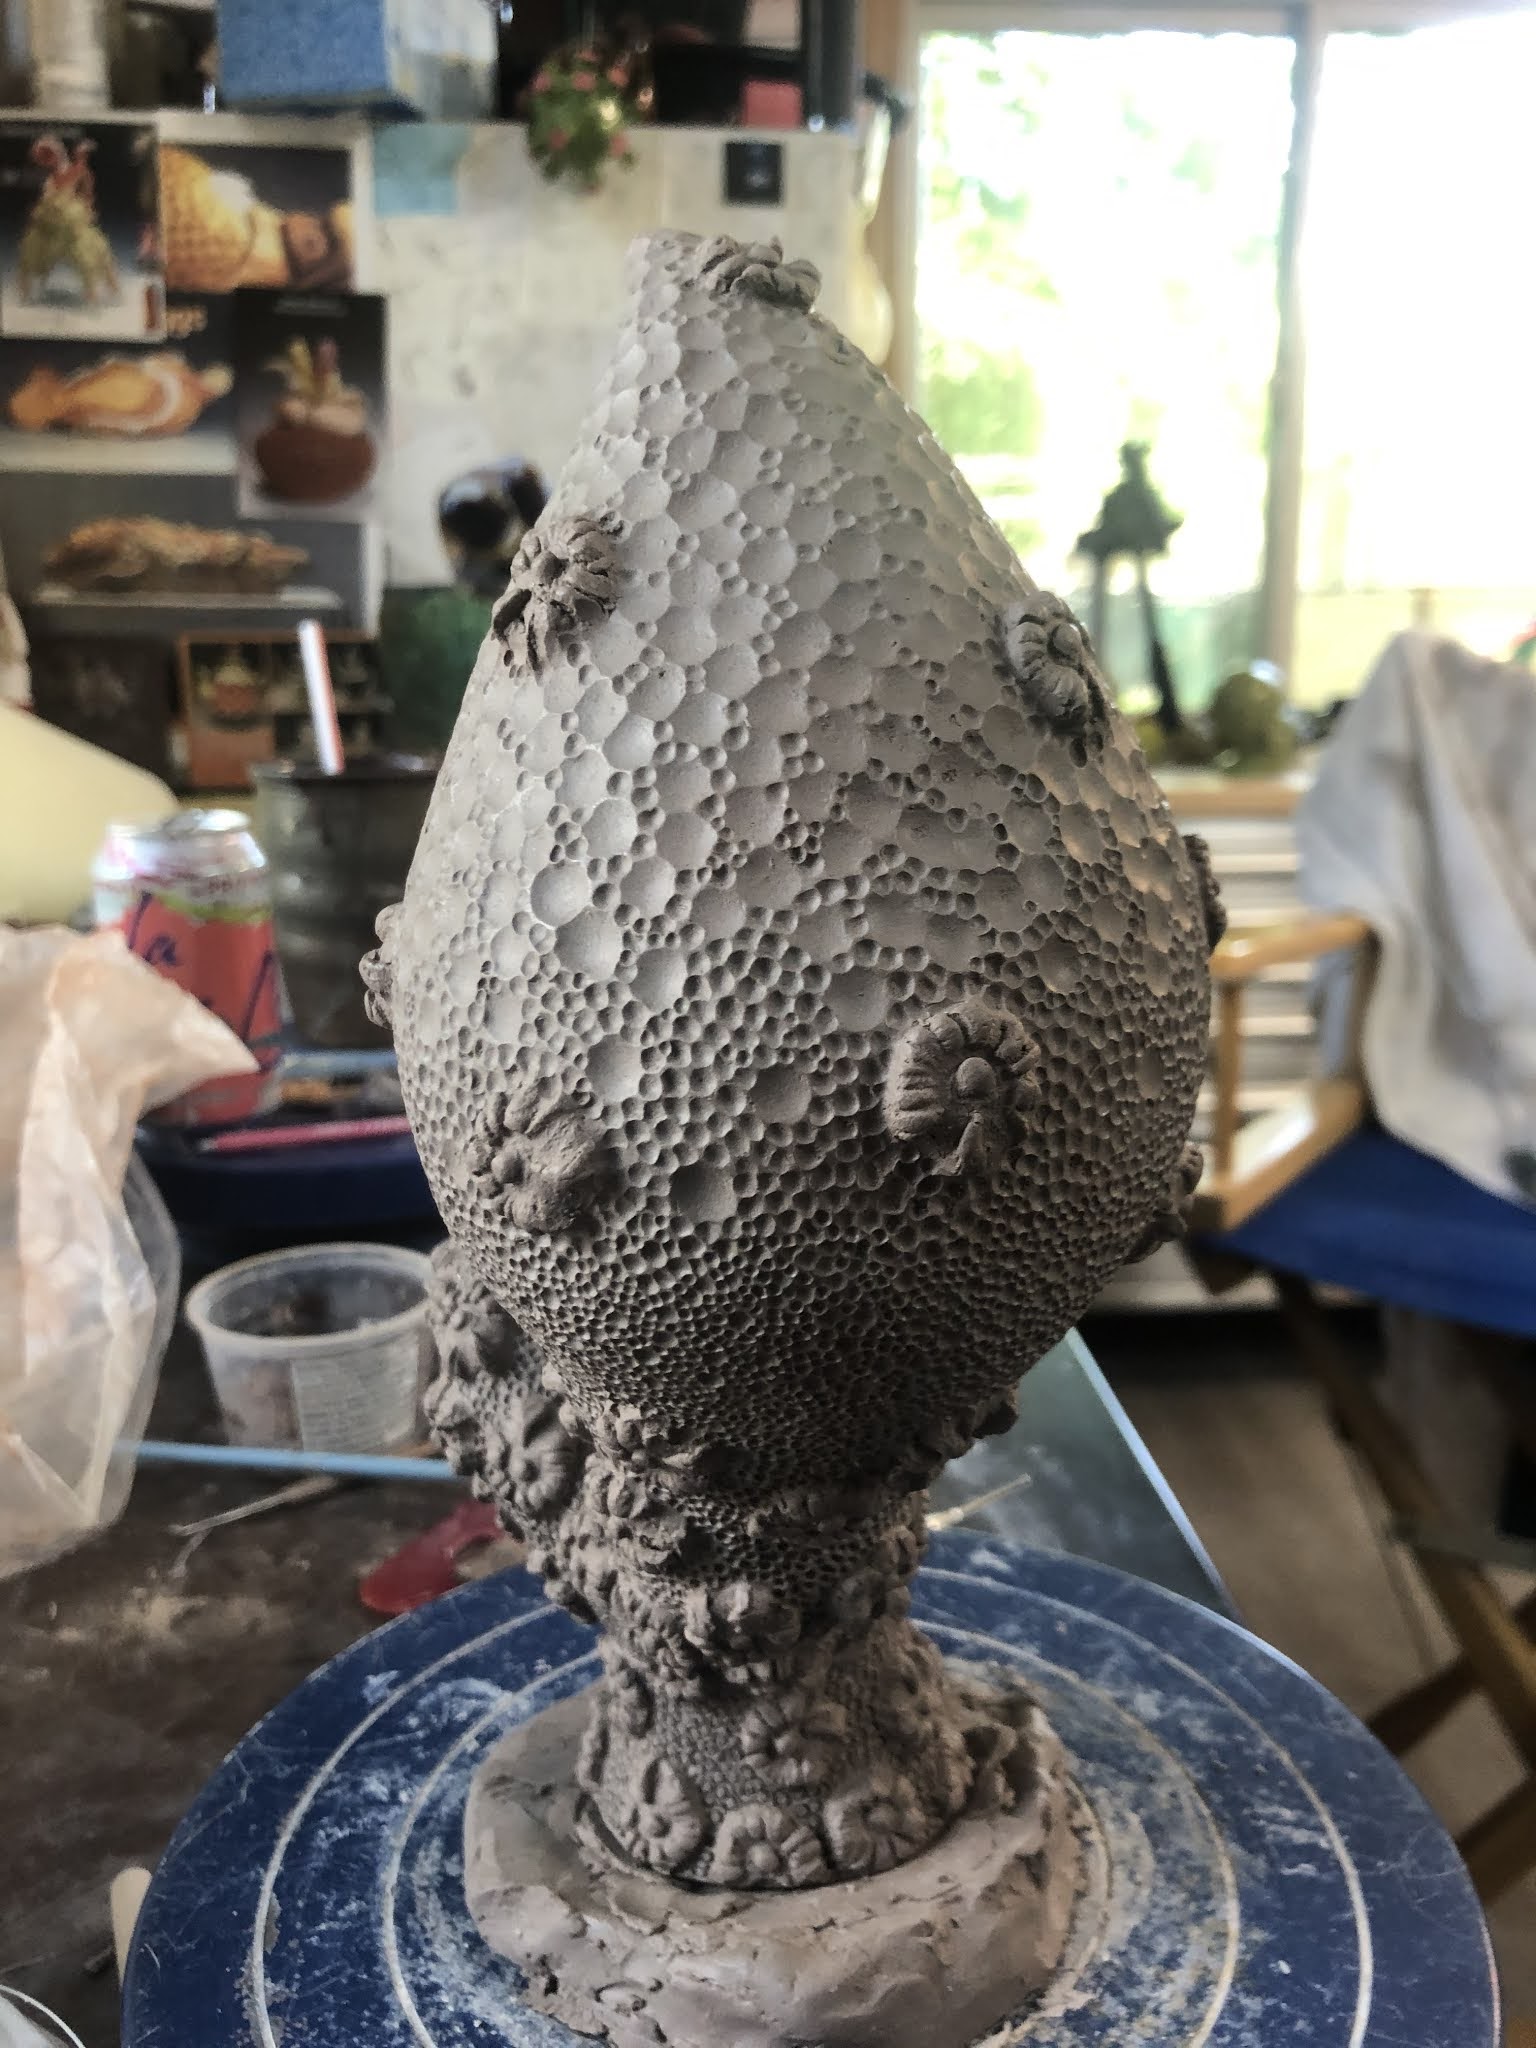
The new top, finished building, on its support base

Years and years ago, I started a sculpture that I never finished. After my SRAM project that turned into my sabbatical project, I had trouble finding the time to complete these more complex pieces in one summer.

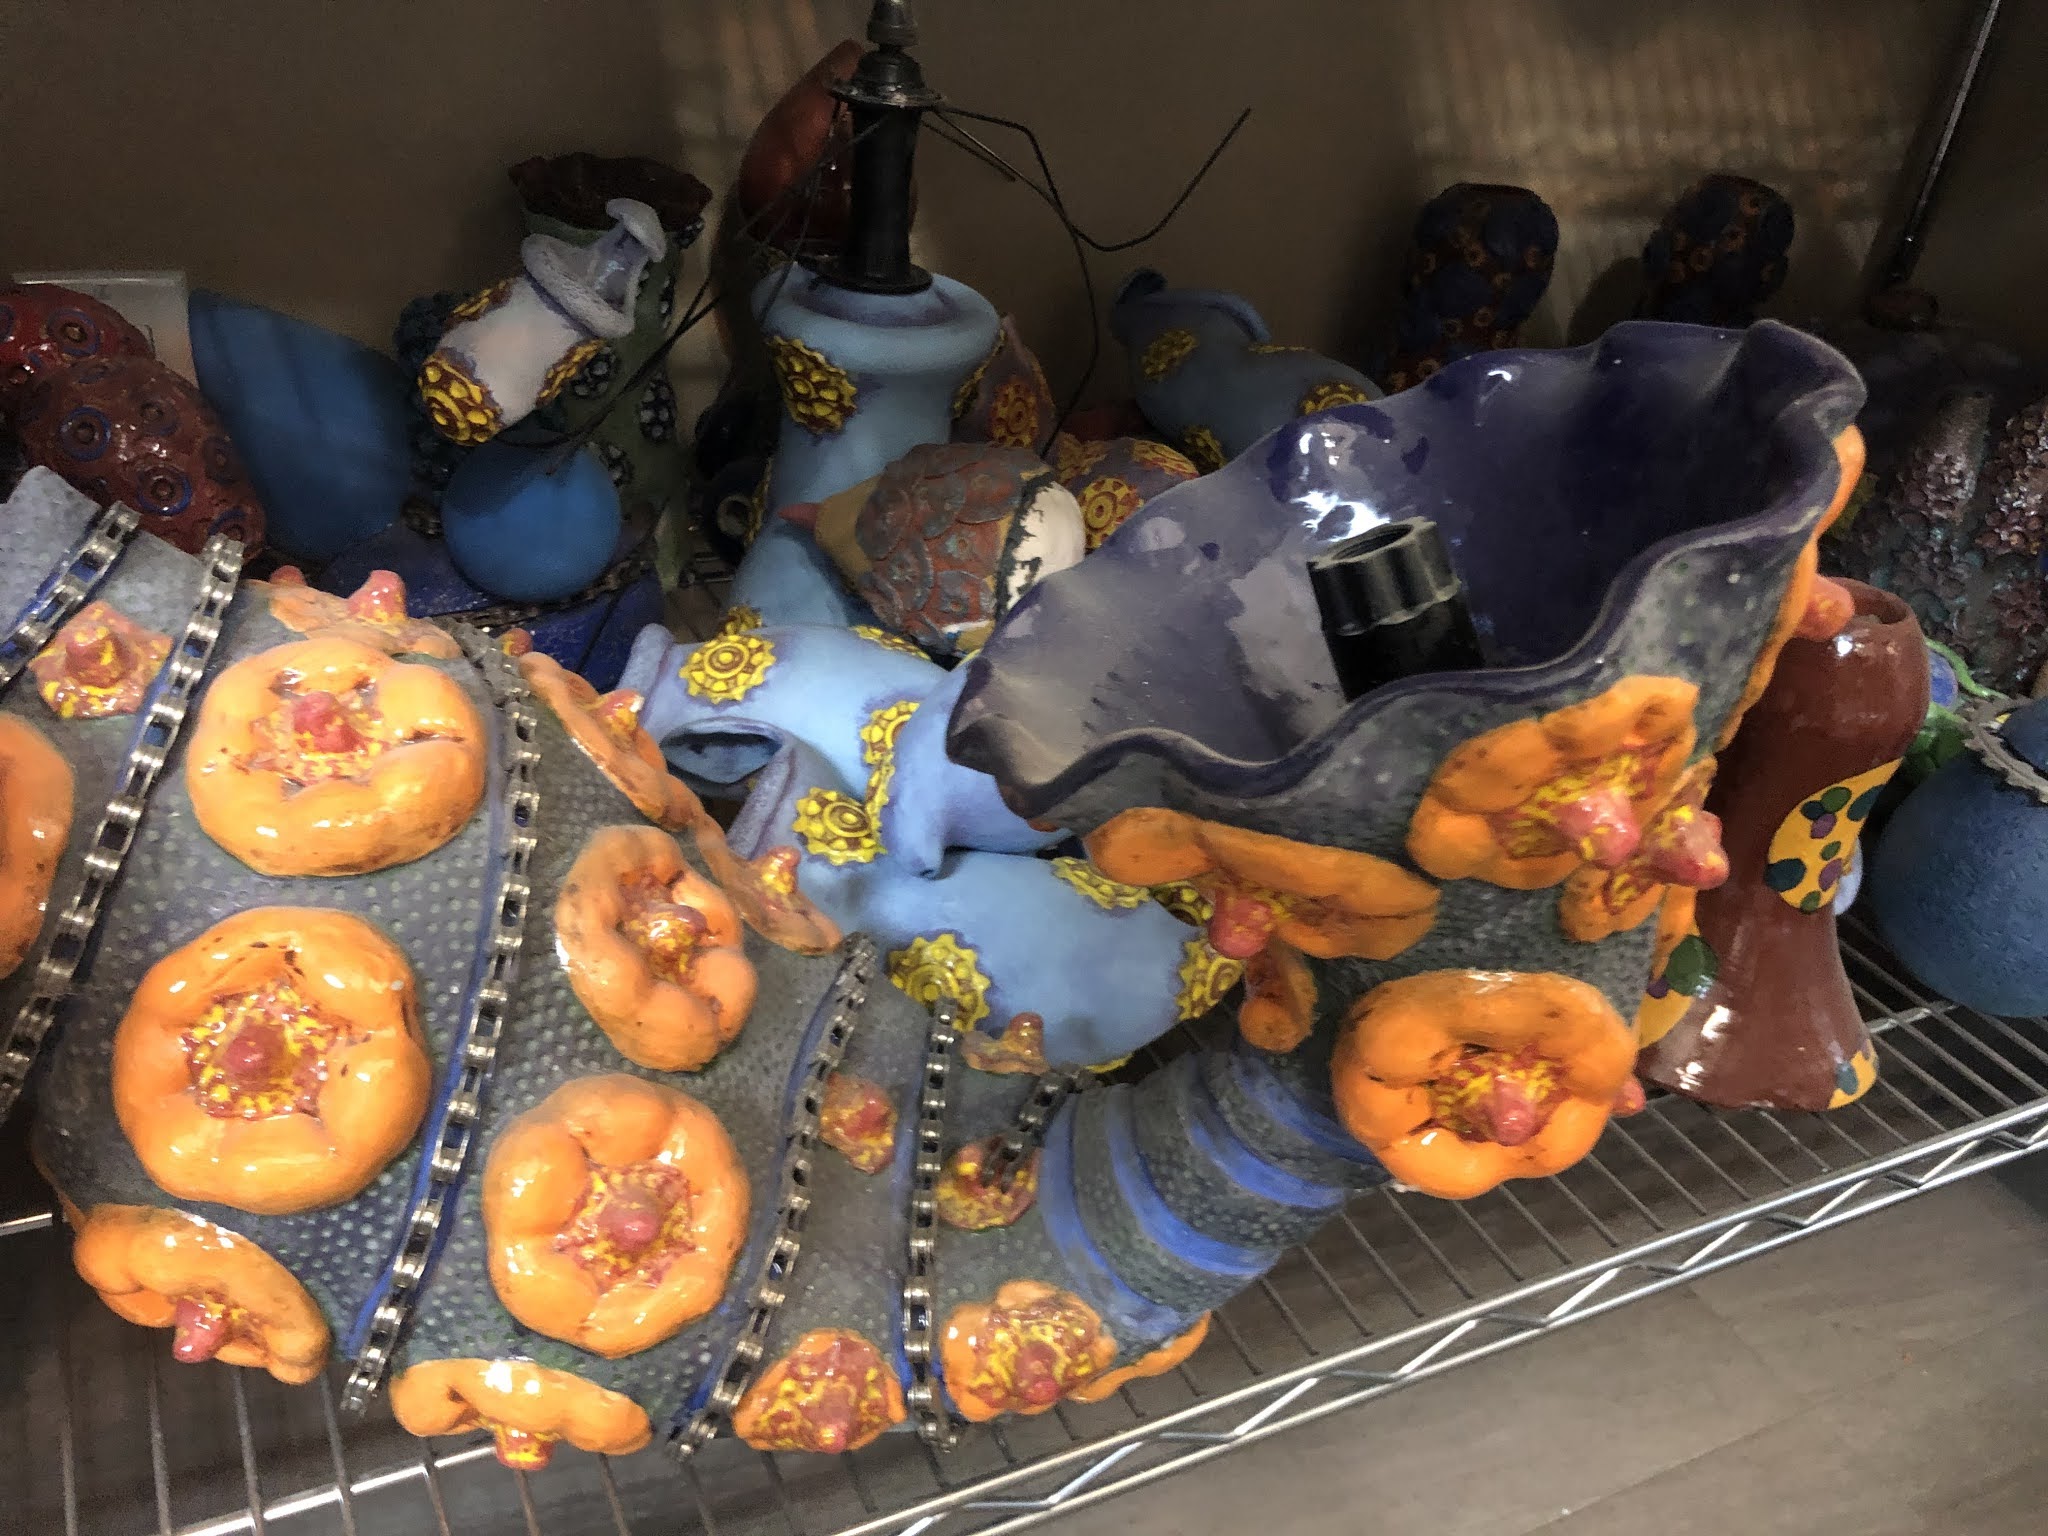
The dusty base on the shelf of incompletes

I started this piece in 2017, but at that time I didn't build the part that would attach to the top opening, or perhaps my plans for that section simply changed over time. The piece is sitting on my shelf of parts that don't yet make up a complete sculpture. The dust either shows how long the work has been sitting, or maybe just shows how much remodeling has been ongoing in the house this year.

The base, started in 2017, waiting for its top

I have been meaning to finish this piece for quite a while, but have wavered between different ideas for some time. I considered putting a spinning wheel on top, but the size and weight weren't quite right.

The built top before the texture was completed

This spring, when I squeezed in some build time, the incomplete sculpture was visible for the first time when I had some work time, so I decided to work on it. Remodeling my home studio means that it also got a thorough cleaning and not all the work that came out was brought back in. What I did bring back in, I arranged so that I could better tell what stage everything was at. The unfinished pieces that I still want to to finish are all together on the bottom shelf.

An estimate of how the top will be attached

I have felt like building similar shapes so far this summer, forms that start narrow, lean or twist to one side, then end with a bulbous form. This is a familiar shape to me, but I'm experimenting a bit more than usual with the angles and how they twist or lean.

the asymmetrical base to balance the asymmetrical top

For this little piece, I built in too much of a lean from the start. Coupled with a narrow base, this meant the piece took a tumble partway through building. This may not have been helped by my multitasking while I was working on it.

one of the sprigs, dented from where it hit the banding wheel or table as it fell

After it fell off the banding wheel and I dove to catch it (it took a hit on the side of the table, but didn't smash on the floor), I decided to make a base to keep it level throughout the rest of the building and firing.


the base has a bump inside to hold the sculpture in place

I'm not worried about its stability after firing because it isn't meant to stand on the table, so the base I created is temporary and doesn't really need to be pretty. It has worked pretty well so far through building, bisque, the first underglaze layer and the second bisque firing.

the large bulb on the top positioned above the tall part of the support base to keep it stead

I also played with a new tool for this project. Earlier in the spring I purchased several small stamps and a set of different sizes of ball stylus. This set has some larger balls than I'm used to using. I used the large and medium sizes to create the background textures in these pieces. The springs are from my extensive collection of handmade sprigs.

ball stylus and sprig texture

Right now this piece has gone through the first four or five steps in its making and decorating. I built it, bisqued it, applied the first layers of underglaze, bisque fired it again, and have partially applied the second layer of underglaze. Next it will be glazed and fired again, then it can be attached to the sculpture.

the sculpture piece won't stand on its own without the base


Thursday, September 28, 2017

Finished Sculpture, Two Years in the Making

new sculpture finished summer 2017

I finished some sculpture this summer, finally. I started on this particular piece in 2016.

the same piece in 2016

The delays for this particular piece started with needing a bigger kiln, since it wouldn't fit in the one I had at the start of 2016. I didn't get it bisqued until the end of last summer. I did all the under glazing and glaze firing early this summer. Late in the summer I repaired the crack and started attaching the bike parts.

reverse side of sculpture


The best thing about this sculpture, from my perspective, is that the blue parts attached to the bottom each spin on a bearing.The spinning parts attach to the base with different lengths of "stem." which makes for some oddly proportioned photographs when I was documenting the work. Overall I'm happier with the piece in person than in the photographs, but I think I have some that capture the sense of the piece.

awkward angle

Sunday, September 17, 2017

Small Sculpture and Cracking Glaze

this sculpture with two others in 2015

I've been working on a couple pieces of sculpture since 2015. I built them in 2015, applied underglaze in 2016, but couldn't finish them until this year, maybe, because their surfaces are causing me an unusual amount of trouble.

the first layer of underglaze in 2016

The one that has caused me the most trouble is a simple vertical sculpture with three bulb shaped attachments. There's no problem with the structure itself, but I could not get underglaze to stay put. When I first applied underglaze, it seemed fine. I fired it in place, but when I went to apply a second coat of a contrasting color, the first coat started to crack off.

two layers of slip cracking off

I can't remember fired underglaze cracking off any other work I've done besides this sculpture and another made at the same time. Generally, if glaze or underglaze won't stick to a surface it is because there is wax, grease, or dust on the surface, but none of those substances should survive firing and scrubbing. I picked off the underglaze that was cracking and scrubbed the whole pot before reapplying another layer of underglaze, but after a second firing, that too cracked off in multiple places. 

slip cracking off

At some point in 2016, I got mad and just covered the whole thing with throwing slip. I didn't expect this to solve the problem, but I was annoyed and didn't want to look at the piece anymore. The throwing slip cracked too, of course.

 
wet slip (you can see the circles of underglaze through the slip) and dry, cracking slip from 2016

This year, I decided to wash off the slip and see if there was anything to be done for the piece. Bits of hard, fired underglaze were still cracking off and where they cracked, they left a sharp edge and change in thickness that would show up through a new coat of underglaze. 

grinding off the underglaze

I decided to use a wire wheel to grind off as much underglaze as I could. Grinding off the underglaze was satisfying but messy. Mostly the underglaze cracked off, sometimes it required grinding, and in one section, the red underglaze was adhered so well that grinding didn't budge it--at least the amount of grinding time I was willing to commit didn't budge it.

the red that wouldn't grind off

At the tight corners, the wire brush was too thick to reach the underglaze. As it wasn't cracking, I decided to leave it alone. The transition between the raised level of the underglaze and the raw ceramic was more gentle than where the underglaze cracked off, so I guessed the depth change wouldn't show through the next layer of underglaze.

the wire brushed sculpture

I kind of like the ground texture of the raw ceramic. The sand and grog has become visible as the smooth ceramics surface was ground away. The rougher texture makes the surface look like cement, but the overall result doesn't feel like something I had much control over. The hard-to-reach crevices show up purple and blue and the hard, irregular red section looks out of place.

the wire brushed surface

I decided to reapply a red underglaze over the body and purple over the already purple bulb/leaf shapes and just fire it with a gloss over the top of everything. The piece is now "finished." It doesnt' appear to be cracking, but neither is it all that exciting to look at. Though a lot simpler than many of my other pieces, its surface required much more effort than what shows up in the piece now.

the "finished" piece from 2015

As I was getting pictures ready for this post, I pulled the masking tape off of the other vertical sculpture from 2015 (seen in back right of the first picture in this post). I had masking tape in place to hold on a bike part I had epoxied in place to complete the piece. When I pulled off the masking tape, it pulled a cracked section of glaze and underglaze off the surface of the sculpture. Sigh.

glaze cracks show up (today!) in the other sculpture from 2015


Saturday, September 2, 2017

Finishing Sculpture from Last Summer

Building

Last summer, I started building two large sculptures but ran out of summer work time before I could finish them. I was able to build the sculptures last summer and bisque them, once I got a new kiln. They waited patiently in my studio until June of this year when I was able to begin applying color.

the sculpture in progress in 2016


Planning Attachments

Last summer, while I was building, I planned to attach bike parts to both sculptures. I had been thinking about moving parts for some time and I knew I wanted to try incorporating small scale moving parts positioned like leaves on the stem of the taller plant form.

placing bike parts in their planned location


The bike parts themselves incorporate bearings and have a nice smooth spinning motion. Last year, I had thrown some round shapes on the wheel with the intention of using them on top of bike pieces roughly this size. I epoxied these round forms onto bike parts. Inside these forms I attached found objects and fired ceramic pieces to add visual interest and to hold up the "stamen" of the "flower."

spinning bike parts with ceramic toppers


Underglazing and Glazing

The underglazing process for this sculpture, like all my underglazing processes, took a ridiculously long time because I layer at least two colors on each part of the sculpture.

first layer of underglaze in the kiln

For this sculpture, I first applied green underglaze to the "stem" or "trunk" of the plant, yellow to the gear sprigs, and purple to the closed and open forms on top of the sculpture. I bisque fired these first underglaze colors in place, then applied off-white into the texture of the stem and red on the gear sprigs, interiors, and indents of the top forms. There are a few more colors applied and layered on the sprigs that are almost hidden inside the circle formed by the top forms.

 
first and second layers of underglaze in progress

Applying the red on the top forms was most difficult where the forms butted up against one another. It took me several days and I had to wipe off glaze and reapply several times. Finally, once everything was fired to my satisfaction, I applied gloss glaze on the top forms and the sprigs.

underglaze and glaze finished

Repairs

Last summer, during the drying process, a small but noticeable crack developed between the two top sections. The crack was probably due to the heavy weight of the two top sections pulling down on either branch of the stem. I noticed it before the form was completely dry and tried to save it by adding clay and using fabric to put the two sides in traction. 

bracing the sculpture to try to prevent cracking

The repair didn't wholly fix the problem and I was left with a small crack between the two branches. After the last glaze firing, I mixed up some epoxy paste and pressed it into the crack. Once the epoxy set, I mixed some acrylic paint and painted the epoxy to match the underglaze.

epoxy on the crack 

The seam isn't noticeable at first glance, but I plan to further hide the repair by painting a matching off-white paint into the impressed texture to match the design elsewhere on the sculpture.

painted crack

Attachments

After all the glazing and repair was complete, I finished attaching the blue flower shapes (a.k.a. "end caps") to their non-ceramic elements and then attached those to the sculpture itself. 

toppers (a.k.a. end caps) before being attached

I had built round shapes sticking out of the sculpture to which these bike pieces would be attached.

the round part onto which the bike part attaches


One major challenge was applying the epoxy so that it stuck to the interior of the bike part but did not stick to the outside that was supposed to move.
epoxy applied

While the epoxy set, the attachments had to be held in place with masking tape. Only three of the six attachments are set as of this writing, but all three of those spin freely. The others are setting with tape in place.

toppers being held in place while epoxy sets
My goal for September is to take some quality images of this finished sculpture and possibly finish the other large piece as well.

a funny angle on the almost-finished work

Thursday, August 24, 2017

Under Glazing Three-Color Pods: Part 2

pods with their final layers of underglaze, before final glaze firing
Over the course of several weeks, I applied the bottom layers of underglaze for a set of six pod shapes. I fired three of the pods to cone 06 and three to cone 04, which is a bit hotter. 

pod fired to cone 06 (left) and 04 (right)

The turquoise and red underglazes are darker in the cone 04 firing, because of the firing temperature. 

yellow underglaze being applied to turquoise

Now that the first colors have been fired, they no longer wash away when wiped with a sponge. At this point I was able to add the contrasting colors over the top of the red, turquoise and purple.


yellow underglaze applied, drying

I began by painting bright yellow onto the turquoise textured background. I tried to avoid getting the yellow on the red, with varying levels of success based on how long I had been sitting in the studio and how bored I was of the process.


close up of yellow underglaze highlighting turquoise texture

Once the yellow was dry, I gently wiped away it away with a wet sponge. The yellow remained in many of the holes, but was washed away from the raised areas, revealing the turquoise color underneath. In this case, the yellow wiped away somewhat irregularly, both because the texture is irregular and because it is difficult to use even pressure with the sponge in the cramped areas between sprigs.

wiping yellow underglaze

The results vary now because of the temperature to which the six pods were fired, as well as because the slightly different shapes and spacings left the yellow more visible in some areas and on some pods than on others.
yellow layer complete

Next I applied dark blue onto the red sprigs, carefully avoiding the yellow and turquoise background. 

blue underglaze applied

The process took a long time and to save my aching back and to make myself feel better, I moved to the couch for some of the blue application. There the cat kept me company.

applying blue underglaze with my helper

At one point, a friend stopped by. I kept applying blue while I talked with her. As she was about to leave, I took the now-blue pod into the other room and brought back a pod with red sprigs as yet uncovered. At first, she thought it was the same pod and the color had changed that quickly.

blue underglaze, wiped blue underglaze and raw red underglaze on three sections of one pod
Alas, I had to be the one to change the color. Once all the blue was dry, I grabbed a sponge and wiped away the blue in the same manner as the yellow, leaving the deep spaces of the sprig blue and the raised sections red.

close up view of wiped blue underglaze texture

I also added green to the purple interior/ends and wiped it away in the same fashion.

green and purple ends

The plan is to add a clear gloss glaze to all six pods and attach them to a rod once they have been fired. The group of pods will be raised up from a planter rather than laying on their sides as they are in my studio and in the kiln.

clearly the cat feels affection for my work