Earlier this summer, I decided to redo some of the throwing videos on my YouTube channel to improve the quality of the videos. I perhaps could have gone into the original files and re-uploaded them at a better resolution, but I thought remaking 30 videos in their entirety would be a quick 2-day project for my summer enjoyment.
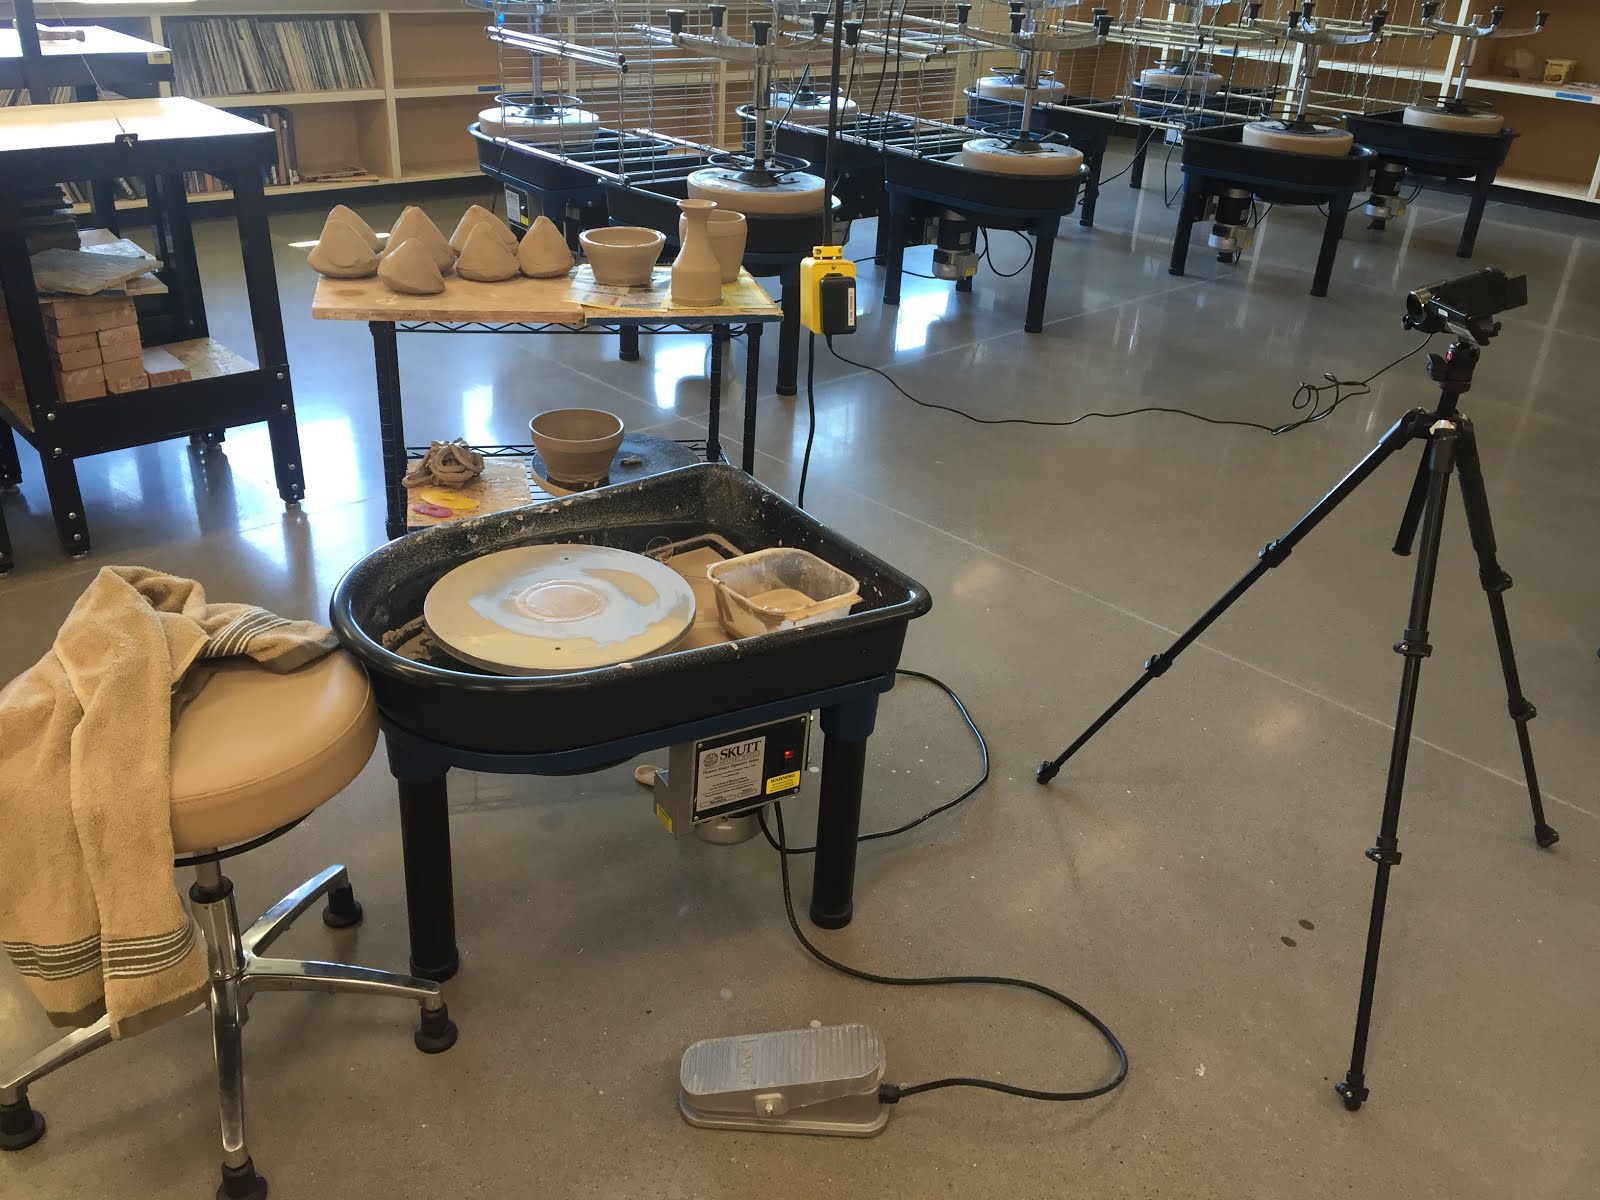 |
| my wheel and camera set up in the YVC studio |
I was completely wrong. It was not quick, nor was it fun. However, uploading the videos from the borrowed camera to my work computer was pretty easy and I am able to upload them directly to YouTube without editing them. The last time I uploaded a bunch of throwing videos to YouTube, I spent a tedious amount of time editing the video setting so they'd upload correctly.
So, what I've created are higher resolution videos demonstrating throwing techniques on the YVCC wheels--but not necessarily better throwing demonstrations overall. I'm afraid the videos aren't as nice as they could be if I were a professional videographer, but the videos are stable (YouTube disagrees because it sees the movement of the wheel as a "shake", but all the videos were filmed on a tripod, so I disagree with YouTube's automatic stabilizer recommendation--on every dang video!), the shot is focused in the right place, and the audio is audible.
Sadly, the first day I chose to film, wasn't a great day for me. I had a bunch of air bubbles in the clay and I kept forgetting that the videos I was filming in series weren't going to be watched in series, so I occasionally refer to the previous demo. Because I was filming the videos myself, they start and end with me getting to the camera or wiping my hands off before turning the camera off.
Next time I do this, I want to bring in another person to do the filming. That person can help set up the best camera angle to see the wheel and maybe me, too (I'm cropped out of basically all of the videos). That person can also move the camera for another angle while I situate things on the wheel.
This helpful hypothetical person with clean hands can start and stop the videos so that I can demonstrate distinct steps (like centering) in separate videos without cleaning my hands off over and over and over and over and over again. Additionally, this person can talk to me between takes so I don't lose my mind. And with the aforementioned clean hands, this person can simply stop and restart the camera when I make a silly mistake.
Please remember that some of these videos are aimed at a beginning pottery student at the start of class
So, what I've created are higher resolution videos demonstrating throwing techniques on the YVCC wheels--but not necessarily better throwing demonstrations overall. I'm afraid the videos aren't as nice as they could be if I were a professional videographer, but the videos are stable (YouTube disagrees because it sees the movement of the wheel as a "shake", but all the videos were filmed on a tripod, so I disagree with YouTube's automatic stabilizer recommendation--on every dang video!), the shot is focused in the right place, and the audio is audible.
The videos are meant as support or repetition for concepts discussed in class (like a free textbook that talks to you).
Sadly, the first day I chose to film, wasn't a great day for me. I had a bunch of air bubbles in the clay and I kept forgetting that the videos I was filming in series weren't going to be watched in series, so I occasionally refer to the previous demo. Because I was filming the videos myself, they start and end with me getting to the camera or wiping my hands off before turning the camera off.
This video's more fun (though probably less helpful for beginners).
Next time I do this, I want to bring in another person to do the filming. That person can help set up the best camera angle to see the wheel and maybe me, too (I'm cropped out of basically all of the videos). That person can also move the camera for another angle while I situate things on the wheel.
This helpful hypothetical person with clean hands can start and stop the videos so that I can demonstrate distinct steps (like centering) in separate videos without cleaning my hands off over and over and over and over and over again. Additionally, this person can talk to me between takes so I don't lose my mind. And with the aforementioned clean hands, this person can simply stop and restart the camera when I make a silly mistake.
 |
| in other news, I'm looking forward to getting some students to join me in a few weeks in the new studio. This summer maintenance installed our classroom rules. These two pretty much cover it for my studio. |
If you have any constructive criticism to offer regarding videos, angles, demonstrations, etc you'd like to see (for class), please let me know.


