Showing posts with label bike parts. Show all posts

Tuesday, July 6, 2021

A Long Delay: Work in Progress

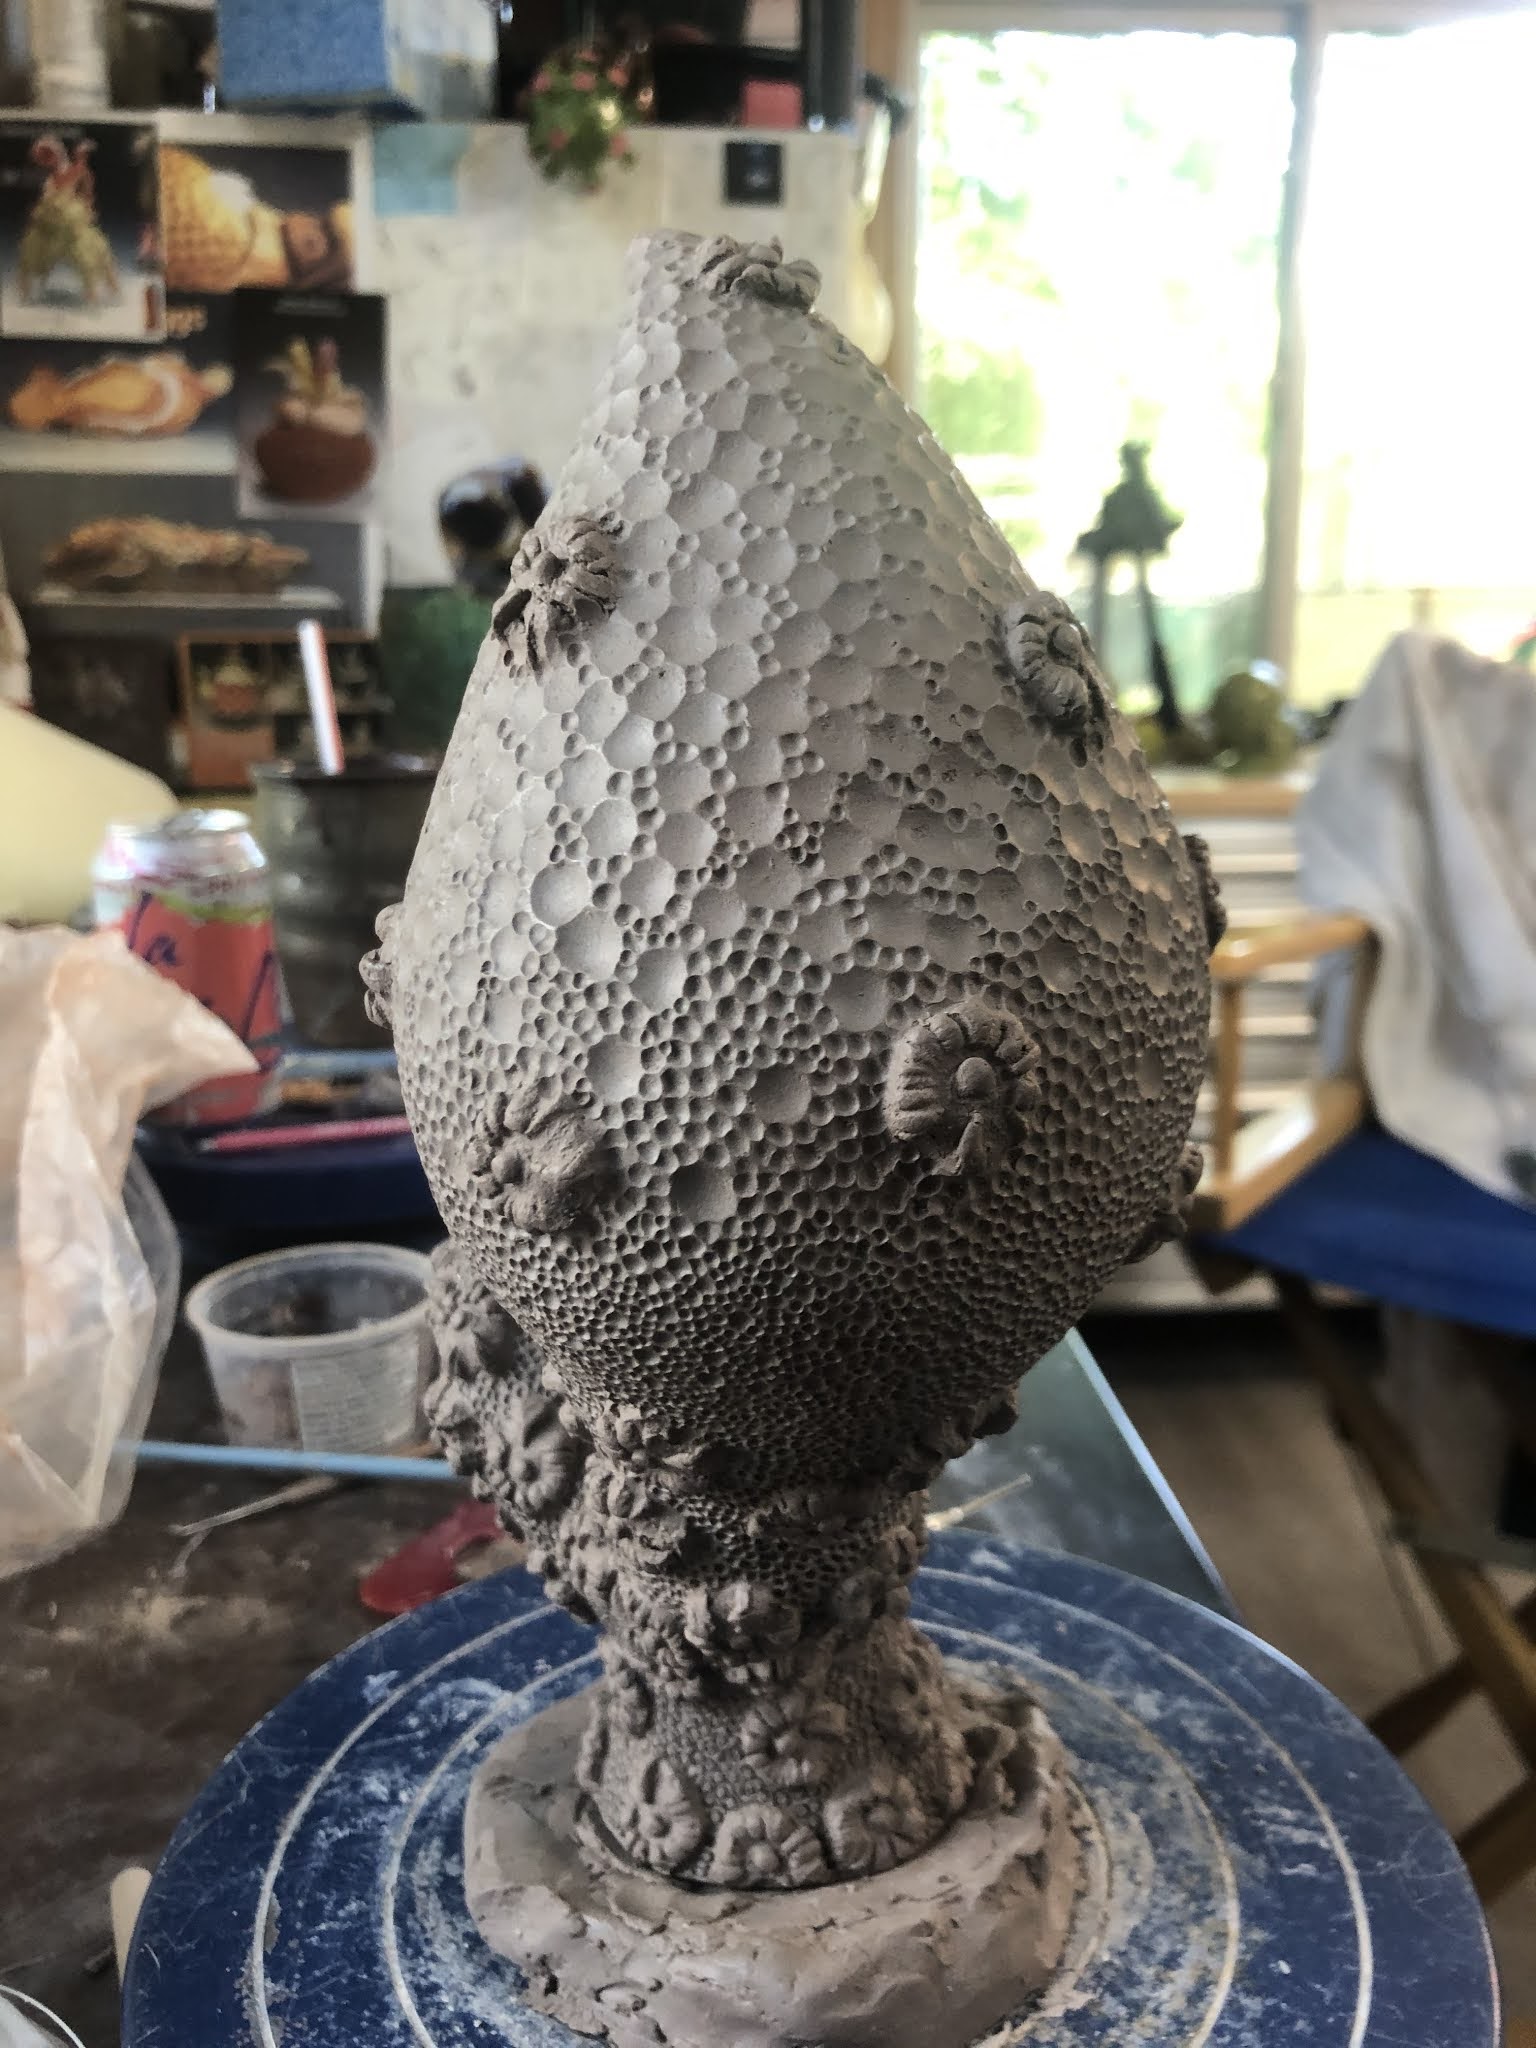
The new top, finished building, on its support base

Years and years ago, I started a sculpture that I never finished. After my SRAM project that turned into my sabbatical project, I had trouble finding the time to complete these more complex pieces in one summer.

The dusty base on the shelf of incompletes

I started this piece in 2017, but at that time I didn't build the part that would attach to the top opening, or perhaps my plans for that section simply changed over time. The piece is sitting on my shelf of parts that don't yet make up a complete sculpture. The dust either shows how long the work has been sitting, or maybe just shows how much remodeling has been ongoing in the house this year.

The base, started in 2017, waiting for its top

I have been meaning to finish this piece for quite a while, but have wavered between different ideas for some time. I considered putting a spinning wheel on top, but the size and weight weren't quite right.

The built top before the texture was completed

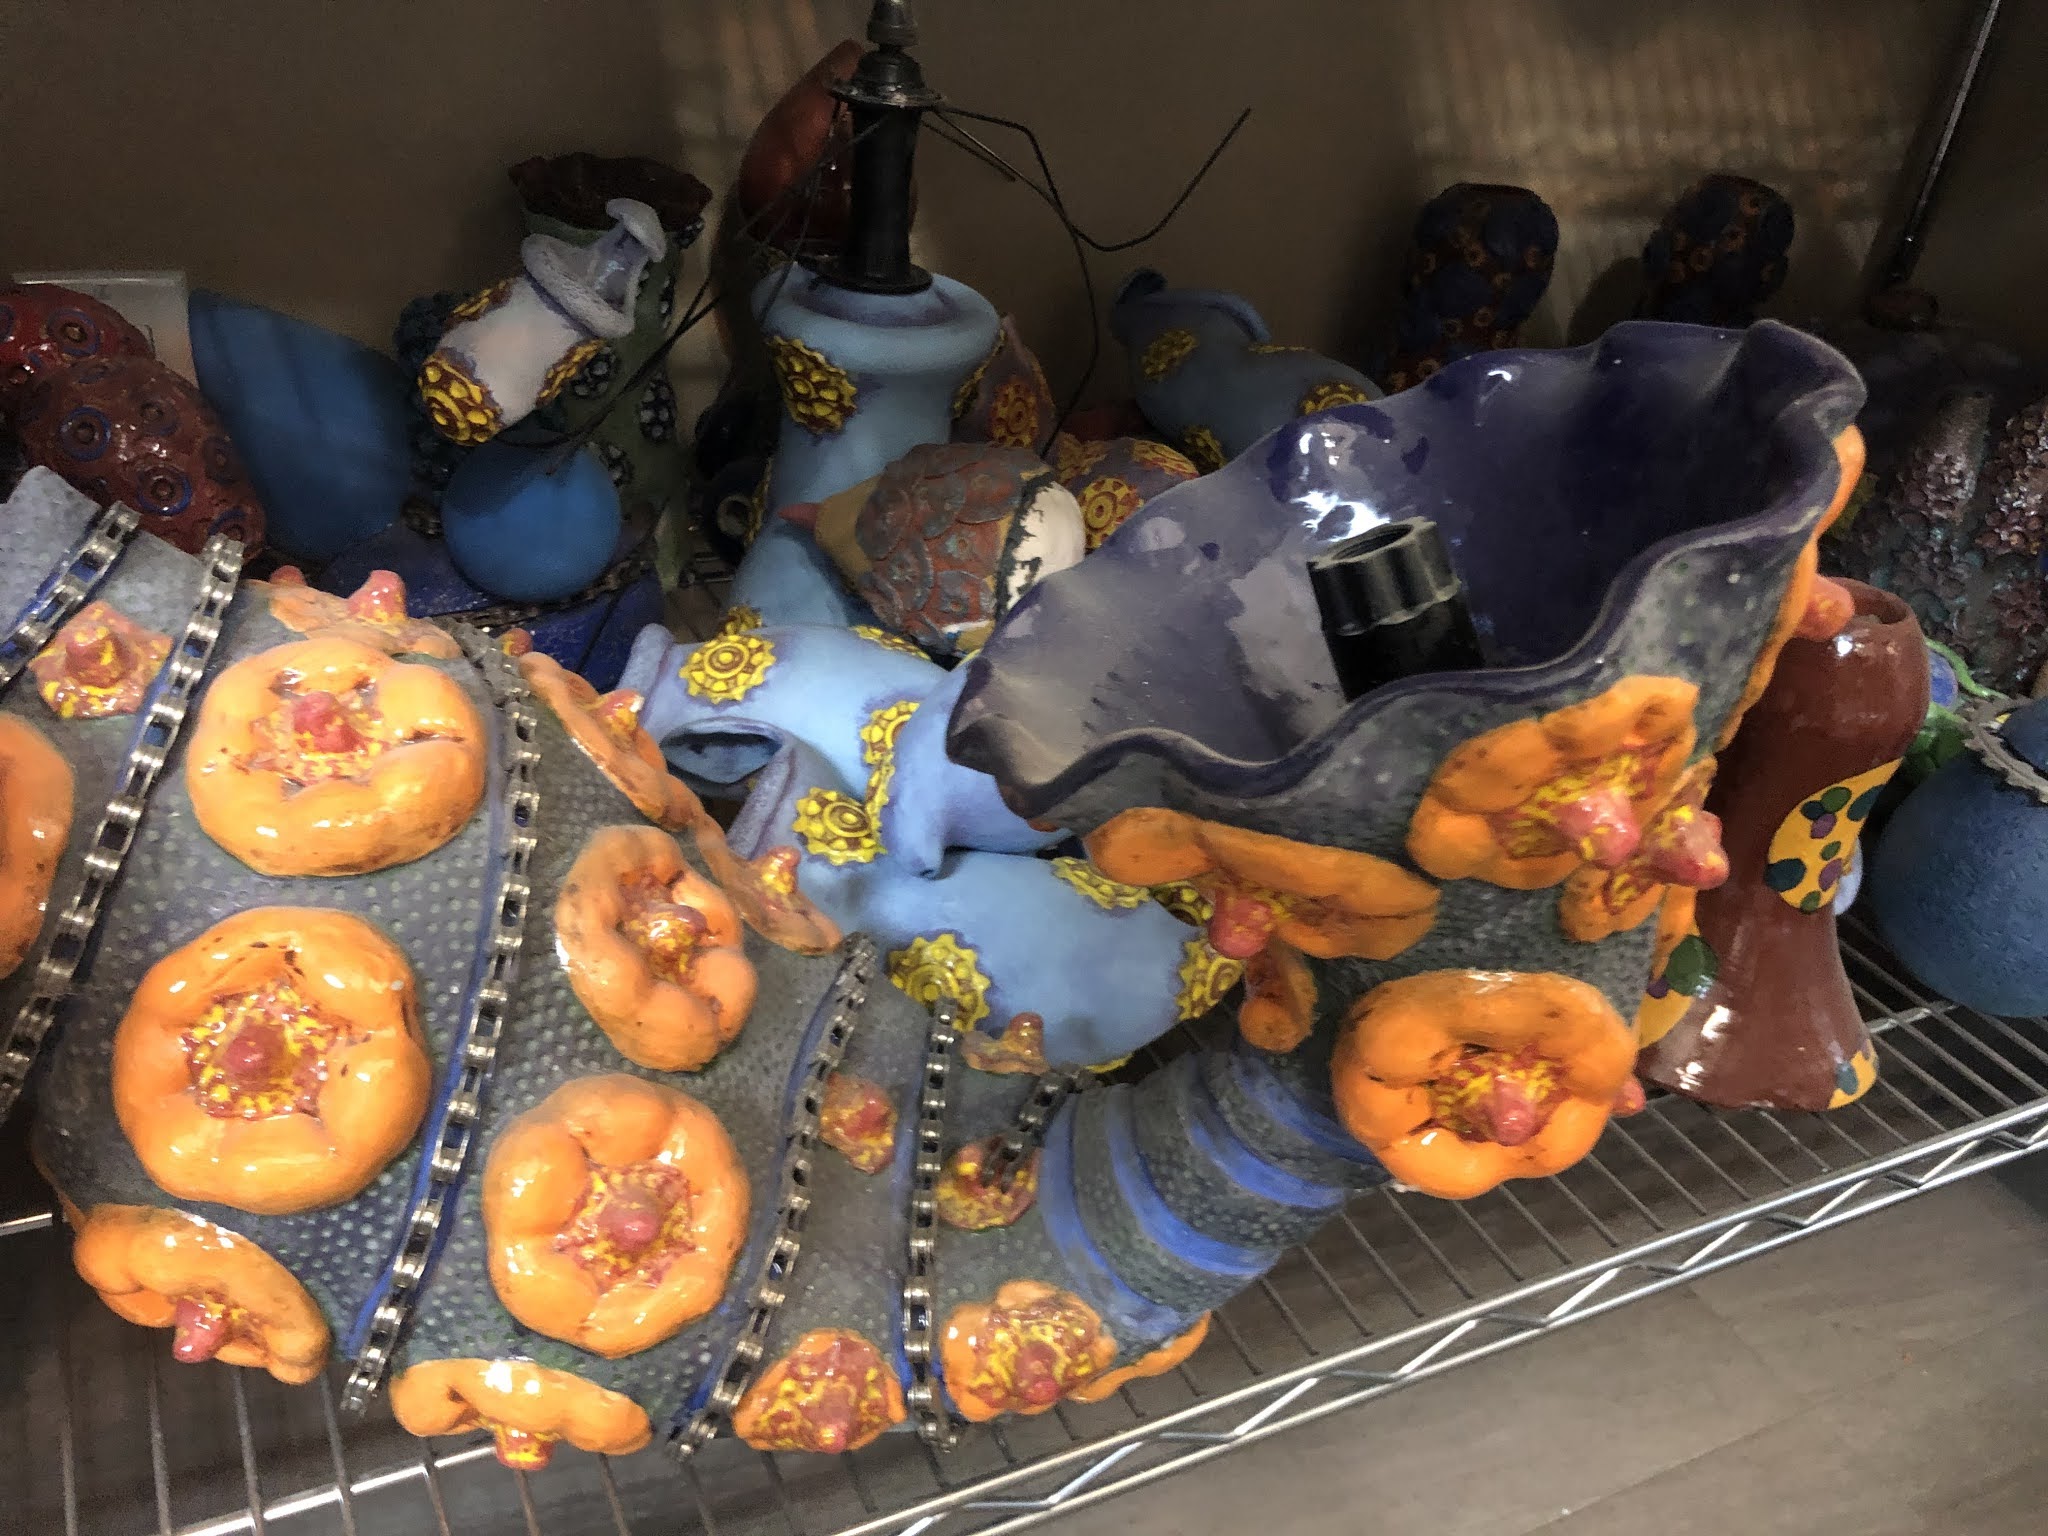
This spring, when I squeezed in some build time, the incomplete sculpture was visible for the first time when I had some work time, so I decided to work on it. Remodeling my home studio means that it also got a thorough cleaning and not all the work that came out was brought back in. What I did bring back in, I arranged so that I could better tell what stage everything was at. The unfinished pieces that I still want to to finish are all together on the bottom shelf.

An estimate of how the top will be attached

I have felt like building similar shapes so far this summer, forms that start narrow, lean or twist to one side, then end with a bulbous form. This is a familiar shape to me, but I'm experimenting a bit more than usual with the angles and how they twist or lean.

the asymmetrical base to balance the asymmetrical top

For this little piece, I built in too much of a lean from the start. Coupled with a narrow base, this meant the piece took a tumble partway through building. This may not have been helped by my multitasking while I was working on it.

one of the sprigs, dented from where it hit the banding wheel or table as it fell

After it fell off the banding wheel and I dove to catch it (it took a hit on the side of the table, but didn't smash on the floor), I decided to make a base to keep it level throughout the rest of the building and firing.


the base has a bump inside to hold the sculpture in place

I'm not worried about its stability after firing because it isn't meant to stand on the table, so the base I created is temporary and doesn't really need to be pretty. It has worked pretty well so far through building, bisque, the first underglaze layer and the second bisque firing.

the large bulb on the top positioned above the tall part of the support base to keep it stead

I also played with a new tool for this project. Earlier in the spring I purchased several small stamps and a set of different sizes of ball stylus. This set has some larger balls than I'm used to using. I used the large and medium sizes to create the background textures in these pieces. The springs are from my extensive collection of handmade sprigs.

ball stylus and sprig texture

Right now this piece has gone through the first four or five steps in its making and decorating. I built it, bisqued it, applied the first layers of underglaze, bisque fired it again, and have partially applied the second layer of underglaze. Next it will be glazed and fired again, then it can be attached to the sculpture.

the sculpture piece won't stand on its own without the base


Saturday, September 2, 2017

Finishing Sculpture from Last Summer

Building

Last summer, I started building two large sculptures but ran out of summer work time before I could finish them. I was able to build the sculptures last summer and bisque them, once I got a new kiln. They waited patiently in my studio until June of this year when I was able to begin applying color.

the sculpture in progress in 2016


Planning Attachments

Last summer, while I was building, I planned to attach bike parts to both sculptures. I had been thinking about moving parts for some time and I knew I wanted to try incorporating small scale moving parts positioned like leaves on the stem of the taller plant form.

placing bike parts in their planned location


The bike parts themselves incorporate bearings and have a nice smooth spinning motion. Last year, I had thrown some round shapes on the wheel with the intention of using them on top of bike pieces roughly this size. I epoxied these round forms onto bike parts. Inside these forms I attached found objects and fired ceramic pieces to add visual interest and to hold up the "stamen" of the "flower."

spinning bike parts with ceramic toppers


Underglazing and Glazing

The underglazing process for this sculpture, like all my underglazing processes, took a ridiculously long time because I layer at least two colors on each part of the sculpture.

first layer of underglaze in the kiln

For this sculpture, I first applied green underglaze to the "stem" or "trunk" of the plant, yellow to the gear sprigs, and purple to the closed and open forms on top of the sculpture. I bisque fired these first underglaze colors in place, then applied off-white into the texture of the stem and red on the gear sprigs, interiors, and indents of the top forms. There are a few more colors applied and layered on the sprigs that are almost hidden inside the circle formed by the top forms.

 
first and second layers of underglaze in progress

Applying the red on the top forms was most difficult where the forms butted up against one another. It took me several days and I had to wipe off glaze and reapply several times. Finally, once everything was fired to my satisfaction, I applied gloss glaze on the top forms and the sprigs.

underglaze and glaze finished

Repairs

Last summer, during the drying process, a small but noticeable crack developed between the two top sections. The crack was probably due to the heavy weight of the two top sections pulling down on either branch of the stem. I noticed it before the form was completely dry and tried to save it by adding clay and using fabric to put the two sides in traction. 

bracing the sculpture to try to prevent cracking

The repair didn't wholly fix the problem and I was left with a small crack between the two branches. After the last glaze firing, I mixed up some epoxy paste and pressed it into the crack. Once the epoxy set, I mixed some acrylic paint and painted the epoxy to match the underglaze.

epoxy on the crack 

The seam isn't noticeable at first glance, but I plan to further hide the repair by painting a matching off-white paint into the impressed texture to match the design elsewhere on the sculpture.

painted crack

Attachments

After all the glazing and repair was complete, I finished attaching the blue flower shapes (a.k.a. "end caps") to their non-ceramic elements and then attached those to the sculpture itself. 

toppers (a.k.a. end caps) before being attached

I had built round shapes sticking out of the sculpture to which these bike pieces would be attached.

the round part onto which the bike part attaches


One major challenge was applying the epoxy so that it stuck to the interior of the bike part but did not stick to the outside that was supposed to move.
epoxy applied

While the epoxy set, the attachments had to be held in place with masking tape. Only three of the six attachments are set as of this writing, but all three of those spin freely. The others are setting with tape in place.

toppers being held in place while epoxy sets
My goal for September is to take some quality images of this finished sculpture and possibly finish the other large piece as well.

a funny angle on the almost-finished work

Wednesday, August 16, 2017

What's On My Plate

What's On Your Plate?

possible position for sculpture relative to plate

I was invited to participate in an upcoming show at Boxx Gallery in Tieton, called "What's On Your Plate?". Initially, I thought the idea was to try to combine the idea of a plate with representations of what things one is juggling in life, such as job, family, aspirations, responsibilities, hobbies. I had come up with an idea to make a large plate and include a representation of my sculpture growing out of the plate. 

chain wrapping around the bottom of the sculpture 

I hadn't quite figured out how I would represent other interests and responsibilities (such as my family, teaching, and blog) on the plate when I got an email with the official details of the show. It turns out that the concept is more simple, it is about table settings, cooking, and rituals around food. 


Plates Can Be Dull

But I've always been a little bored making regular plates or functional work. For a few years around 2003, I showed work at the Cambridge Pottery Festival. After the event, there was a Potter's Dinner and the artists/potters were invited to bring a plate to trade. We were supposed to put our plates on the table and take one of the other plates for ourselves. 

poster of exhibiting artists from the 2003 Cambridge Pottery Festival


The first year I participated must have been 2003. At the time, I was making raku-fired abstract sculpture and plenty of functional work in the form of hand-built lidded boxes. I wasn't making plates and by the time I knew about the plate trading event, I didn't have time to make a plate. 

my work in 2003

I figured, since I was juried into the Pottery Festival based on my non-plate work, the organizers must just be suggesting the rough size or value of a work; "Bring a plate to trade" probably meant "bring something roughly the size and/or value of a plate."

the plate base for this project

So, I brought a small lidded box. Admittedly I am partial, but these boxes I was making were fun. They had all these spikes and texture in contrasting colors and looked like sea anemones or alien plants. The lids fit snugly and it was clear how they were to be oriented. Often the lids had rattles in them, so you could take them off and shake them to make a sound. But, the boxes were clearly not plates. After I set my work down, I watched that box sit on that table, alone and unloved, while person after person walked in a picked up a boring ol' utilitarian plate for their trade. Eventually my box found a home, but the message was clear; it should have been a plate.

trimming the plate for this project

I hatched a plan. The next year, I would bring a plate, but I would defiantly make it the most annoying, least utilitarian plate I could manage. It would be in the form of a plate, but it would be less useful than my lidded boxes. I threw a plate, but instead of just glazing it like a normal person, I attached small round sprigs all over the surface, spaced out so as to maximize the bumpiness of the plate without leaving room for anything as large as a burger or even a hot dog to rest on the plate's surface. I glazed the bumps green so they would look like peas. I imagined the plate being used by someone who chose to eat a plate of peas or maybe a casserole that included peas so that the person would keep trying to scoop up the ceramic peas in place of the real peas. I also envisioned this plate being super annoying to clean.

pea plate from 2003/4

Of course the next year I had a conflict with the Potter's Dinner, so I didn't get a chance to go, trade my revenge plate, and laugh at all the functional potters who wanted only boring plates like those they made themselves. I still have the plate. it has a trimming hump in the middle, but I still think the spaced out peas decoration is hilarious. I crack me up.


The Sculptural Plate

Unless it were to be a reprise of my pea plate, I knew I didn't want to make just a straight "functional" place setting, so I decided to go with a slightly simplified version of the plate I envisioned earlier in the summer.

sculptural plate in progress

I threw several plates and the form of a small sculpture, a simplified version of sculptures I tend to make. Rather than just attaching the sculpture to the plate, I wanted to connect the plate and the sculpture visually in two ways: with chain and with sprigs.


Sprigs

sprig molds resting on the plate

The sprigs I used for this piece were all made from knots and textures found on a section of an old Christmas tree trunk. I used several different sprigs so that the textures seem to repeat, but are not all identical.

tree trunk section with beautiful knots I used as to form my sprig molds

I wanted the sprigs to be suggestive of barnacles in a tide pool and the way they encrust the surfaces. 

a tide pool near Port Angeles
I hoped the sprigs would to seem to cover over the separate surfaces of the sculpture and the plate indiscriminately like mussels or barnacles on the underside of a boat or dock.


textures on my sculpture and plate

In the end, the process of attaching the sprigs and adding the background texture of tiny holes (reminiscent of coral, rock, or corrosion) overwhelmed my view of the overall effect. I chose to put the sculpture dead center in the plate and not to build up the corner where the plate and the sculpture were once separate. The sculpture has the excessive texture I wanted, but I'm not sure if the placement is entirely what I wanted.

base of plate/sculpture read for drying and firing


Chains

I also wanted to incorporate bike chain into this sculpture. I knew that I wanted the bike chain to connect the sculpture with the plate, so a mini sculpture I had created earlier in the summer would not work for this project.

sculpture I started earlier this year for this project

I have another project in mind for bike chain, so I spent several hours cleaning several chains. I used some simple green and a scrub brush first and then took the chains to a wire brush on a stationary grinder. The process is fairly straight forward, but it was hot last week when I was cleaning the parts and I had on long sleeves, gloves, goggles and a mask, so I had to break up the cleaning into 15 minute bursts or end up really cranky and hot (I ended up cranky and hot anyway).

dirty and clean bike chains

The completed plate/sculpture will have a chain winding down the sculpture, around the plate, and out one side of the plate as a kind of tail. I also added a bike gear to visually and physically divide the smooth bulb of the sculpture from the textured complexity of the base and plate.

rough plan for gear and chain position in sculptural plate

I am considering adding a cup/mug and fork/knife to the place setting. The work is still a bit wet. I threw the form and added texture over the course of at least 5 days, so I wanted to make sure the piece dried slowly. After firing, I've got a few weeks before school begins in which to add color and put the pieces together.
Sunday, February 26, 2017

The Beauty of Clay at Columbia Center for the Arts in Oregon

This weekend I drove a car full of sculpture to Hood River, Oregon for a show that opens next week. The Beauty of Clay opens Friday, March 3 from 6-8pm at Columbia Center for the Arts and runs through April 2, 2017. This timing coincides with the NCECA clay conference in Portland. The internet tells me that Portland is just over an hour from Hood River, but its possible some people might stop on the way to or from the conference. I plan to.


The Columbia was beautiful, but the rest stops don't get you near the prettiest sights, so I snapped a few pictures without looking from the moving car.

The drive down to Hood River from Yakima is just over 2 hours and, though the road and weather were uneventful, my car chose to enliven the drive by falling out of fifth gear four or five times on the way down. For the last hour or so, I drove with my arm locked on the gearshift to keep it in gear. Fun times. Strangely, on the way back it didn't fall out of gear once. 

The one picture I remembered to take, just after parking in Hood River, note the beautiful beach towel ceramic packing equipment.

I meant to take pictures of the car fully loaded or the work being packed or unpacked, but I guess I got distracted by the process of packing, and then by trying to diagnose the gearshift problem. I thought pictures of the loaded car might be interesting, because I drove down alone with six sculptures occupying three seats and the back cargo hold. My friend offered to accompany me, but I traded her seat for a sculpture.

  
If anybody in Hood River wants to buy these guys, I do not mind not bringing them home


I loaded the two tallest pieces in the back seat, after removing the car seats and detritus from my kid. (The problem with only kids occupying the back seat is that no one remembers to pick up wrappers and toys and kleenex in that space.) These two tall pieces are also the reason I wasn't able to take the juror, Yvonne Pepin-Wakefield, up on her offer to drive the work down (she has a studio in Tieton and a place in Hood River). I could have boxed up the other pieces for shipping, but these two pieces are tall, heavy and have lots of pointy bits at the top that are likely to break if not packed carefully. I'm sure, given enough time, money, and motivation, I could develop a safe box system for the tail ones, but it probably was cheaper in both time and money, and certainly in energy, to drive them down, loose packed, in my car.

This little guy just stacks on top, no trouble at all to pack

Packing the tall sculptures in the car allows me to stand them up on the seat. I support the sculpture with foam between the metal frame and the car seat, and cushion every other area with foam, towels, or leave open space. Their weight and the seat belts keep them from moving around very much, but I certainly breathed easier going over potholes on the drive home. 

The Columbia was amazingly still, the land and sky reflected looked just the same as the real world above (I'd show that reflection, but by the power of cropping, this picture looks almost like I didn't take it over my shoulder out the car window)

The three smaller, less awkward sculptures were paced in the back cargo area in a large plastic bin with foam and beach towels. My main packing material for larger pieces that I hand-deliver is usually beach towels. They are extra large and thick, don't get used very often as towels, and we otherwise store them rolled up next to the clay studio, so they're ready to use for support or padding when I start to load the car (usually half an hour before I plan to leave).

the bike wheel sculpture (come home, little sculpture, and I promise to get a good photo of you this summer)

The front seat was reserved for the bike wheel sculpture. This one doesn't need much support but it does need some space. It fits just about perfectly on the front seat with the hub of the wheel touching the seat back and almost touching the car door and dash, but not getting in the way of my shifting arm (or, in this case, my holding-the-shifter-in-fifth arm).

  
the two easiest sculptures to load

I could probably adjust things to make the wheel sculpture fit in the back of the car, but this sculpture rattles a bit as I drive. I find I am less stressed while driving if all rattling sounds are close enough that I can account for them. I drove with this sculpture or something similar in the cargo area a while back and spent the entire 20 minute drive asking my daughter what was breaking. In fact, perhaps the gearshift problem was a good thing because it distracted me from worries about ceramics in the car.