Showing posts with label 3D Clay Printer. Show all posts

Wednesday, December 21, 2022

3D Printed Pieces, Glazed and Finished: Fall 2022


Jordan Golob, Lego Minifig

The 3D printer is a relatively new tool in the clay studio, and one that I had never used before YVC purchased one. Because of the pandemic and my cancer year, as well as some time before the pandemic when it was down for repairs, we haven't really used the tool a great deal. (By my count, I think this quarter can only be the 5th or 6th quarter in which I required students to use it--but it may have been less based on how long it was broken.)


Brook Mason, printed sculpture


I starteed assigning the 3D printer as a tool for my Intro to Clay and Hand-building classes before I had properly learned to use it. When we started, the assignment was, essentially, here are the tools, here's what works, let's figure it out together.

Julia Snow, printed Tardis

I have a much better understanding of how the printer works now, and can help the students troubleshoot both the printer and software, as well as some basic troubleshooting in TinkerCAD, but there are still students who know TinkerCAD and 3D printers (the plastic kind) better than I do. What this means is that I regularly learn from students on this tool. 

Yarelli Sanchez, chicken pitcher

Students using the 3D clay printer this quarter had 2 main options for using the printer. First, they could used TinkerCAD or another program to design a 3D object and print it. The focus, if they choose this approach, is on learning TinkerCAD and planning for a form that the clay printer can handle.  

Amy Matson, Cats & Coyotes, printed and slab built 

The clay printer prints very soft, wet clay, which means that the clay sticks together fairly well when squished together, but it also means that it can't stand up without support.  If the printer squeezes out a line of clay on top of another line of clay, those two lines (coils) will stick and the bottom one will support the top one. The printer is very good at printing straight vertical walls of clay.

Carlos Garcia Alcantar, printed stacking forms

If the printer moves slightly to one side between levels, so that the top extruded line of clay is above but slightly to one side of the line below, the clay still sticks, still supports itself, but now the wall is at a slight diagonal. The printer can do this just fine and print cones, pyramids, vases, and similar forms. However, if the printer nozzle moves too far to one side between levels, the bottom layer of clay no longer supports the top layer and the top layer just falls into open space.

Carlos Garcia Alcantar, printed stacking forms


For this reason, the printer cannot handle overhangs, or flat tops, or the very top/middle of a dome shape. There are at least 4 ways to deal with these shapes. First, of course, students can avoid these shapes and design their print in a way that they aren't necessary. Second, they can print everything but the flat part or the top of the dome and simply add a slab or more clay later.

Derek Arneecher, printed shelves

Some students design their print in pieces so that only the verticals are printed and any and all horizontals are slabs added later. Jordan's Lego Minifig is a good example of this. She printed the body, neck, head, and cylinder on top of the head separately. She couldn't have printed the body and head, or even just the head in one piece because because the shoulders, the bottom of the head, and top of the head are all horizontals that would have fallen in. 

Yarelli Sanchez, chicken pitcher


Yarelli also printed her chicken pitcher in pieces, though in her case, some of them could have been printed together as one.  The transition from cylinder to cone on top could have printed as one, but she chose to print them separately. She cut off the top of the cone after printing, altered it, and used it as the beak. However, the three pieces of the handle and the feet had to be printed separately and attached later.

printed turtles, student work


All of the options I mentioned so far are for students printing a hollow form. The third and fourth options are to print with an interior support or to print an entirely solid print. In the student example above, the student, who wished to be anonymous here, designed the turtle in TinkerCad, but hte top of the back and head wouldn't print at this angle, so they adjusted the print settings in Simplify 3D (the software we use to "slice" our 3D objects into printable files. If you were to flip over any of these three turtles, you would find a latticework interior that adds stability to the horizontal or nearly horizontal clay walls.

Thai See (@Thaiidraws on Instagram), printed hand and hand-built snail

Thai printed her hand completely solid and carved away the excess clay later, after it had dried somewhat. This approach is more labor intensive in some ways, because it requires extra work after the print has been made, but it allows for less fussing with the software and may allow for a more complicated form that otherwise wouldn't print.


Amanda Goodrich, printed castle


The assignment paramenters for the printer allow for a completely different option as well. Students may print a simple form mulitiple times and simply use that form to create a more complicated form. Brooke's sculpture is a great example of this. She printed a pyramid 6 times, then attached each pyramid together in the middle to create a form that could never haver printed on its own. The end result is a sculptural form that would have been more difficult to make any other way. She went further by cutting and carving triangles into and through the printed forms after they were attached.

Brook Mason, printed sculpture


Derek and Carlos both printed simple forms that were meant to be displayed together. Derek's printed fomrs are a set of shelves, some of which are attached together. Carlos' pieces were designed to stack together to form a cube, but one broke before firing, leaving a gap in the design. 
 
Carlos Garcia Alcantar, printed stacking forms


Valeria's piece also broke before firing, through no fault of her own. It was a printed cylinder with printed shapes added to the surface after printing to create a more interetsting shaped vase. Amy did something similar, on a smaller scale, with her printed vase and tiny printed pyramid decoration on the surface.

Printed Vase, Amy Matson

Sunday, December 11, 2022

My Awesome Hand-builders Part 4

student work drying before the last firing
 

This is the fourth post I've written about my hand-building class. My throwing class this quarter is also great, but I was able to write these hand-building posts in a batch, and I haven't done theirs yet. If you haven't seen them yet, go back and check out the previous three posts about the hand-building print, coil, slab, and extruded projects, as well as their solid portraits.

Lego Minifig by Jordan Golob, printed from multiple pieces on the 3D printer


Coming soon, I'll share some work from the throwing class and glazed and finished work from both classes which finished up last week.

Pegasus by Thunder Morales


The hand-builders had their critique on Monday. It was lots of fun to see their finished, or in some cases nearly finished work. The hand-builders are required to glaze 4 of their 5 projects and they can paint the other one.

Works drying in the studio before the last firing


In our studio this quarter, students were able to fire their work with high fire (cone 10) glazes in a reduction or oxidation atmosphere. They could also low fire their work with underglazes and clear glaze at cone 04, or they could raku, horsehair raku, or pit fire their work.

3D printed shelves by Derek Arneecher


This quarter no one chose to pit fire, but several student did raku. In the hand-building class, I think all the students who raku fired their work used horse hair instead of glaze. One student didn't like the results and ended up using underglaze and low fire glazes over the top.

Slab castle by Manuel Delgado


I suspect that the timing at the end of the quarter impacted how students chose to finish their work. It's a balance, in a 10 week class, to make sure that students start glazing early enough to learn the glazes and get all their work done, without taking time away from their building projects.

extruded and altered piece by Brooke Mason


I usually introduce glazing around week 5, and force them to glaze something then. I make them glaze early so that we can run a kiln load and they can see their results before glazing the rest of their work. During his final critique, one student described the process as me rushing him to glaze his first pieces so we could load a kiln. I suppose it is true, but he also was glazing his last pieces during the last few hours of allowed glazing time last week, which makes me think that it is good that I didn't let him skip that first firing.

Coil form by Manuel Delgado


In a shared studio, with 35 students making anywhere between 8 and 60+ objects in a quarter, that's a lot of stuff to fit in a kiln, especially when the lower numbers correlate with larger projects.

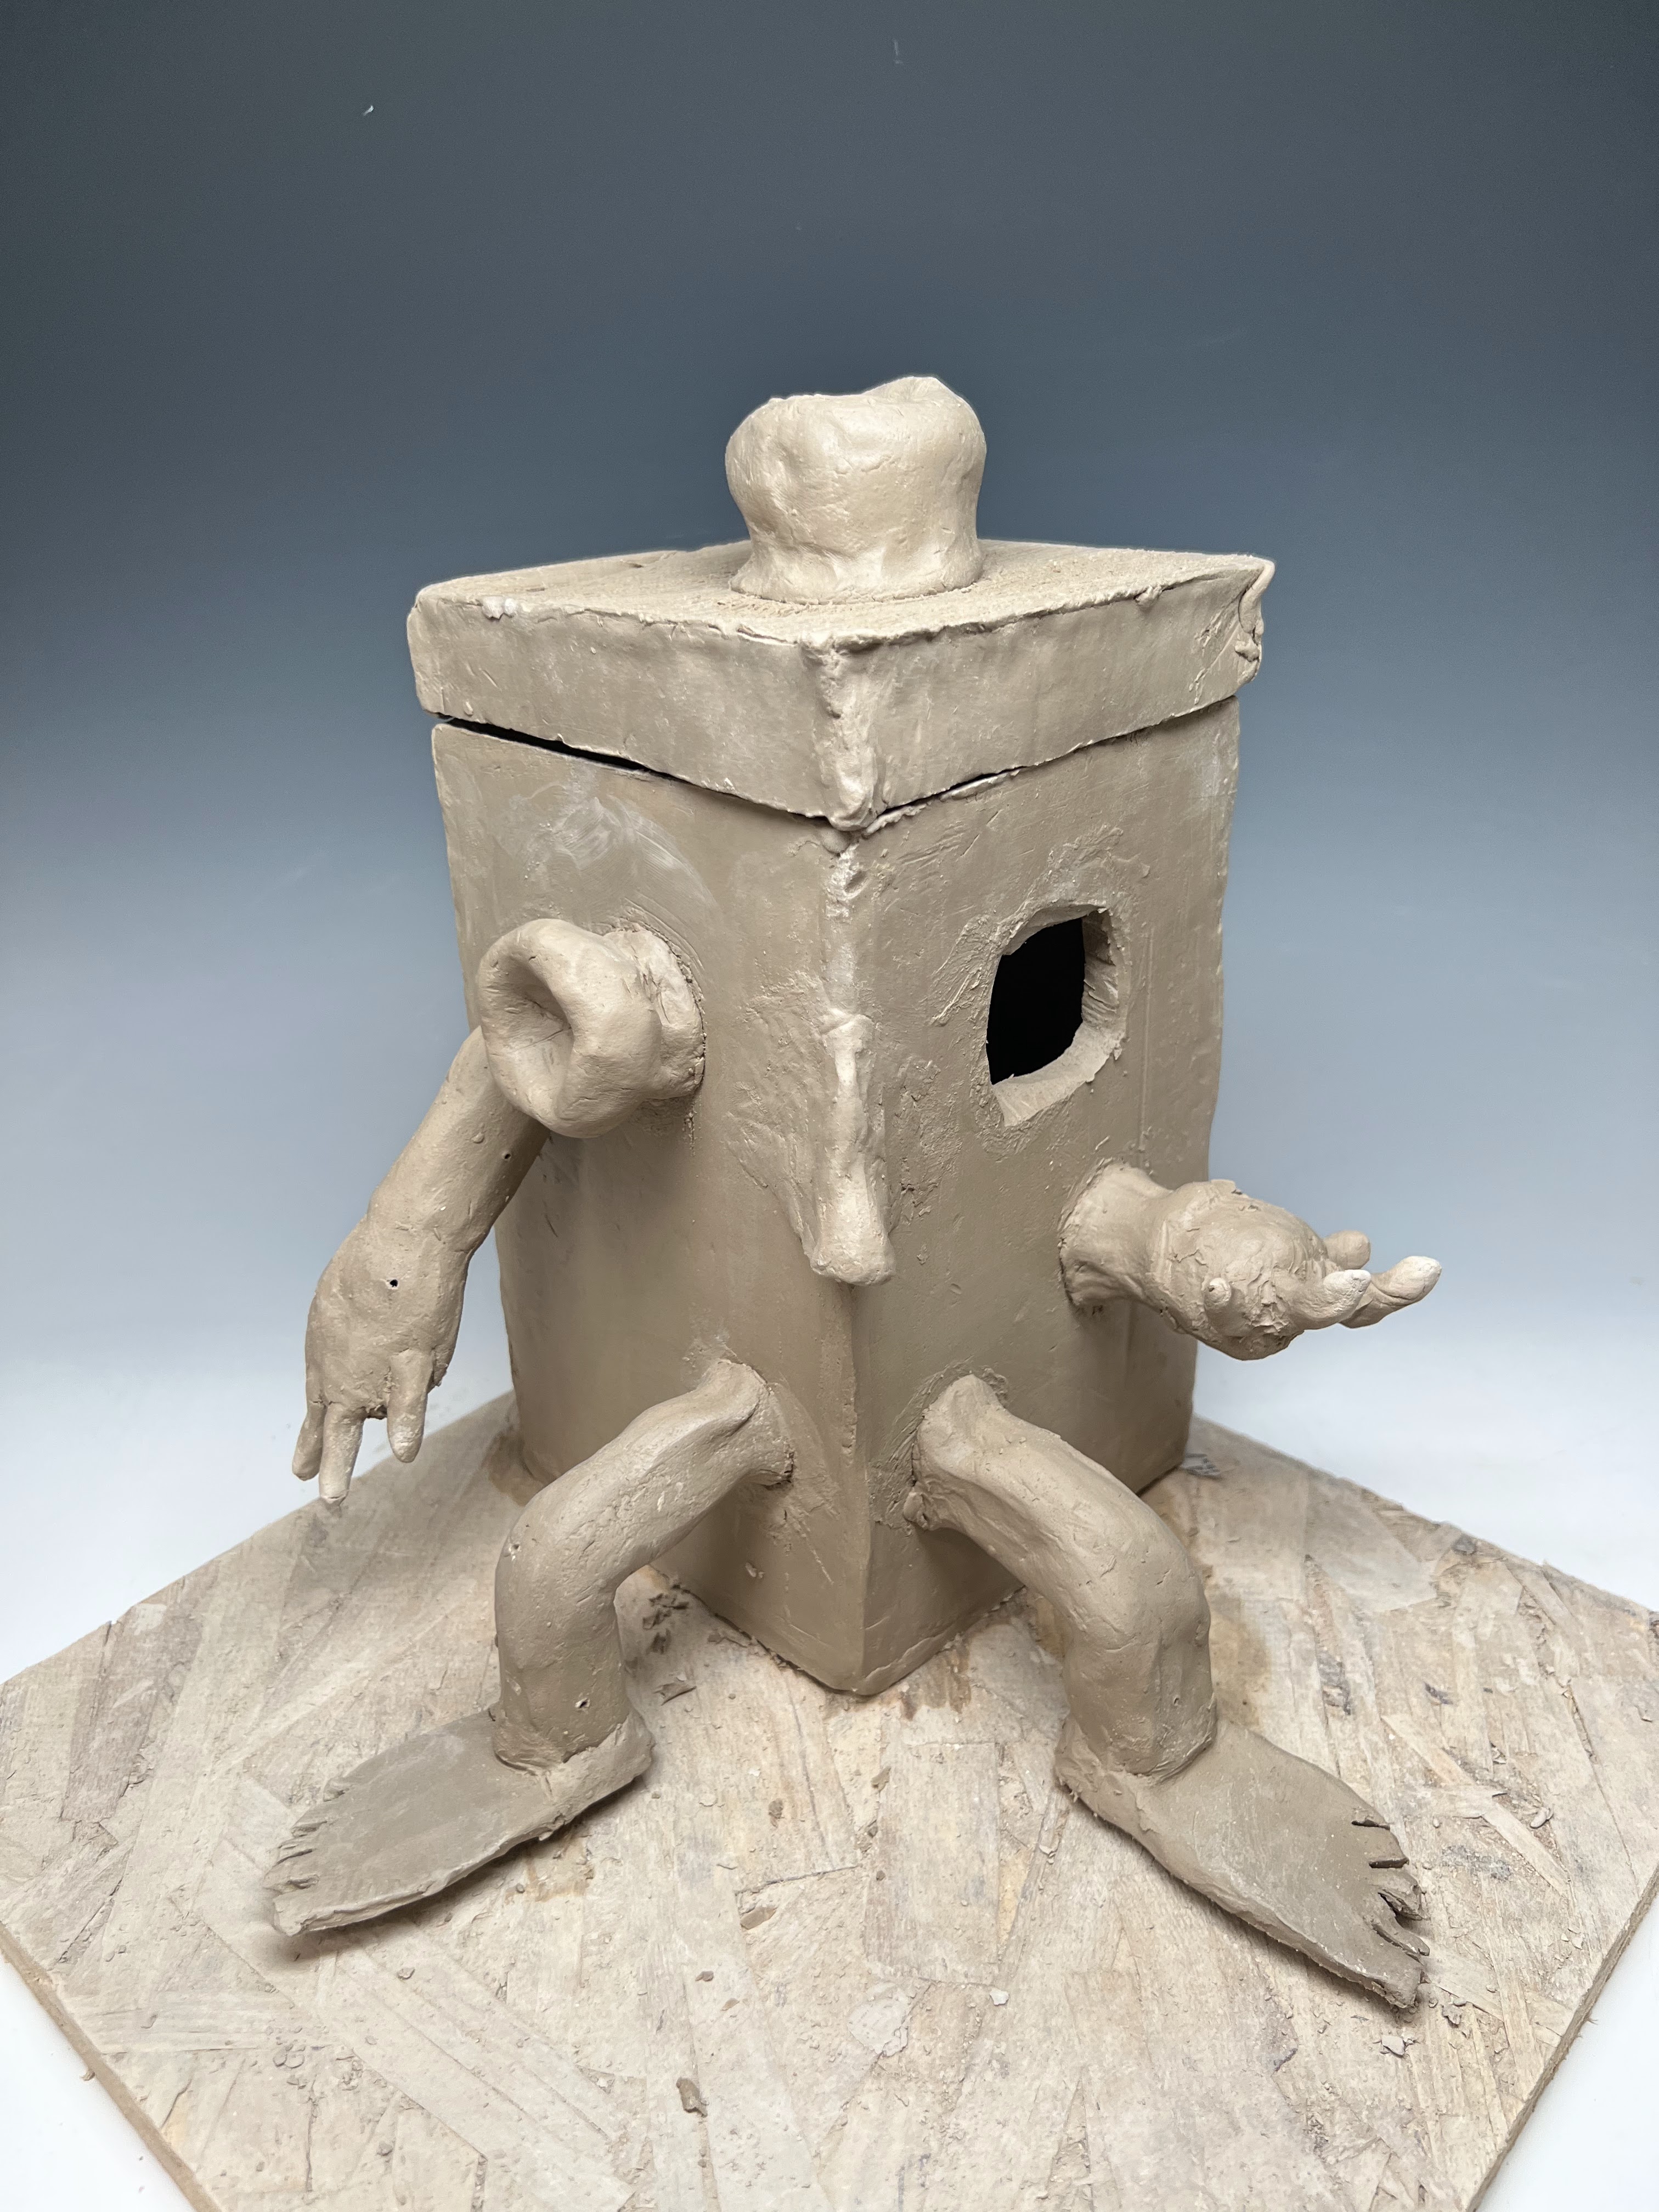
Teapot with facial features by Carlos Garcia Alcantar


Most of the hand-builders created 5 scultptures, a mug, and 2-4 pinch bowls for practicing glazing. Some students made multiple objects for one project, including a set of dice, several lidded boxes, or a group of printed forms that were mean't to be shown or stacked together. 

Carlos decorated his coil teapot with a nose, eyes, and mouth, as well as spout and handle.


Some students also created extra pieces. I know of one extra mug, one extra portrait, one extra coil piece, and an extra printed object. Carlos created his coil teapot because he wasn't sure his coil built duck was going to work out. It did and his duck is delightful, but his teapot is also idiosyncratic and great fun.

Rotting pumpkin by Jordan Golob


The quality of the work in this quarter's class was really quite impressive. Not everything worked perfectly, but I think all of the students completed all of the building projects, which maybe sounds normal, but I often have students who just never get the work done and end up skipping a project or the project just breaks.

Kraken, partially glazed, by Brooke Mason


The only piece that broke beyond repair before critique was dropped as it was being loaded into the kiln. Unfortuantely the student didn't get a picture, but luckilly I had seen it before it went in the kiln. 

Lidded slab bathtub by Thai See 


We did have several pieces that broke before, during, or after firing. Maybe I'm making excuses, but I figure some level of breakage and repair is ok in a hand-building class. I build in an epoxy demo into the class calendar and expect that a few students will be using it at the end of the quarter. 

Thai @Thaiidraws on Instagram scared me with those delicated feet


I don't remember an epoxy demo as a standard thing in my first ceramic class, but I definintely do remember learning to use epoxy from my ceramics instructor in undergrad. Since I use epoxy regularly by design in my mixed media work, it makes sense to build it into the class. Also, I figure, if it's good enough for Beth Cavener, it's good enough for my students!

The lady and her knee are the handles to pick up the lid of this lovely bathtub


This year several students did their repairs before class. I love to see that because then I feel that we really see the finished sculpture at critique. There was even one sculpture with hair epoxied in place for critique.

Jordan Golob created this teapot (betcha didn't guess it was a teapot)


Final critiques were finished on Wednesday. We had one more kiln we needed to fire, but all that was done by Friday. I don't have class again until January, but I've felt like returning from the cancer break, as well as the pandemic interruption, meant that this quarter's classes, while pretty great in terms of output, had a few hiccups as far as the online expectations and I'd like to make some adjustments over the break.
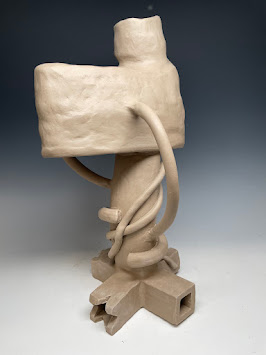
She was inspired by a teapot by Ray Bub, but really moved in a different direction as she began to work. 


Of course, I'm probably always making adjustments over the break, so maybe the breaks have less to do with it and it's just how I teach. My colleague was on sabbatical this fall, but last week, there he was in his office, prepping classes for next quarter, because they're always a work-in-progress for us.

Sunday, November 27, 2022

My Incredible Handbuilders (part 3)


Slab box by Amanda Goodrich


In the last two posts, I shared photos of works in progress from my Clay1: Hand-building students. I've got more today.


3D Printed Tardis by Julia Snow


There really was quite a lot of diversity in the forms students chose to create, including lots of things that I simply hadn't seen before. Teaching the class over and over for years and years means that some forms tend to recurr. 

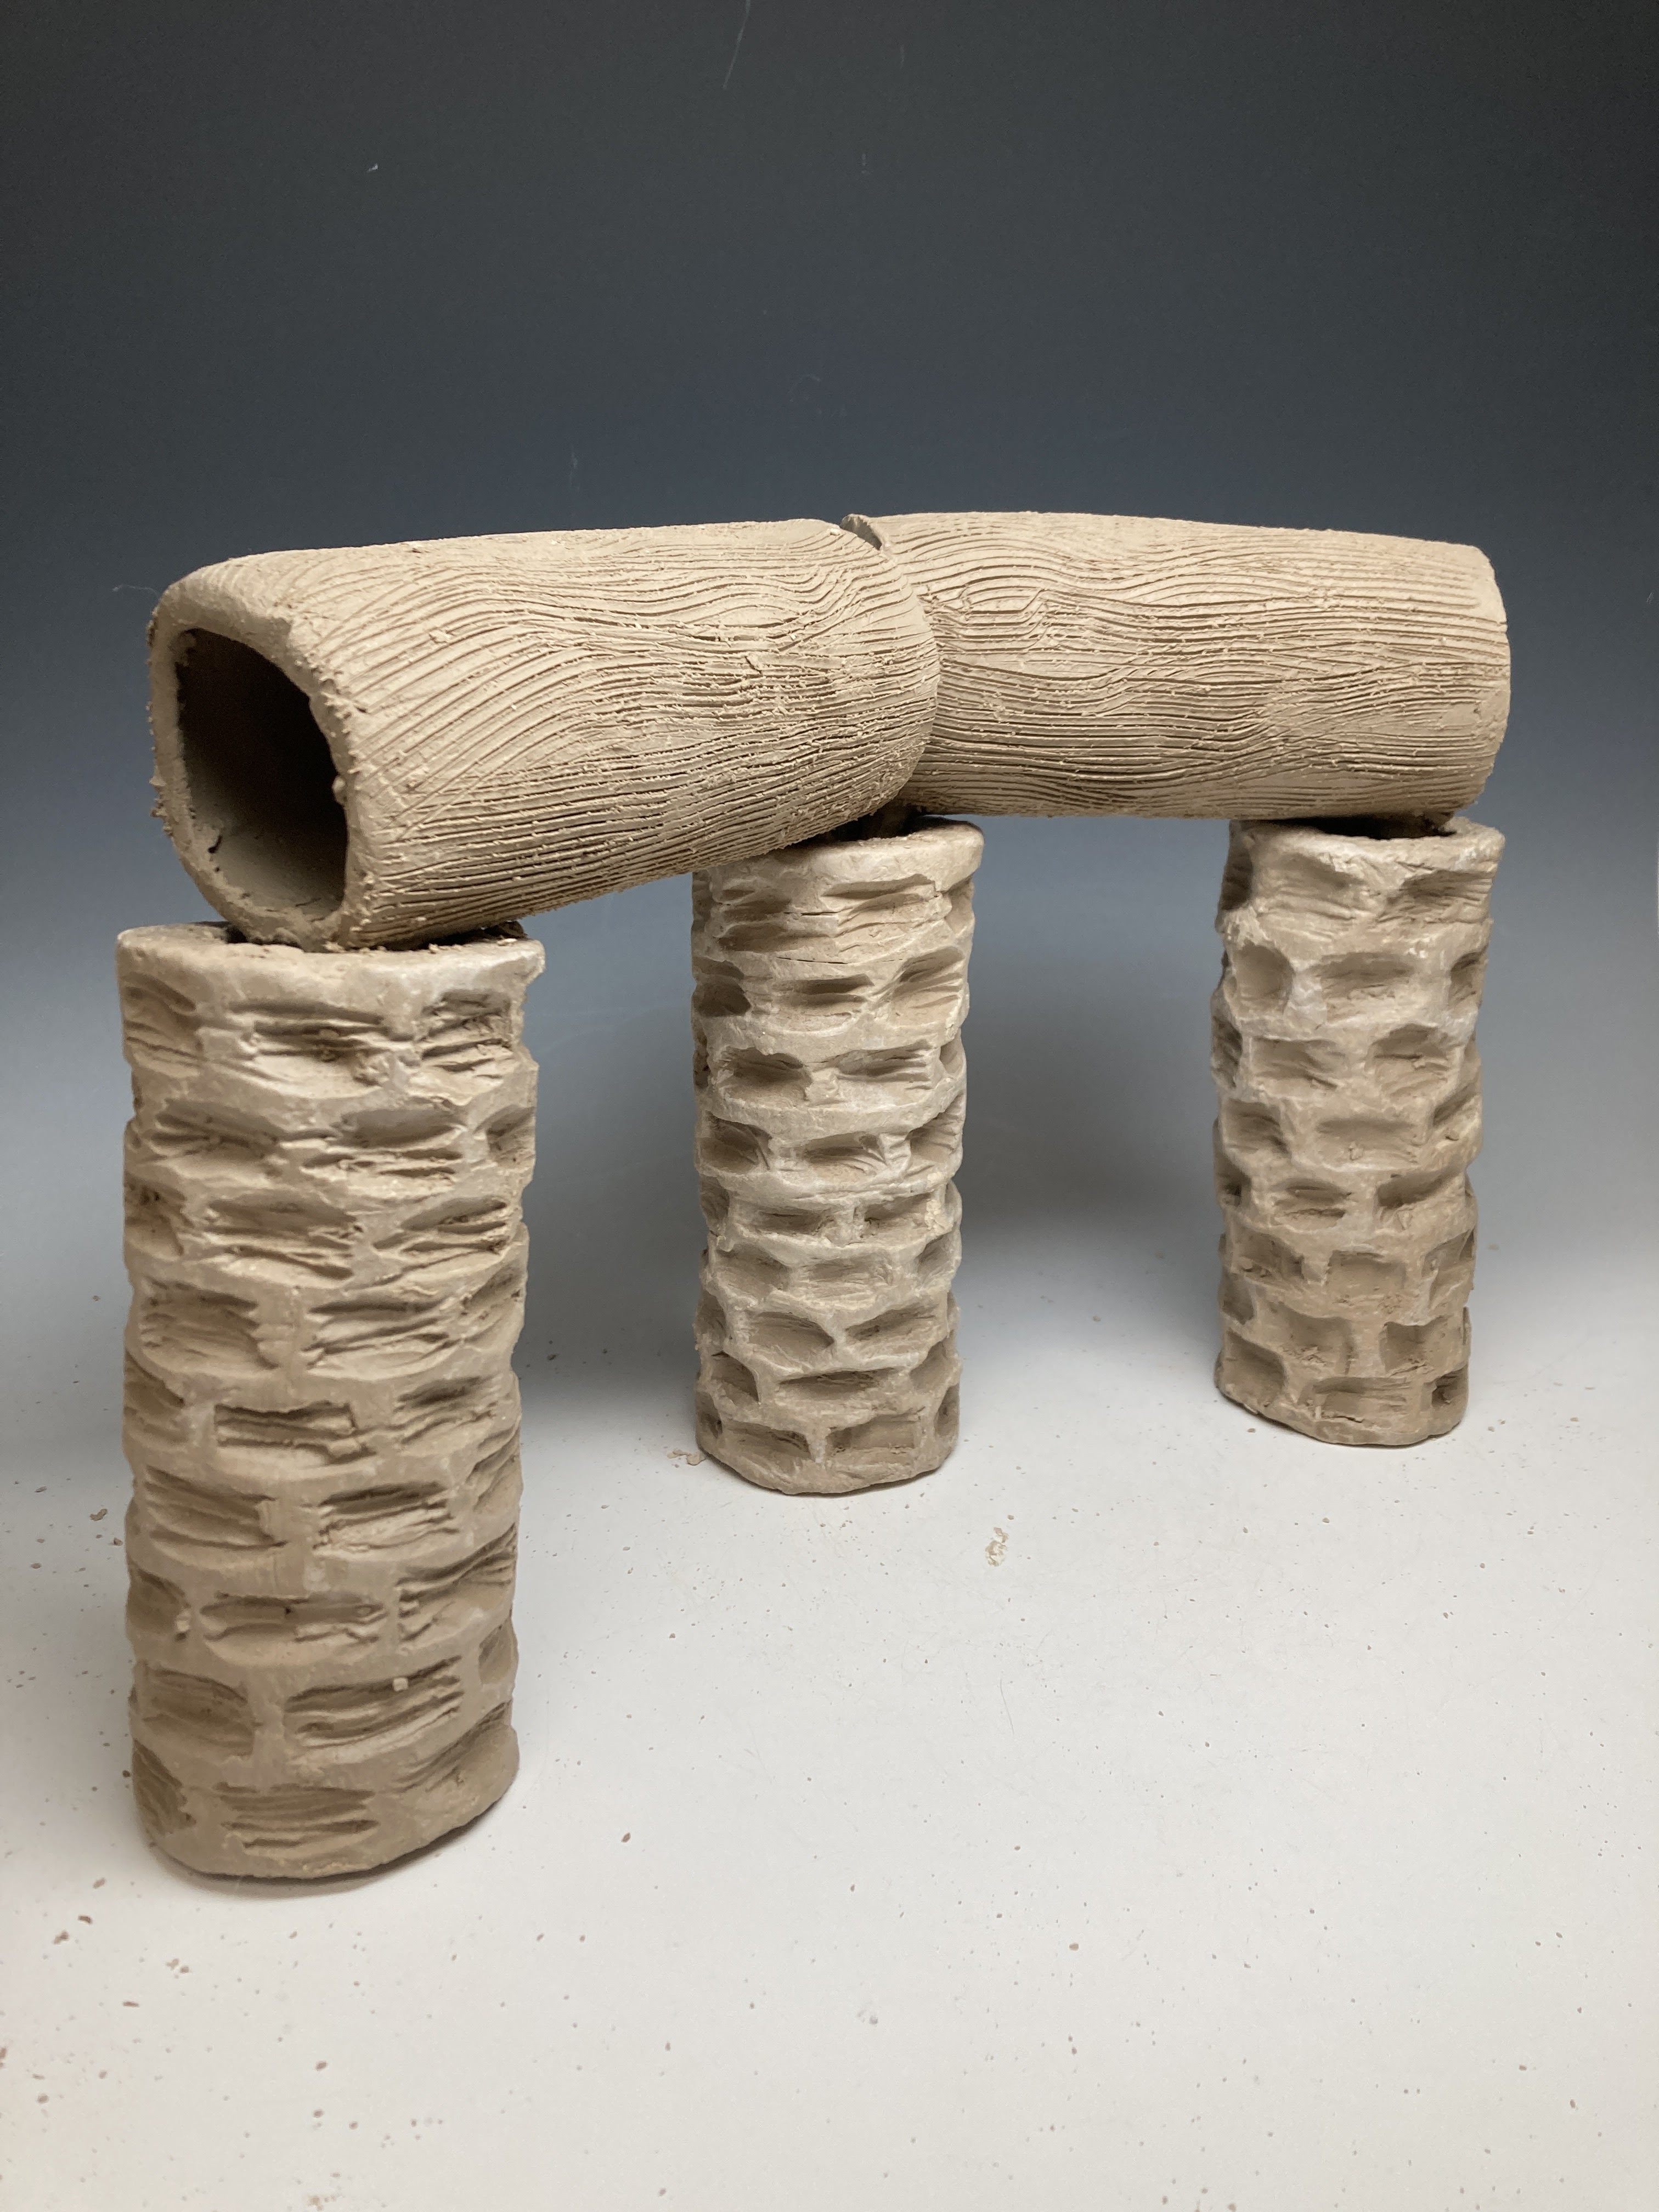
Chia "pet" stonehenge section by Julia Snow


In fact, the coil building assignment prompt tries to fight against this by requiring students to create an asymmetrical form. We are so used to seeing round coil build vases and pots, so asking students to not create something round immediately forces them to break away, at least a little bit, from that familiar form.

Coil shark eating a squid by Amanda Goodrich


During their critique, students can talk about how or why something was made and they can talk about their inspiration. Last week we saw works inspired by stonehenge, archaeology, poisoner's teapots, ceramic artists we saw in class, and Lego. 

Amanda's approach to the asymmetry prompt was fun to watch. She built the squid separately, so there was a sudden transformation when it was put in place.


Though they didn't necessarily discuss it during critique, I think we also saw influences from Gothic architecture, comic books, sugar skulls, scientific imagery, and Picasso.

Though a bit difficult to see on a screen, the contrasting texture of the squid tentacles and the shark coils is a nice touch.


One of the things that might seem like a given, but is actually pretty impressive, is that all 25 of my clay student atteneded their most recent critique and had their projects completed or nearly completed. 

The Jomon pottery inspired coil texture of the shark feels like a fresh approach to the subject, but also reminds me of Northwest Coast Native American designs or bronze age Chinese metalwork decorations.
 

The fact that everyone was done with their building and throwing assignments meant that we had lots to talk about. The fact that the projects were done or nearly done, meant that nearly all of critique time was spent talking about design decisions and techniques, rather than time management challenges and what they would have done if they'd had time.

Amanda's carved decorations reminded me strongly of window tracery in a Gothic cathedral


This coming week is the last week of classes. Monday we will load up the (hopefully) last bisque firing(s) and get everything fired so that students can glaze. We've got a lot of work not yet loaded, so I'm getting slightly concerned about how everything will get finished in time, but this is fairly normal for this class, especially when students are doing large and complicated work and when they are making lots of pieces.

Coil built duck by Carlos Garcia Alcantar


Last night I had my first anxiety dream about loading and firing kilns. In the dream, I was just trying to get students to bring their work to the kiln. That's it, the whole dream.

This duck started out with very different legs, but Carlos made majors changes and improvements to the stability of the structure as he built


I went into the studio last week to check on a couple of things and have thus far resisted the overwhelming temptation to go into the studio this weekend to unload and load, just to get things moving faster.

Thai See's crying coil form


I had still been doing occupational therapy (OT) for lymphedema until mid-November when my occupational therapist had to have surgery. I won't see her again until late December. I had been gradually increasing my exercise, weights, and lifting, while also trying to keep up with my lymphatic massage and stretching on my own. 

Thai @Thaiidraws started with the face, then built the rest of the support later


I can tell that my body is swelling a little bit on the side where they removed the lymph nodes, but it's hard to know how serious it is. I can feel it, but it's difficult to see. I was trying to reduce how much I was lifting, but it's hard to know what is causing or contributing to the swelling and what is appropriate work-related activities.

Carlos Garcia Alcantar's box is a delightful blend of the wild and wacky we see in his duck and teapot

Over the break, I decided to extrude some pieces myself at home and discovered that operating the extruder handle is pretty similar to some of the stretches and exercises that I'd been doing for PT.

The sugar skull inspired carving has some lovely variety and is juxtaposed against a stairway

Concern about my arm and swelling is probably a good portion of the reason I haven't gone in this weekend to unload and load a bisque myself. When I go in on Monday, students will help load and I know I won't overdo it on my arm.

And there's the arm and nose on the other side

I know that Monday is going to be hectic in class. We are planning to raku fire during class. We are going to unload and load bisque kilns first thing when folks get in (before class). Students are going to be expected to glaze all their bisqueware and we are also going to start loading the high temp gas kiln with glazeware during class. All of that and class is less than 2 hours long.

Yarelli Sanchez's slab built mushroom house 

By the end of the week, a number of students should be able to leave class early, since we'll be done glazing, waiting on kilns to fire or cool, and students will only be responsible for clean up jobs, painting or epoxy as needed, and an online test.

this base and lid is a challenging shape to get to fit right

The hand-building critique is the next Monday (the first day of finals week) at 10 am and we will likely be unloading the glaze kilns before class that day. If we have too much stuff to get through kilns, we might be loading or firing Monday, which means that work might not be done in time for final critique.

Coil built spaghetti by Yarelli Sanchez

I always tell my clay students that they can't cram for the final in the way they could in a math or history class. The clay and the kilns won't let them. I started talking to them about how close we were to the final critique about 4 weeks ago. They were asked to get their work from projects 1 and 2 glazed before finals week, and told why it mattered for getting work finished in time.

the bowl was coil built first, then the coiled spaghetti and hollow meatballs were added later

Unfortunately, most project 2 work was not glazed, some was only bisqued last week. And some project 1 work is also not fired or even ready for firing. 

The cracks add some nice variety to the back side of the work

The good news is that hand-builders in my class are allowed to high fire, low fire, raku or pit fire, and they are allowed to paint one item using acrylic or other "cold finish" techniques that don't require a kiln or firing after the bisque. For that reason, some work on the shelves may not need to find a spot in a kiln this coming week.

And as I told her during critique, I'm only a bit scared about how thick the bottom /back might be