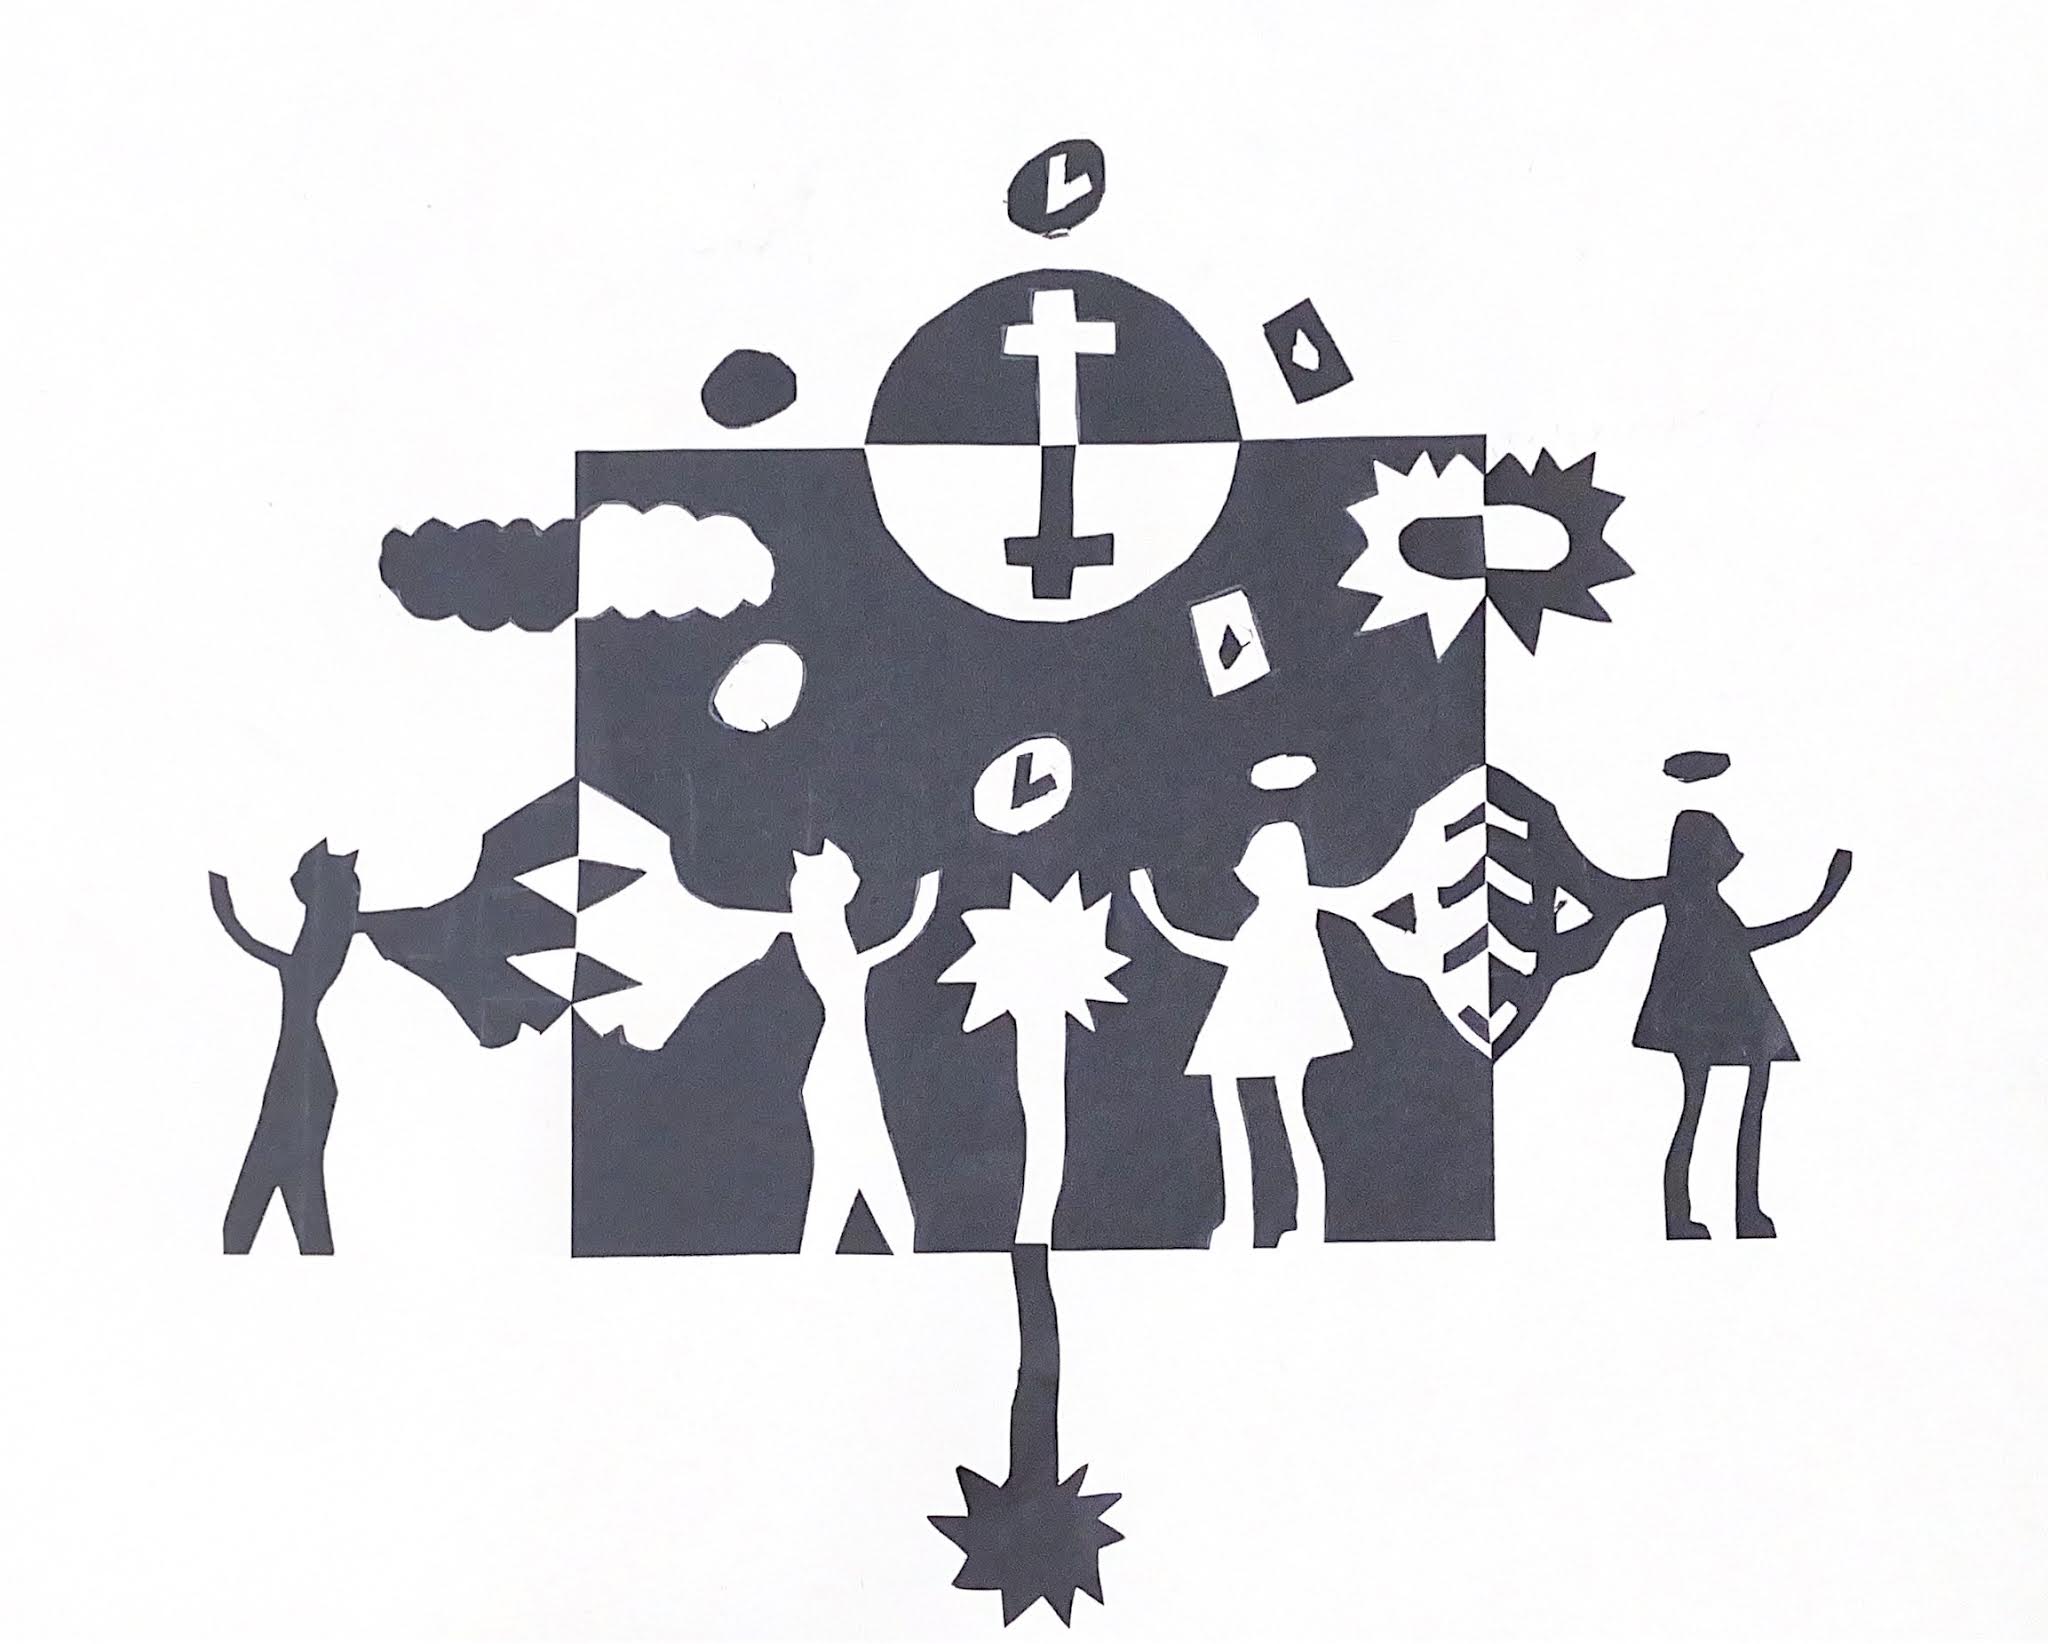
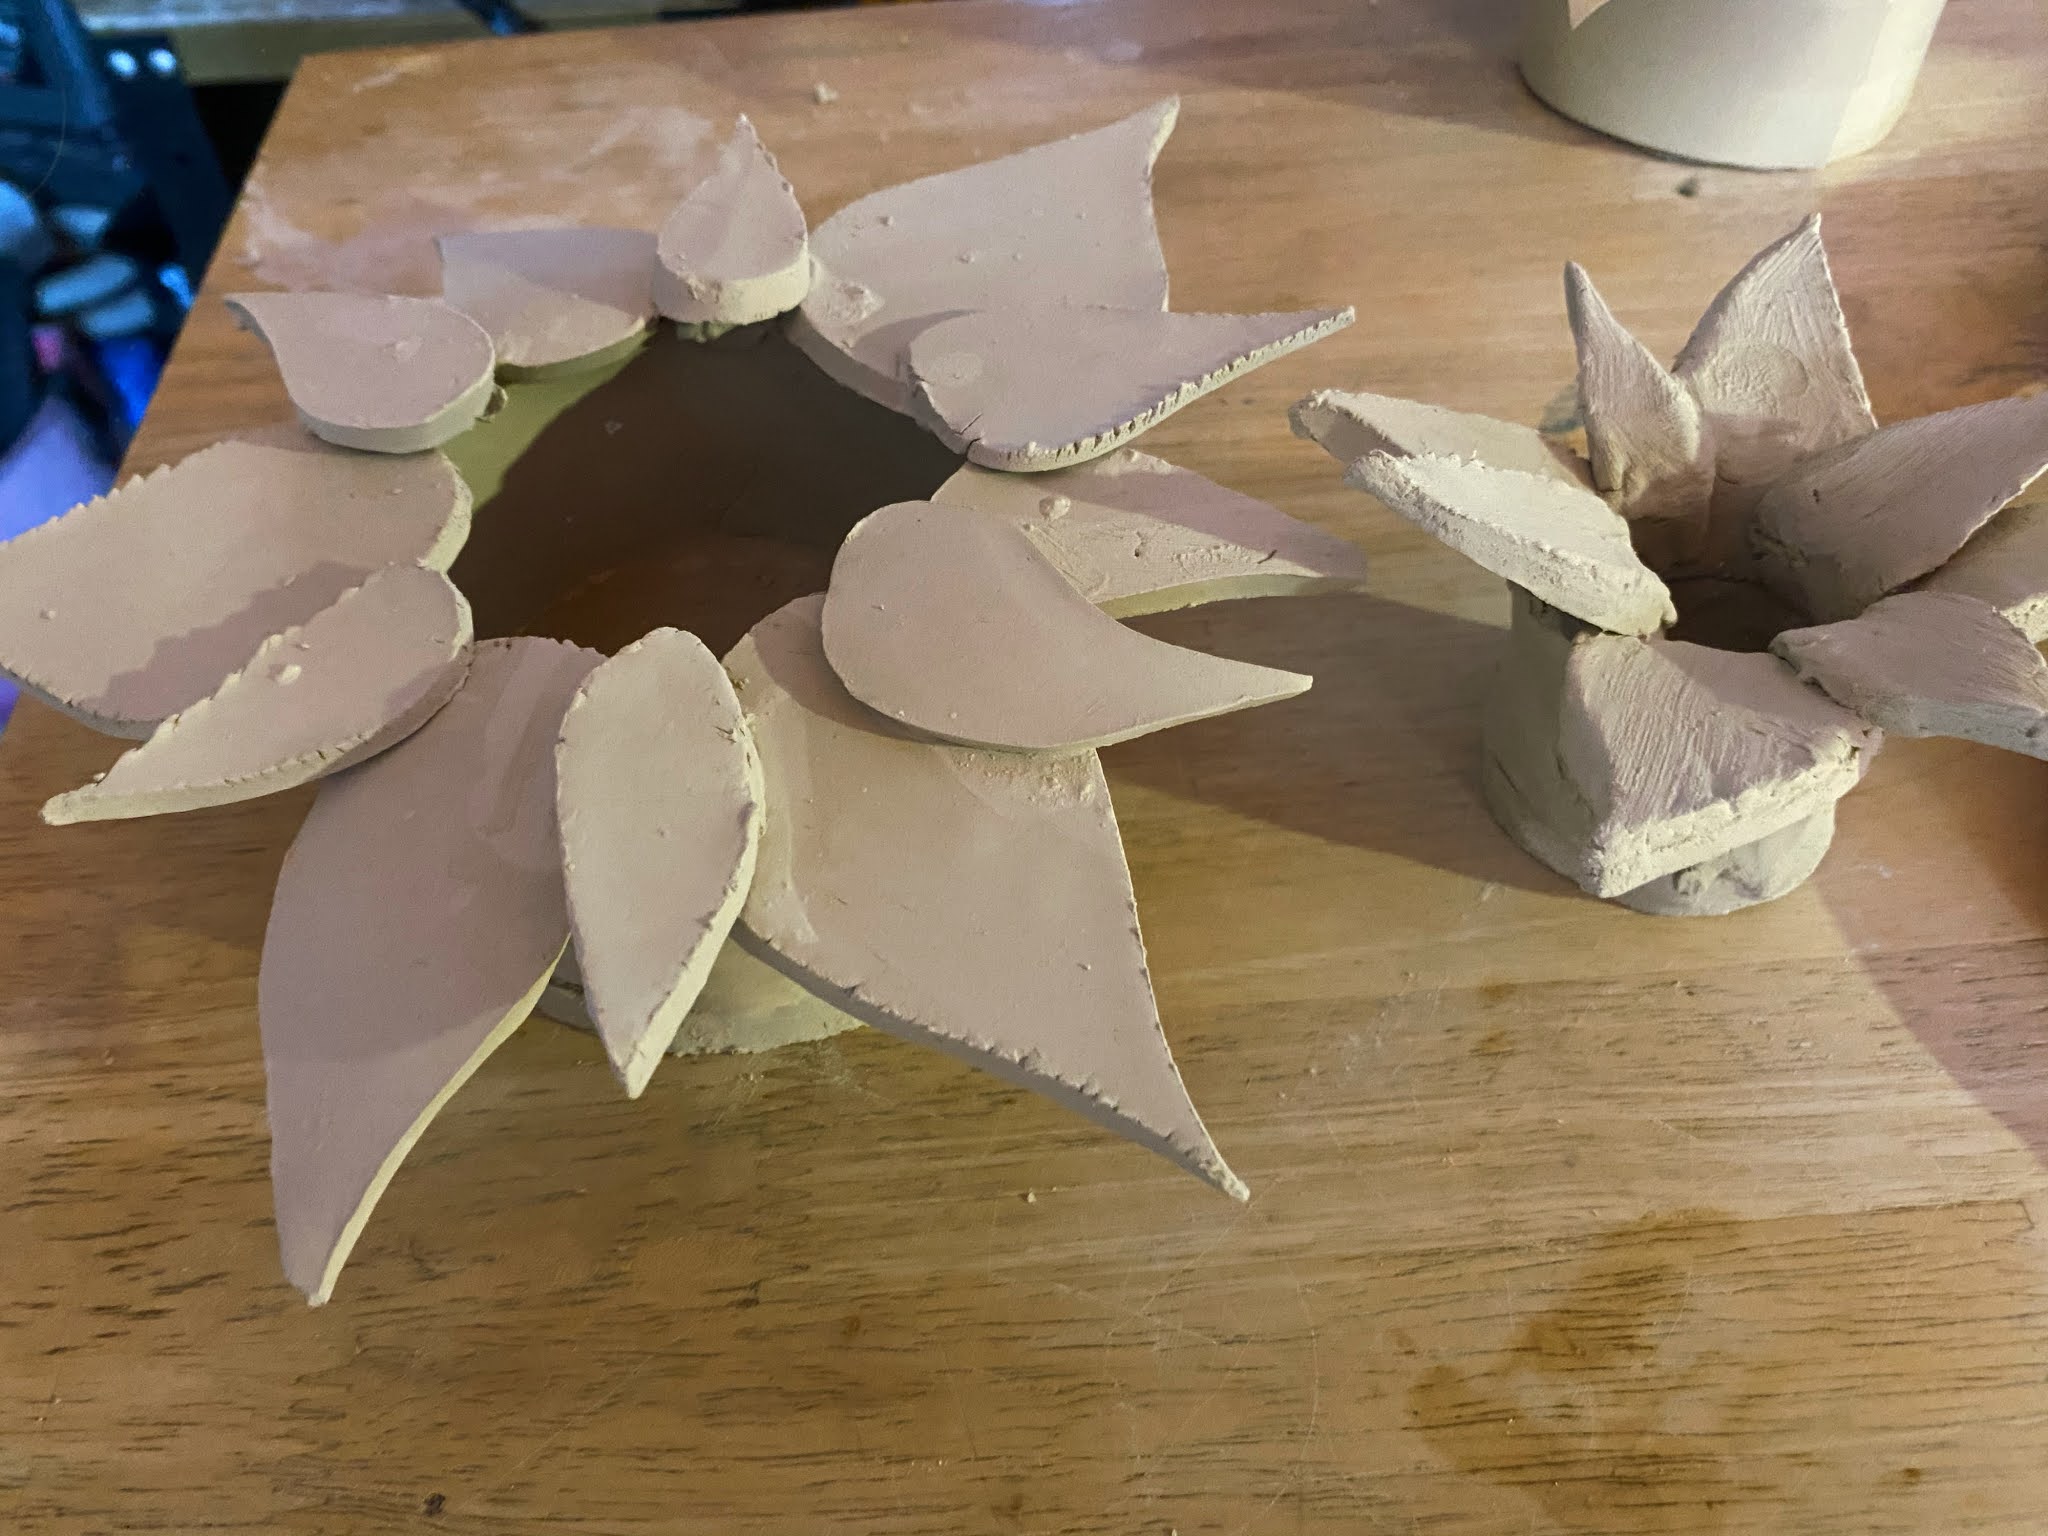
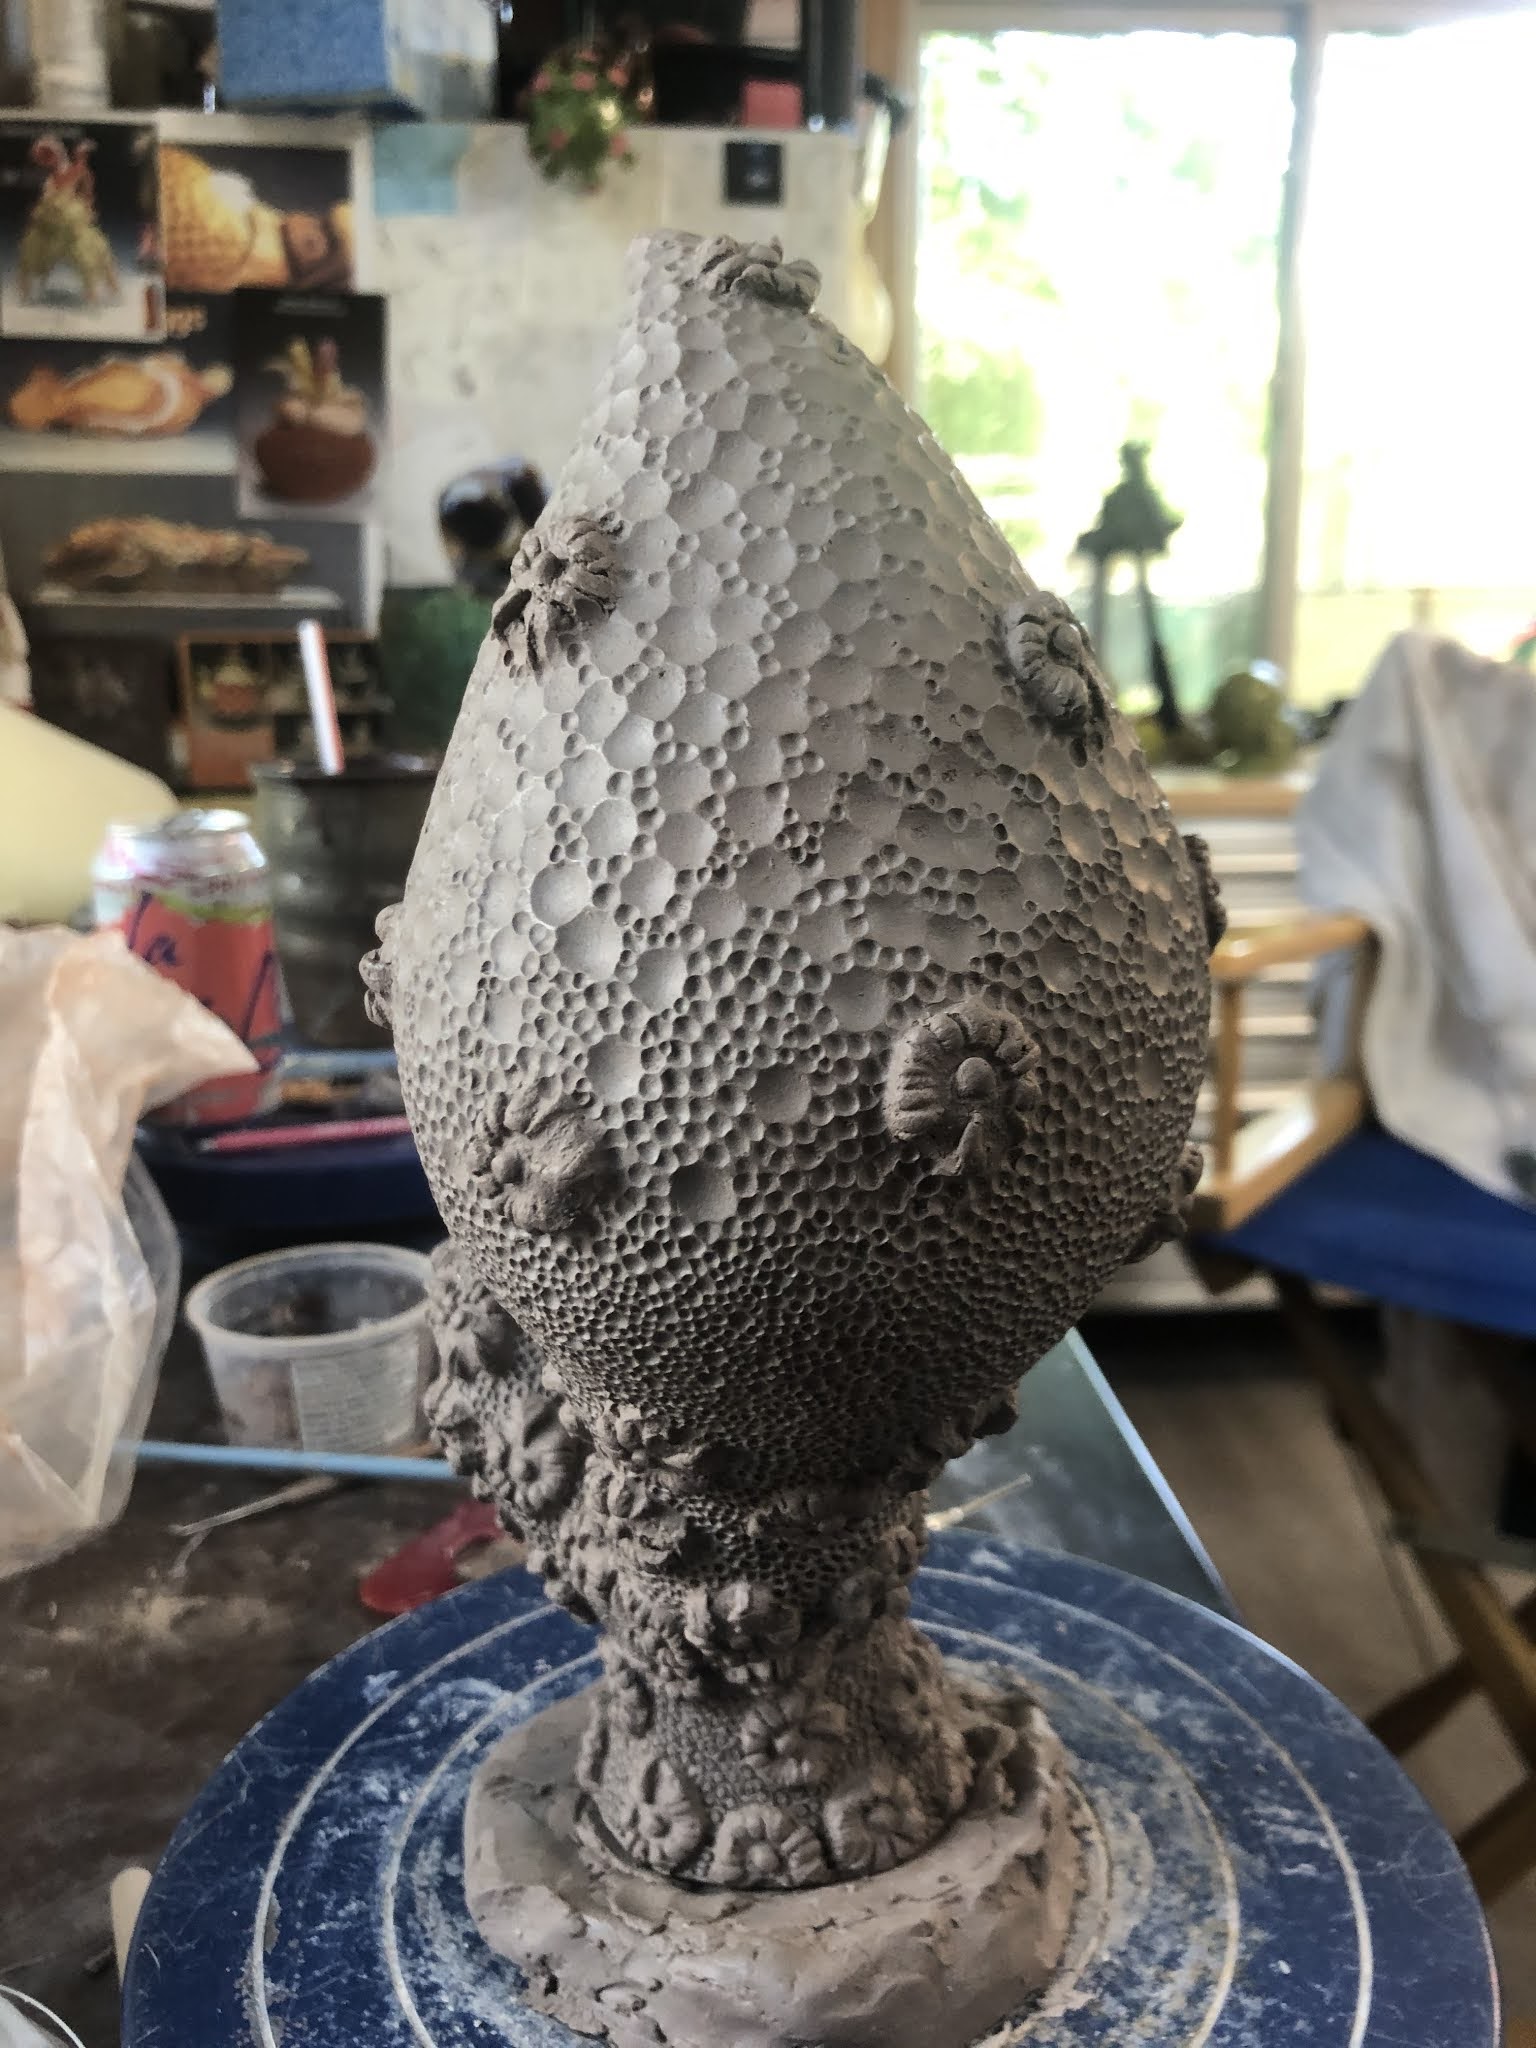
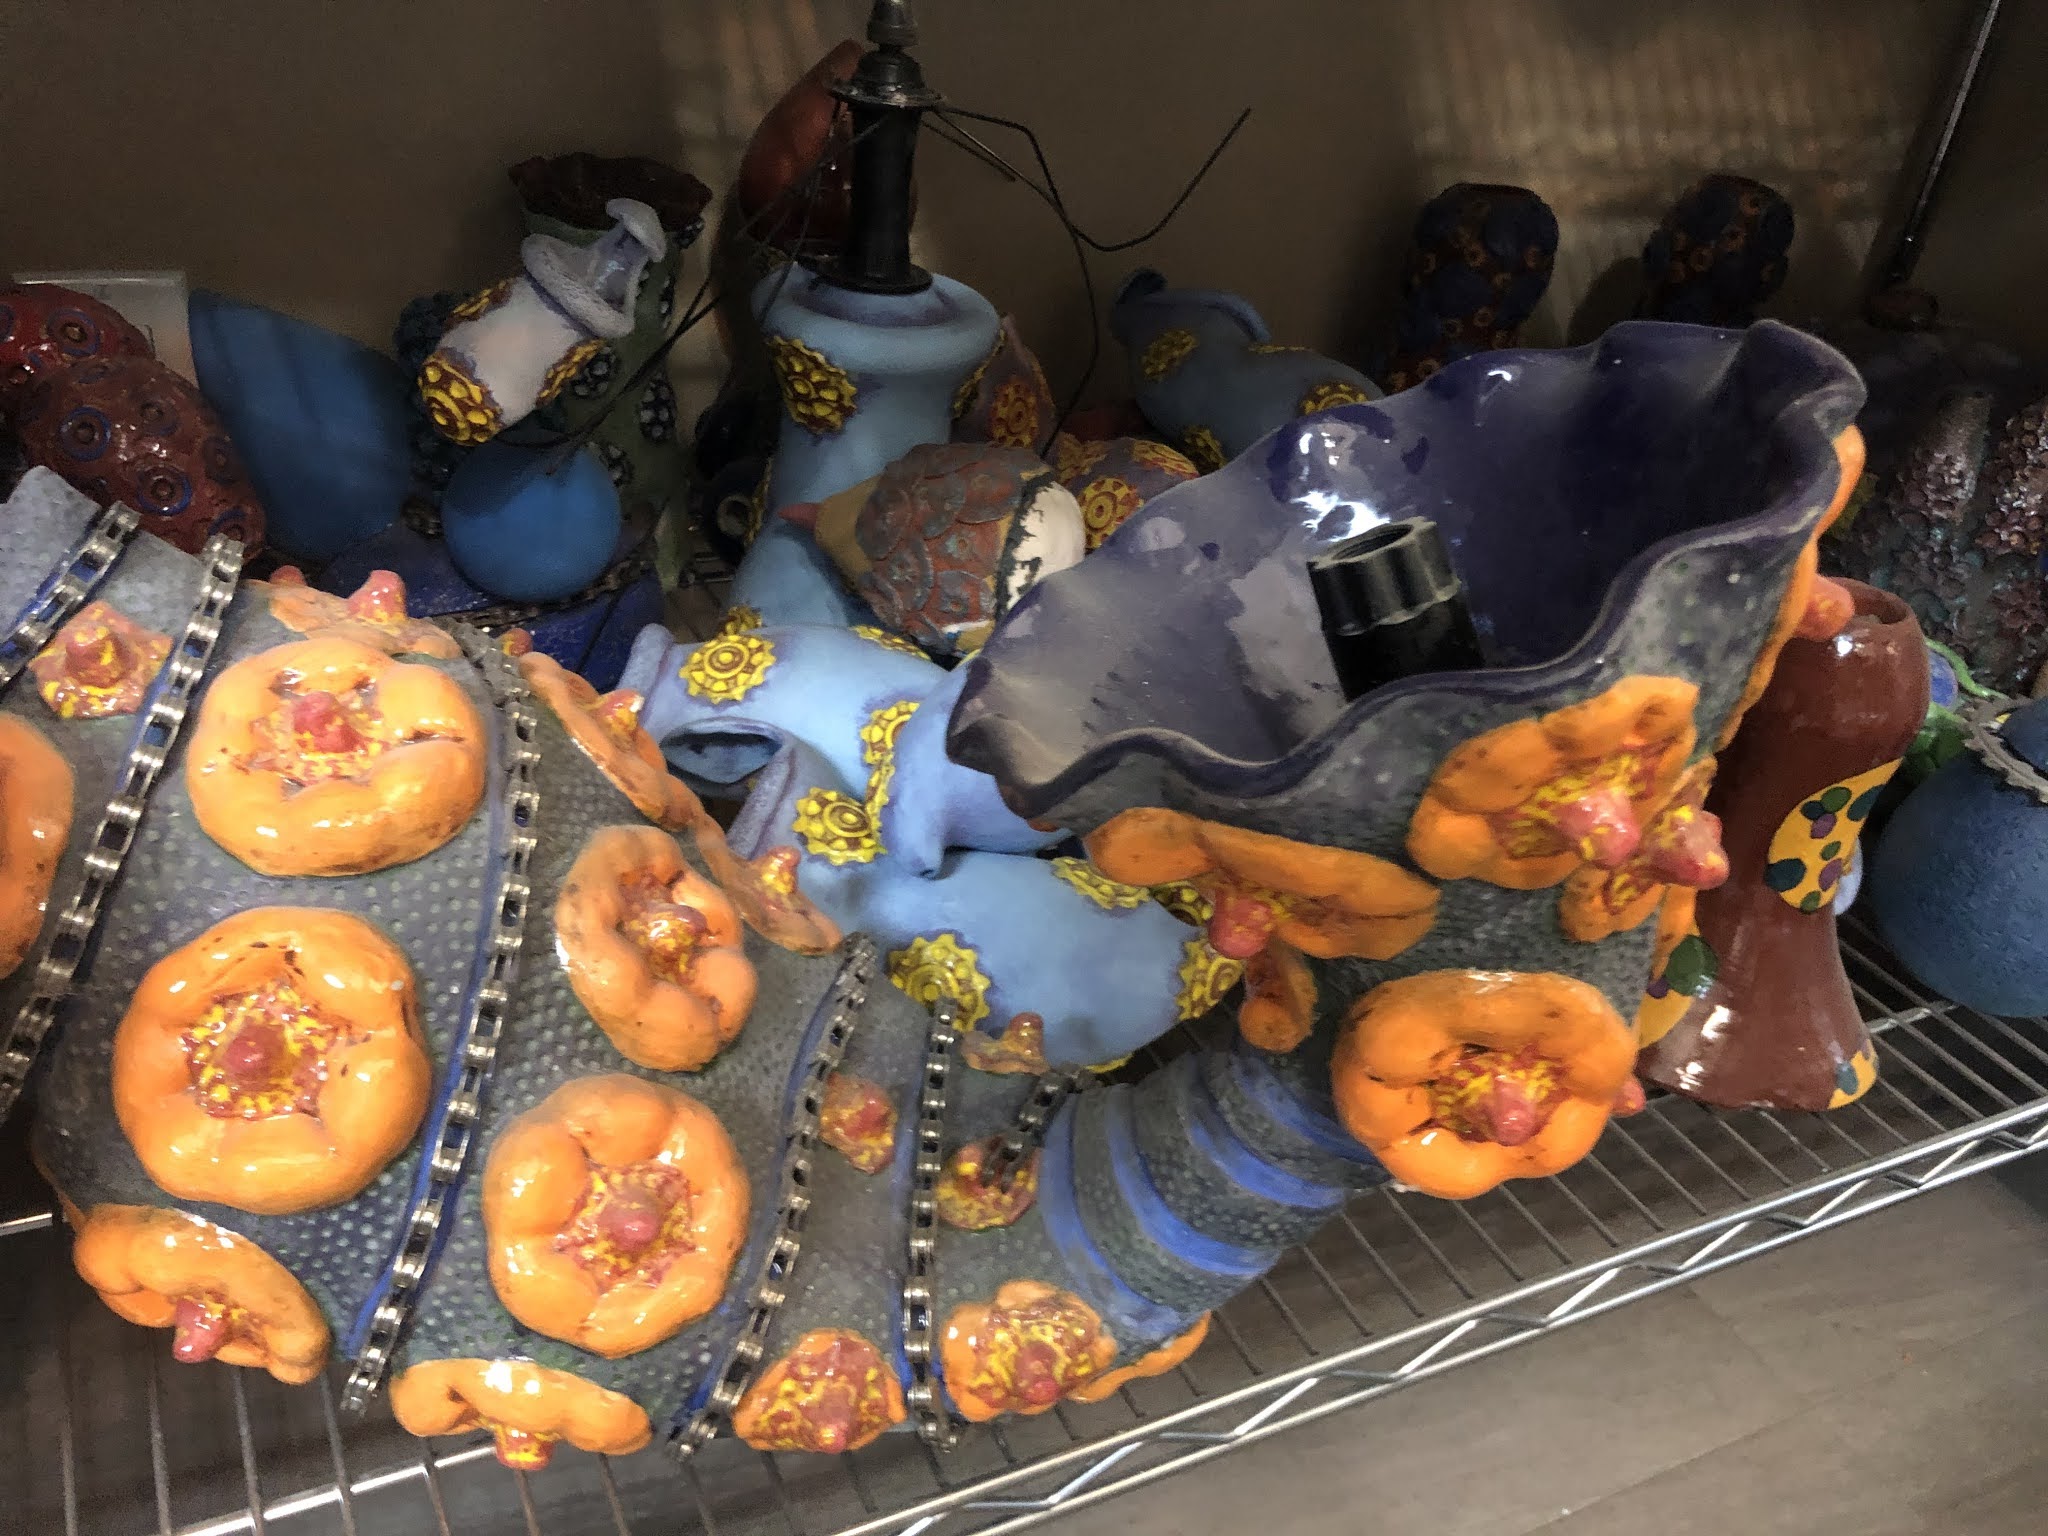
The second project in my spring
online hand-building class asked student to build with slabs. This project came second in spring, because I had
rearranged the order of projects from earlier quarters based on student feedback. All of the images in this post are from students in the Winter and Spring 2021 online Clay 1: Hand-building course. I didn't request permission from students in the fall online clay class to show their work, though they had the same project in their quarter, as well.
 |
Sophia McDougall, Winter 2021. The way the trees are put together and the outline that keeps them in place are interesting and unusual for slab work.
|
In the YVC clay studio, we can roll or create slabs in a number of different ways, but the most popular method is using the
slab roller, a large set of rollers built into a table. The thickness of the slabs can be increased or decreased by adjusting the space between the rollers. The slab roller is a great was to quickly and easily produce slabs of consistent thickness. The main disadvantage of the slab roller in our studio is that there is only one, so students must take turns.
 |
Ryann-Elizabeth Fridley, Spring 2021. This set of three stacking forms work together nicely and have an interesting added rock texture on the front that further brings them together.
|
Students can also roll slabs with a rolling pin, use the
"pizza" method of slapping the slab on the table, or they can
use a wire (with or without a guide) to cut a small slab from a block of clay. For the online class, where students would be rolling slabs at home, I cut lengths of PVC pipe and sheets of canvas they could use for rolling their slabs.
 |
| PVC pipe rolling pins cut for class and awaiting deburring. |
Each students in the online class picked up a
studio kit at the start of the quarter. Each studio kit included a bag of clay, some carving and decorating tools, a lidded cup for slip, plastic dry cleaner bags (for covering their work in progress), a length of PVC pipe, and one long or two smaller pieces of canvas. In the winter and spring, I included some
homemade stamps,
sprigs, and texture rollers and students also were able to choose either a glaze kit (with glazes and brush) or an additional set of decorating and carving tools.
 |
| I associate deburring with cold fingers, probably because I did most of it in the garage in December and early March. |
All three quarters students were able to choose whether they wanted to glaze their work or not. Students were able to come back to campus for firing if they chose, and students who used up the first bag of clay were able to pick up a second. In Spring I gave students the opportunity to pick up two bags of clay at the start so they could limit their trips to campus.
 |
| Partially filled studio kits in the YVC clay studio. |
The kits took a fairly good bit of preparation. Luckilly our Program Assistant was able to order and set up with kits with the help of some student workers. She also was able to distribute the kits in the first week of the quarter so that I could focus on teaching. I made a number of the items for the kit, including the stamps, sprigs, and texture rollers. One can buy each of these, but it's really not a great deal of work to make 16 copies of the same sprigs or texture rollers.
 |
Lizbeth Cardenas, Spring 2021. I believe the texture on this little box was created with a texture roller, though the scale is hard to tell from a photo.
|
I also cut the canvas and the PVC pipes. Deburring the PVC pipes was kind of annoying, but the worst task was cutting the canvas. I used a pinking shears to make an edge that was less likely to unravel, and the first time it hurt my hand. In December and March, I took breaks in cutting so that I didn't hurt myself.
 |
| Washed canvas drying in my home studio. In Fall we cut up some of canvas from the classroom for students. In Winter and Spring we bought new. |
The PVC was only used for slab rolling and the Canvas was primarily useful for slab rolling, so students were anxious to roll slabs. In the fall and winter quarters, when I had the slab project later in the quarter, students indicated they were anxious to jump ahead, so I moved the project for spring.
 |
Jayleigh Butler, Winter 2021. This heart shaped box is an interesting form, but I especially like the addition of the removable swing to the tree.
|
In an on-campus class, I usually have the students split into groups so that some students start with slabs while others start with coils, the extruder, the 3D printer or other projects. This eases the backups and waiting to use equipment like the slab roller, extruder, and printer. Online the split would have been confusing and wouldn't have helped anyone.
 |
Jayleigh Butler, Winter 2021. There were two challenges here. One is keeeping the drawer straight inside the heart shaped box. And, unfortunately, the base of this tree is solid, meaning it couldn't be fired (too thick = wet = explosion in the kiln).
|
Usually some students like slab building and others like it less. I figure it's a bit like working with wood vs clay. With slabs, as with wood, it is important to measure correctly, whereas with coils and pinch methods, it is easier to just add a bit of clay if you didn't get the size right from the start. For that reason I'm less of a fan of slab building myself. I like to be able to revise on the fly and I don't really enjoy measuring and planning precisely.
 |
Ashley Lawson, Spring 2021. Follow the link to Ashley's Instagram! This box is more complicated than it might initially appear because of the curved walls. When Ashley original showed me her model, I was able to point out that she had created multiple box shapes. Though they joined together, the forms themselves needed to be other than boxes or cylinders.
|
I encourage or require students to create paper models of their projects before they roll and cut the slabs. The paper models can be made and altered fairly quickly and students can then use the paper as templates for cutting slabs of the correct sized and shape. Complex forms, especially those that don't have straight walls can really benefit from being explored in paper before being attempted in clay.
 |
| Ashley Lawson, Spring 2021. The curved walls here were a challenge to create, and made for a much more interesting form than straight ones. They also addded a bit of challenge in getting the drawer, dividers, and lid to fit correctly. |
Something I didn't anticipate was how much of a challenge students would find in simply rolling the slabs. Several students talked about how physically challenging it was to use the PVC to roll slabs. Rolling slabs, as you might imagine, is a bit like rolling out cookie dough, but the clay is usually stiffer than dough. I recommend students use the PVC like a paddle to flatten the slab down before rolling it. They can also slam it on the floor, using gravity to help flatten it a bit before rolling. Slamming and hitting the clay are noisy activities that work well in a large studio with sturdy tables and lots of space, but might be problematic at home in makeshift studios with families and roomates nearby (or even trying to sleep).
 |
Student Example, Winter 2021. This set of stacking cylinders with nesting organic forms looks best from above. The side view is also interesting, but it worries me that it might tip over.
|
The slab project stayed pretty similar during all three quarters and is also pretty similar to projects done in the classroom. In winter and spring, students first made a box and a cylinder, simple shapes to practice working with slabs. They then made a paper model of their project which was to have a lid, drawer, or other stacking or hanging mechanism. Thy were asked to include three pieces, each built from slabs, and each piece was to be more than a simple cylinder or box (which we had already done). I also encouraged students to add varied textures to the surfaces of their pieces.
 |
Student Example, Winter 2021. The top view of this same piece, taken when the pieces were a bit wetter, shows how well the student has considered the visual and physical relationships between the four different parts.
|
One of the things that isn't yet working quite how I'd like it to in the online classes is the timing of different steps in the process and the incorporation of feedback. In on-campus Handbuilding and Intro to Clay classes, students have a introductory assignment on the second day of class that involves groups working together to prepare slabs, extrusions, and collect tools and materials. The come to class having watched one of two sets of intro videos. Once class starts, each group has some specific tasks (like rolling slabs). By the halfway point in the class, each student has the materials they need to build a mug with a slab base, extruded walls, and an extruded handle.
 |
Harrah Hanson, Spring 2021. This wedding cake set is a fascinating concept and really thoughtful. The front and back of different tiers tell an uexpectedly unhappy story about wedded bliss.
|
The group mug making is a quick one-day activity that results in at least 1/4 of the class having hands-on practice with the slab roller, while others have hands-on practice with other studio tools or skills. For the rest of the quarter, students are divided differently into four groups so that one student in each group has experience with the slab roller, one in each group has experience with the large extruder, another has wedged the clay and found tools in the studio, and the fourth has collecting slip and extruded handles.
 |
Harrah Hanson, Spring 2021. My favorite part of this piece is the window with bars in the back of the bottom tier. But unfortuantely, the form is a series of simple cylinders. The surface and story is more complex than the form itself.
|
This second day project on campus means that students in each group can help each other throughout the quarter. Essentially I train the students to be experts in one thing from the beginning so that they can help the rest of their group find stuff, use tools, and prepare clay when it is their turn to do each of these things. The divided projects also mean that students can help each other across the groups. This especially happens with complicated tools or techniques like the
3D printer for clay.
 |
Kristin Benjamin, Winter 2021. This slab butterfly is a good example of forms that visually work together but are physically separate.
|
Online, unfortunately, I haven't figured out how to empower students to help each other in a comparable way. I also haven't figured out how to get students to do the practice and preparation early and then immediately follow up by starting the project. Some students certainly do this, but others linger over or delay the preparation assignment, leaving themselves less time to do the project (which should be what occupies them for the bulk of the two week project). The projects aren't designed to be done in just a day, but it is difficult and confusing to require starting times when the work is asychronous.
 |
Jazlyn, Winter 2021. Follow the link to Jazlyn's Instagram! To understand this piece, you need to know that what we're looking at is two different pieces stacked together.
|
Feedback and students' use of the feedback is also still a work in progress for the online class. On campus, I'm looking over their shoulders almost constantly during class and sometimes outside of class time, too, as they do the bulk of their "homework" in the studio. This means I can catch them before something collapses and help them with repairs. I can point out a simple simple tip (like using a chamois to smooth rough edges) before the clay dries too much or before slabs are attached together. It also means that I can push them to challenge themselves a bit more and point out ways in which they might not yet have met the assignment parameters.
 |
| Jazlyn, Winter 2021. Here are the two pieces taken apart. It is now clear that we have two containers, not one sculpture. If I saw this piece in progress, I might have suggested bend some of the petals, like we see on the right, using a chamois on the edges, or adding some texture to some of the petals. |
One of the real challenges to communicate in this online project was how to make a form more complex or simply different from a box or cylinder. I realized in May that the word "form" might be tripping them up, so I plan to spend more time on the word next time I teach this class. When I say "form", I mean the three-dimensional physical nature of the whole. You might say shape, but shape means flat or two dimensional. A form is a cube, sphere or cone, whereas a shape is a square, circle, or triangle.
 |
Mia Bautista, Spring 2021. This is a great example of a simple form that is not a box or cylinder. Mia didn't overthink the form, but still challenged herself to do something we hadn't already made. She was also able to incorporate some varied textures.
|
When I say that I want the form to be more than a box or a clylinder, I am looking for a cone or pyramid, a 3D triangle, or an organic shape made in three dimensions. There are two many options to name and we can see several of those options explored by students in this post. What I don't want is a simple square or rectangle as the top, bottom, and sides of the object. Either this is easier to communicate in person, or I am able to have a conversation with students earlier in their progress and shift them into a more challenging form. Online, I saw a lot of boxes or cylinders submitted as part or all of this project. Some were made more complex or had more complex elements added, but a number of these students did not appear to understand what I was after.
 |
Mia Bautista, Spring 2021. The parts of this lidded cake come apart to create a box, but the middle slab might appear to be an afterthought. This triangular slab doesn't show up in the first picture and is much wetter than the rest, indicating it was probably made later.
|
Another challenge in this project was the definition of building with slabs as opposed to stacking slabs. This is always a challenge for a few students even when we are together on-campus. I want students to join slabs to create three-dimensonal forms, but some students insist on stacking slabs one on top of the other to create essentially flat objects. I tend to think of this as evidencing a general comfort with 2-dimensional rather than 3-dimensional media and forms. Other students drape slabs to create shallow bowls or plates, then set them on top of one another to create a stacking set. Both ways of working with slabs are fine on their own, but don't really qualify as building with slabs for this project. They don't demonstrate that students know how to create strong seams and stable forms.
 |
| Student Example, Spring 2021. This is a lovely example of both texture and visual relationships between forms, unfortuantely we don't see any building here. |
A similar issue comes up with lids. A lid that is simply a slab set on top of the box or structure is more fragile, less stable, more likely to fall or slide off. A slab alone does not show either an understanding of slab building techniques or a well-planned and constructed fit between parts, which are both important goals of the project. Though students sometimes have these issues with slab projects on campus, if they are attending class regularly, they usually are redirected by me or by classmates before the end of the project work time.
 |
| Student Example, back, Spring 2021. The back of the picture frames above shows that the student has considered how the pictures will be inserted. |
There is so much that happens in the classroom, from seeing each other working, seeing each other's pieces at the beginning, middle, and end, talking with both the teacher and classmates about techniques and ideas and also simply overhearing what others are discussing. If I tell one student at a table that their lid needs to have a flange, I can assume that information has also been heard by the 3 other students at that table, and possibly by students at the next table. It's also possible that any of the students who participated in or heard that conversation might explain it to someone who was missing, sitting elsewhere, or not paying attention that day.
 |
Student Example, Spring 2021. These funky pitchers are deceptively simple. The notches mean they stack.
|
In an online class, to receive the same information requires each student to read or watch the same explanation (and encounter it at a time when they understand the project well enough to apply it to their own work). I also meet with students regularly via Zoom, but those meetings can be challenging to schedule and often only involves one student at a time. If we discuss a challenge or a technique or an idea in a one-on-one meeting, that information isn't overheard and that student is less likely to relay the information to classmates who aren't in the same physical space. I haven't found a way to create that space online. As far as I can tell, discussion forums so far haven't fostered the same sense of community and sharing--at least not to the same extent.
 |
Student Example, Spring 2021. The cut-out notches visible in the earlier picture are slots for the handles when the pitchers stack
|
I suppose all this means that the projects that students have made this year are especially impressive. Most of them have been made while the students were isolated from other people who know anything about clay. Students have worked entirely on their own, in makeshift workspaces with limited tools and limited interactions during both the practice and planning stages and during the building stages. They've learned the techniques via video mainly, without being able to feel or handle examples. Their makeshift spaces may be small, temporary (they need to clean up between classes or meals), and unstable. They may be sharing workspace and working time with people or animals who don't respect their space or the fragility of clay and who don't care that they need to spend time on the project. Through all those challenges, what the students above (and the students not pictured) have made is pretty impressive!
Note: All the the work above is shared with permission from the artist. When the work is listed with "Student Example" or just a first name, that anonymity is at the student's request. Not all students in Winter and Spring chose to give me permission to show their work. I neglected to ask permission of Fall students.