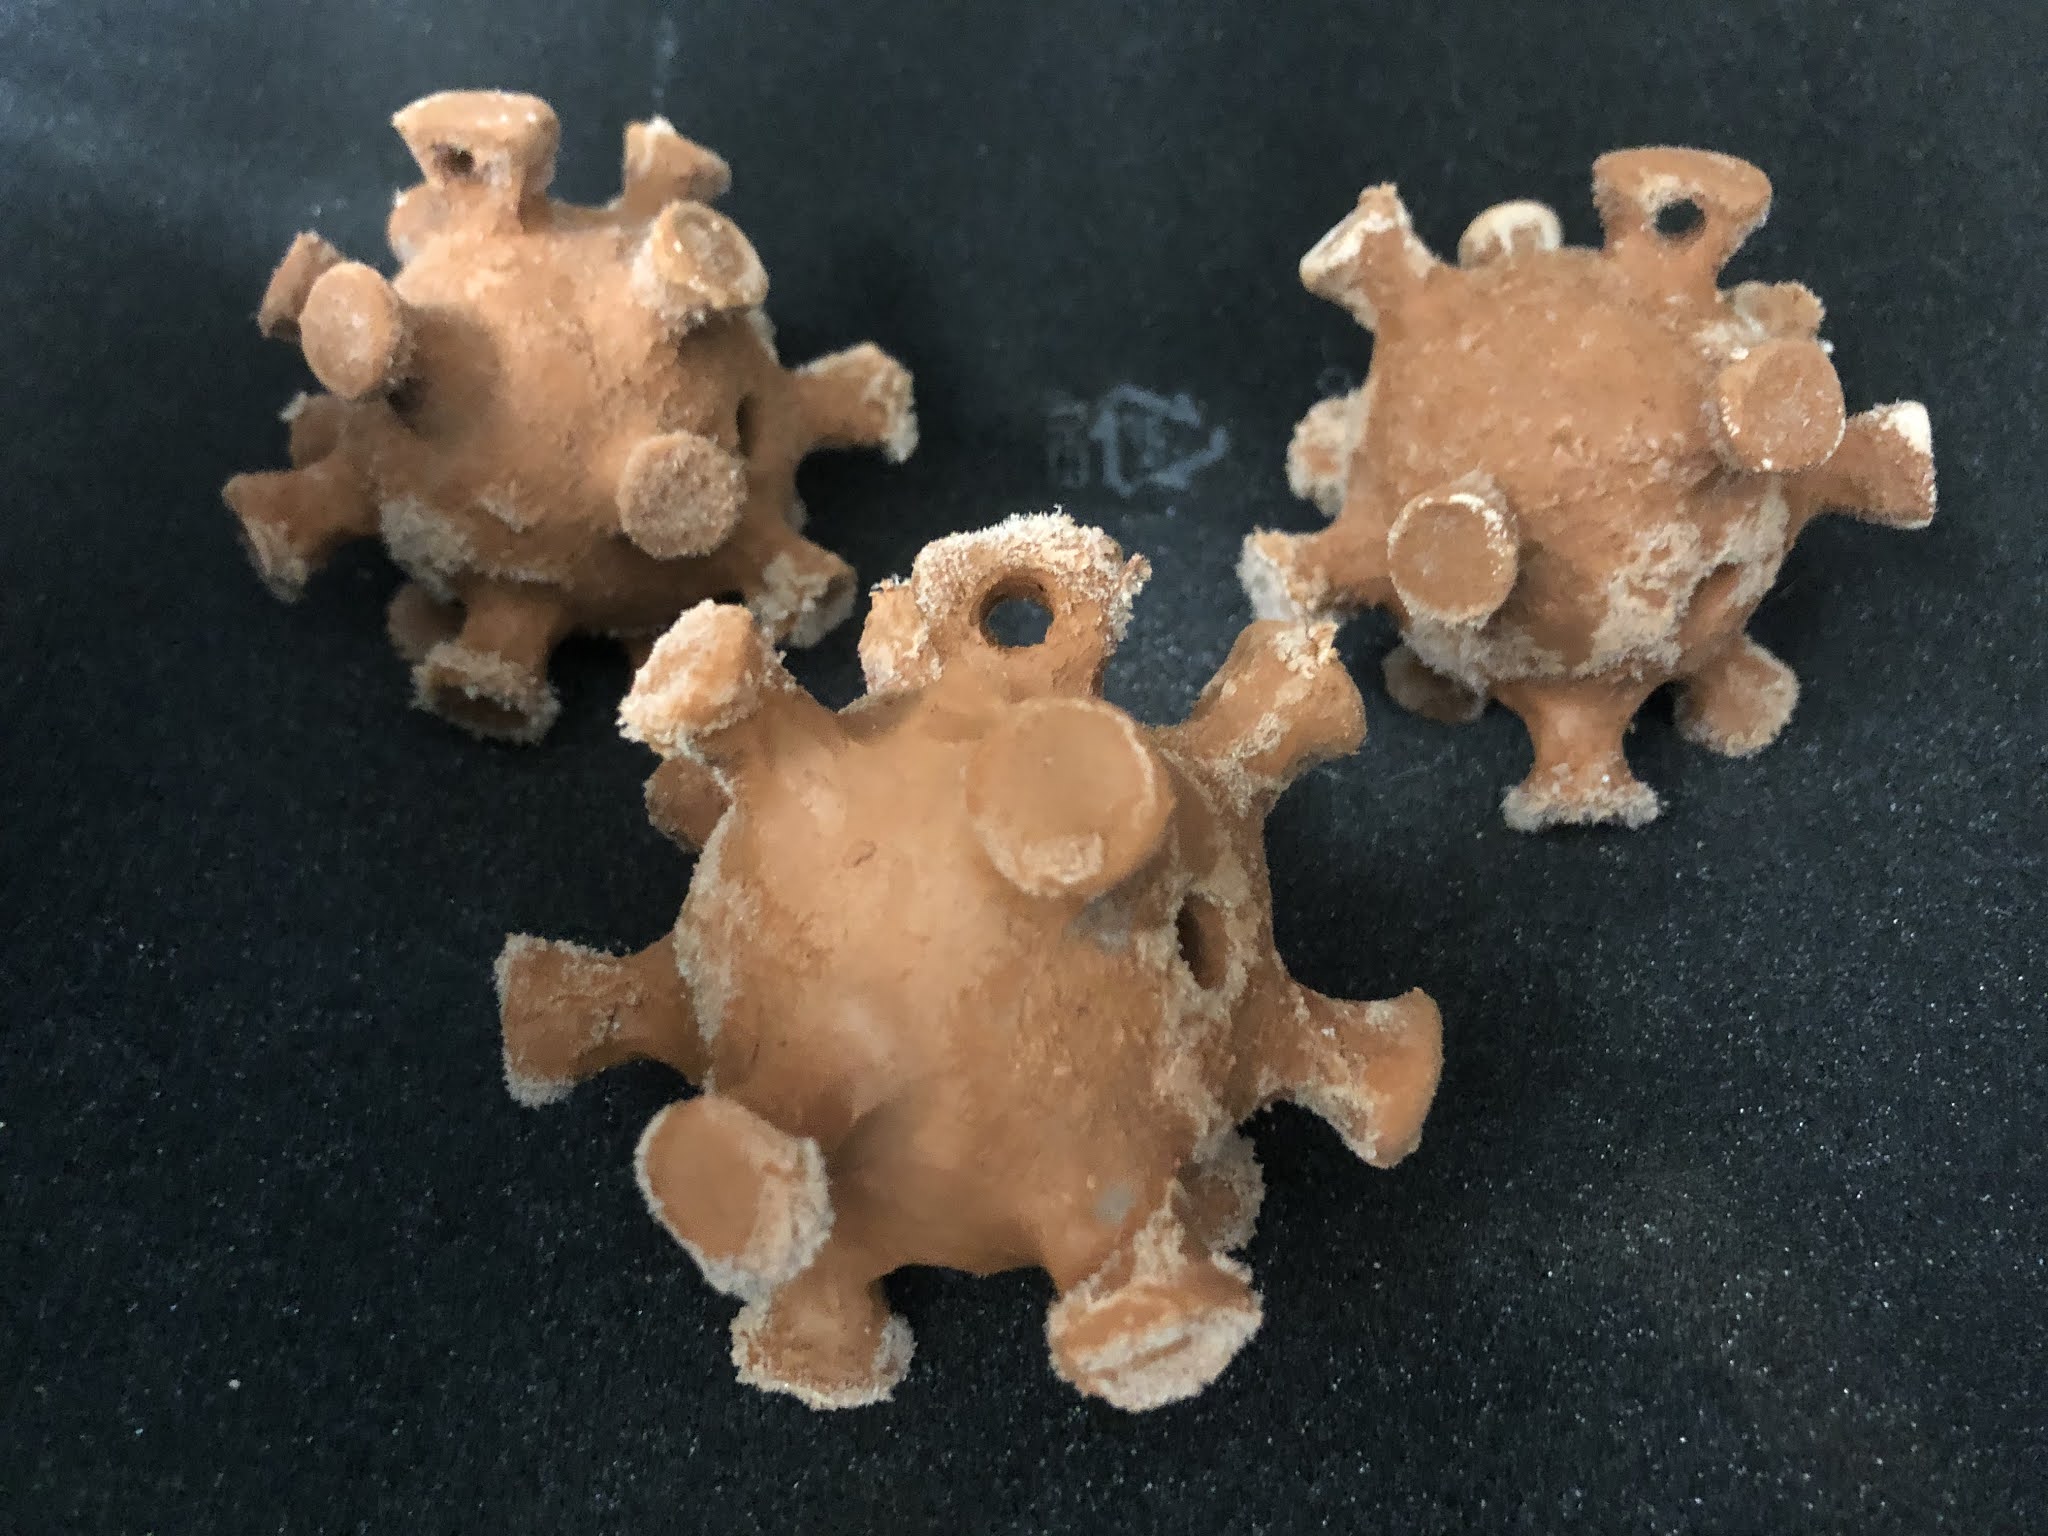
Martianware Covid balls the day after they were made
If you're a fan of space exploration, the most recent Mars rover, or clay, you might have heard that Seattle Pottery has made and is selling "Martianware" clay, a clay based on the chemical composition of soil on Mars. The idea is that if Mars had clay, this is what it would be like. Or maybe the idea is that people doing pottery think this would be amusing.
A freshly made Covid ball next to ones made yesterday.
As a potter, I found this amusing. If only to delight the 12-year old version of me, I bought some of this clay to play with. The wet color and even the texture does remind me of the surface of Mars that I made in elementary school for a science fair, though that was made of plaster and paint, I believe (and later was turned into a toy golf course after it sat in the basement for a while).
A freshly press molded bulb after being smoothed with a rib.
The clay is a low-fire, self-glazing clay, a bit like Egyptian faience. The materials in the clay include soluble salts inside the clay body. These salts react during the firing to form a glaze without needing to add glaze to the surface of the clay. This is similar to salt firing, where salt is added to the kiln during the firing. The salt adheres to and reacts with the surface of the clay, creating a slightly bumpy glazed surface.
A bit of salt inside the raw clay
The clay feels very strange to work with. I only bought a small amount and this weekend I made some of my Covid balls shapes with it, as well as a couple of press-molded bulb forms. The clay is stiff and tends to want to crack, though it can be smoothed. It's work-able, but certainly not the most pleasant clay I've used. As I was cutting into my small block of clay, I encoutered several fairly large chunks of salt inside the clay block. I assume these pieces of crystalized salt had developed between when the clay was mixed and when I worked this it. I was easily able to crush the pieces, but they were large enough that I jsut removed them from the clay I was building with.
A press molded bulb resisting removal from the mold
It was fairly easy to build the hollow forms, but the clay did not want to be press-molded. Usually I can press clay into my plaster mold, leave it for 20 minutes and it just pops out. Though this clay already felt drier than usual when I put it in the mold, I couldn't get it out of the mold until the next day. After I tried it, I started wondering whether the salt of this clay was actually bad for the plaster of the mold.
Thrown saggars for firing
I'm also slightly concerned about the elements in my kiln. Salt firing is only done in hard brick kilns fired by gas or wood because the firing process destroys electric elements and the soft bricks of most electric kilns. In fact, firing a non-salt firing in a kiln normally used for salt firing may yeild strange results, as the bricks themselves contain residual salt. For this reason, I also threw some containers to use as saggars, ceramic boxes to contain the clay. Firing the pieces in saggars should protect the kiln from the worst of the salt, but I think I'll double check Seattle Pottery's recommendations before firing, regardless.
Martianware Covid balls drying
The immediate change in the clay is interesting. I made some of the pieces last night and already this morning they've developed a salty fur over their surfaces. The salt is growing on the surface of the clay. It looks a bit like mold, but feels brittle and crumbly.
my studio assistant was recently asked not to walk on my wet teacups
As I've gotten into the sudio fairly regularly over the last few weeks, its looking like I'll have a chance to fire fairly soon. Yesterday I mopped and cleaned all the tables, cabinets, bats, and my mixer. It's amazing how good it feels to work in a freshly cleaned studio.
I'm pretty excited about this: I got into the studio a few days over the last few weeks! Incredibly, this is the first time I've gotten to throw with pugged clay (even though I got the pug mill in December!)
extruded mugs made with the pug mill extruder
Over the 8-day spring break (Monday through Tuesday this year), I was able to get into the studio to clean, glaze, and pack some pieces for shipping. The stuff I was glazing included a lot of pieces that I had made for student demos during Winter quarter, as well as some mugs I had made testing out the extruder on my pug mill.
Cone 6 glazed stuff from Winter
Most of the work I made for class demos was done with my recycled pugged clay from home, which I was able to test to check that it can be fired to cone 6. I haven't been using this batch of cone 6 glazes much, especially for layering with sculptures, so I consider these tests of this application approach with these glazes.
low fire glazed sculpture from ??
I also finally glazed this sculpture that's been hanging around for maybe a year. This is a low fire body (at least I think it is). This piece has underglazes on it and has been through at least a couple of firings already. It will be nice to finally finish it. In fact, getting through my whole backlog of unfinished work felt like a nice way to start the break/spring quarter.
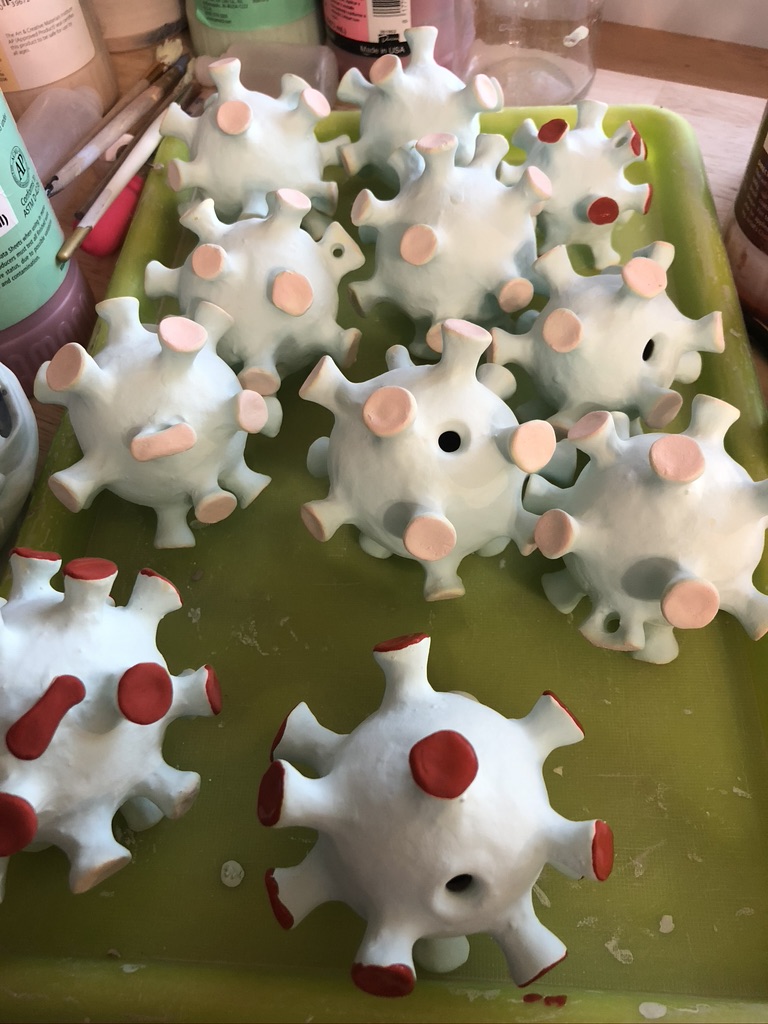
COVID balls from spring break
I also made some new covid bulbs. I wanted to experiment with adding some texture, using some different glazes and trying out slightly different shapes for the bits that stick out. The round attachments are much easier and more pleasant to make, but I tried some triangular shapes to more closely match the familiar COVID image that we're all used to.
thrown mugs (in progress)
I threw a bit this week with my newly pugged clay. It throws really nicely--what a difference from the merely wedged clay--even though it isn't actually a throwing body. I did have to pick out some tiny acorns, which tells you about my inconsistent previous process for clay recycling.
planter and mugs (in progress)
I hadn't thrown in 6 months, since I'm not teaching a wheel class anymore (the wheel doesn't translate to online as well as some other classes and media). This long time of not throwing feels very strange, so it was nice to get back on the wheel, if only in the brief time between class and dinner. I threw a few mugs and a couple of small planters. (Gallery One is having a planter fundraiser and I'm half thinking that I might have these ready for that.)
last summer's COVID mug
The idea for these mugs/planters is to add some COVID-like decoration. I like the mug I made last year, but its fairly fragile (and awkward), so I reduced the depth of both the balls and the attachments. As with any new idea, I think my execution is intermediate right now; I'm not totally happy with what I've got. Next time I throw these, I'll space the bumps a little differently. I'm also considering using the triangle attachments instead of the round, though they aren't quite where I'd like them to be yet.
Detail from the graphic syllabus or course map, showing the carving from solid project. I like the little carved bits that surround both weeks.
This week is spring break. It feels good to take a bit of a real break, though today I spent the day crafting a graphic syllabus or course map for my online clay class--and then writing about it (instead of taking, y'know, a real break).
Set of Boxes carved from solid clay by Kristin Benjamin, Winter 2021
Last year most faculty spent spring break planning how to move everything online for spring. We were sent home for the pandemic on the Friday before finals week. I spent spring break negotiating a COVID MOU to try to account for all the complications of how faculty would move online for the pandemic. I was "lucky" that I'd taught my art history class online before, so I only needed to modify the class to account for the shortened length of the quarter (we traded the first week of the quarter for prep time so that faculty who hadn't been online before could get online). I wasn't able to teach my pottery class online (and haven't taught it since, either).
My new graphic syllabus for online clay (I wonder if this will be the last quarter I need it)
Clay 1: Handbuilding, Online
I have been teaching my hand-building class online since fall. That's the class I begged to teach in September and then got sudden permission about a week before the start of that quarter. The fall class went ok, especially considering how quickly I moved it online and how little time students had to sign up. Looking back at the work, it looks better than I remembered it did at the time (I think I was really focused on what I wasn't able to do online, rather than what was going well).
Detail of the graphic syllabus, showing the studio kit and glazes students will get at the start of the quarter
In winter quarter I made some changes and improvements and the class felt a lot smoother. It went well enough that I felt comfortable polling my students at the end of the quarter to get their feedback on a number of issues (I didn't want to poll my fall students because I knew there was a laundry list of changes that needed to be made). One thing that suprised me (but that I think was good advice) was their understanding of how the order of projects could change so that parts could build on each other in a more useful way. I had essentially arranged the order based on easiest to hardest, with adjustments to allow time for drying. Today I spend most of the day moving projects around so that things show up in different order next quarter.
The real studio kits, as they were getting put together in the studio (I don't have to do all the work, Gina, our awesome Project Assistant for Humanities orders, collects, divides, and distributes all the kits for art and music).
New Project: Carving from Solid
Last quarter I had them start with pinch pots, then move on to a new solid carving project that I hadn't done before. It worked really well and I'm definitely keeping it. I'd literally never done this project before I recorded the demo videos, so it was delightful that it worked so well the first time around. I got the idea from some articles I found in a couple of old Ceramics Monthly magazines (featuring the work of Elena Renker and Zak Spates) and thought it would work well for students working from home.
Some of the tools for the studio kits, including 16 PVC pipes I cut for rolling pins
It did work well. I shared the articles with them, but I also created my own improvisation, in creating segmented forms, and recorded video demos of some, but not all of the techniques. All the carved forms worked really well, but especially the segmented forms and boxes. I also had students facet or flute the surfaces and the results added some nice visual variety. It's often challenging to get the students to carve deeply, so these results were nice to see.
One of my segmented example pieces
At the end of the quarter, the students pointed out that at week 3, when they started the carving project, they didn't really know much about how lids work or how to apply textures. I think some were intimidated by the project at first, too. In week 7 and 8 last quarter, I had a slab project in which they experimented with a bunch of textures and I showed them (more clearly) how to make lids. So for this quarter I moved the slabs before the carving project. I also anticipate that slabs will seem less intimidating (at first).
Carved Segmented Box by Sophia McDougall, Winter 2021
The project that the most people had trouble with was coils, which really surprised me. I always think of coils as being the easiest project and I figured it would translate most easily to students working from home. What I think happened, however, is that my confidence in this project led to fewer demos and less focus on troubleshooting and anticipating problems. Additionally, this project has always been the one that has the most in-class demos (that I don't have replicated online) because the demos feel so easy to me. I'll have to work on this for next time.
Glaze kits ready for pickup
Final Project: Two Tracks
Another adjustment I made this quarter was to create two options for the last project. In fall, all students researched and then made a site-specific installation. My motivation was that students wouldn't need to fire this work and it could be a fun way to sculpt with clay without any plan of keeping the work. I also thought we could take advantage of the fact that the clay might change with weather if it was left outside, and we could document that change.
A solid chunk of wet clay I left outside in the snow during freezing temperatures to see how the clay would look after freezing (it isn't a good idea to let your clay freeze)
As it turned out, when I experimented with trying to make stuff change by leaving it outside in the snow, the change is pretty subtle if there's not a lot of snow, or if the work isn't thick and wet.
A leatherhard clay tube I left outside in the snow showed basically no changes from the top
The students in the fall maybe didn't fully understand the project--or maybe they were just wiped out at the end of the quarter. One complaint was from a student who thought the work needed to be outside, though one of my examples was an indoor installation. This quarter I added some FAQs to this project, but I also added an alternate "track" that students could do instead.
Cover of the Nicole Seisler's book
The alternate track is to create two stop motion animation videos. I got this idea from Nicole Seisler's "Recipes for Conceptual Clay in the Time of COVID-19." This little "recipe" book actually had several projects that I thought about borrowing elements from, but the stop motion animation idea seemed like a good fit for the time frame and expectations for this class. I also just though it would be fun to see what they came up with. I guessed that some students would have a lot of fun making the animations, and that they could do this project even if they were running out of clay.
However, I also guessed that some students would balk at the idea of learning yet more technology. I had the students download an app to do the animation, and the app was pretty easy to use, but I didn't want to pile on more tech for a hands-on clay class, so I left students the option to do the installation instead. I myself never figured out how to do some of the things the students did with the videos (like add sound). One student's feedback was that they didn't think there were enough videos demonstrating how to use the different features on the app (Yeah, that's because I had no idea how to use them and was letting the students figure it out).
As expected, the students who did them seemed to enjoy doing the videos and others did the site-specific installations. Happily, winter students did well with the site-specific installations. I enjoyed having the two options, though I suspect it might be a little strange to students to have to decide which path to choose before they really begin. Next quarter they'll be able to see more examples from the start.
Site-specific installation view of clay apples in an orchard by Nevaeh, Winter 2021. Nevaeh set up the work in two different installation arrangements, which was a nice variety.
Detail of a site-specific installation by Jayleigh Butler, Winter 2021. Jayleigh's installation had many complex little sculptures (not all fingers) coming out of all these plant pots, it was great fun!
Graphic Syllabus
The graphic syllabus I made today is meant to help the students visualize the organization of the class. The idea is that they'll be able to see how each project is organized into 2 one-week segments and they'll also be able to see the kinds of projects that fit in each project. I found illustrating the stop-motion animation for track 2 of Project 5 really difficult. I also now realize that I didn't actually identify these projects in the drawings.
detail of my graphic syllabus, showing the two tracks that students can choose from for Project 5
Even though this one page has eaten up my entire day, I had fun making the graphics. I particularly like the little clay figures I've put all around, since most of them are either my class examples or things students made last quarter. Though in week 8, when students will be making artwork inspired by an artist, the drawings are meant to reference Magdalene Odundo, George Rodriguez, Jomon pottery from Japan, and Moche pottery from Peru.
The course map again
I like this graphic syllabus enough (and I'm also a verbose enough instructor--I mean obviously, I'm writing a blog about creating a drawing), that I created an intereactive version that gives more explanation for each part of the graphic syllabus. It doesn't look like the embedded version will work, so here's the link: Interactive Course Map for ART 202 Online.
In January I posted some Covid balls I made for New Year's gifts. A few friends requested their own, and I got right on making them (really! I sculpted the covids within a week or two), but it took me over 2 months to actually fire them.
Covid balls partly glazed
I made about a dozen of these guys the second time around but was waiting until I finished some other work to get them fired.
The most recent covid balls, before their strings and directions were attached
As it is wont to do, teaching kept getting in the way of finishing stuff, but I was eventually able to finish glazing some face bulbs from summer and a bunch of odds and ends that I made as demos for classes.
Some face bulbs from last summer
As I was glazing this batch weeks and weeks after making them, I got thinking it would be fun to use some Mt. St. Helen's Ash glaze to add some depth and texture to the ball. (I'd like to add some dimension to the bulbs too, but I made the first batch in a bit of a rush and the second to fulfill orders, so I figure I have room to experiment on the next batch.
Mt. St. Helens Boxes from last spring
The Mt. St. Helen's glaze comes from the set of boxes I made last year for the Mt. St. Helen's 40th Anniversary show at Boxx Gallery. I had some extra glaze leftover from that show. As I underfired it last time and was firing the covids to the same temperature, I figured it would work out ok.
Covid ball with ash glaze
I'm pretty happy with the texture that's been added to the green. But I wish I had mixed the low and higher fire glazes together a bit more like I did in the Mt. St. Helen's boxes, so I might do that next time.
Mt. St. Helens steam vent with ash glaze
Honestly, I forgot that I wanted to try the ash glaze until the last moment. At that point I had already added the red. When I got the ash on the red, I thought, no big deal, I'll see what happens, which means that some of the red parts that have the ash on them look a bit like they have a spill on them.
Covid with ash glaze on red and green
But, to my suprise, no sooner had a posted pictures of the loaded kiln and fired work on social media, than I had sold nearly all of the covids. After I get these shipped or delivered, I'll be able to put the funds to good use: working from home makes me realize how much I miss the small photo booth setup at YVC.
The small photo setup at YVC, a few years ago
At home I have a photo set up, but its really designed for big stuff. The small one at school can stay up all the time and is just the size I need for taking little photos like these (without setting up the table, backdrop, tripods, etc. And now that I'm working in this lovely remodeled home studio, I have space for it, too!
My home photo setup a few years ago
Next week is finals week at YVC. For once I've got my part of the studio kit stuff done (mostly done), I'll be teaching the same online studio classes next quarter. The online clay class, this second time around, went a lot smoother than when I taught it with zero prep time in Fall, so I don't anticipate having to spend spring break remaking it. All that to say, that with just over a week left to go, I'm really excited about getting into my studio during spring break!
This winter I am teaching my Clay 1: Hand-building class entirely online for the second time. In September, I learned I would be teaching the clay class online about 2 weeks before the quarter started, so I scrambled to get ready and pretty much stayed in scramble mode from September to December. This quarter, and over the break, I've been able to revise the class at a more reasonable pace and build on my experience and student feedback from the fall.
Shelf, carved from solid, class example
What I Learned in Fall
I learned a lot during the quarter about how I teach studio classes, mostly I (repeatedly) learned that when students are in the room with me, there is a lot of informal teaching that I don't necessarily think a lot about and which doesn't get written down anywhere. I know what techniques I teach and even which parts of which techniques are taught on which days, but there is a daily repetition of certain terms and concepts, as well as daily interaction with students that are impacted by what they're making, how far along they are, and what complications are impacting their current build. Besides that, many of my daily interactions with students are heard by their classmates and apply to more than one student, so that my recommendation to one student might result in another student making a correction without my direct involvement.
For this quarter, I made bisque texture rollers and stamps to put in the students' studio kits so they'd have a bit more variety in their tools and texture options.
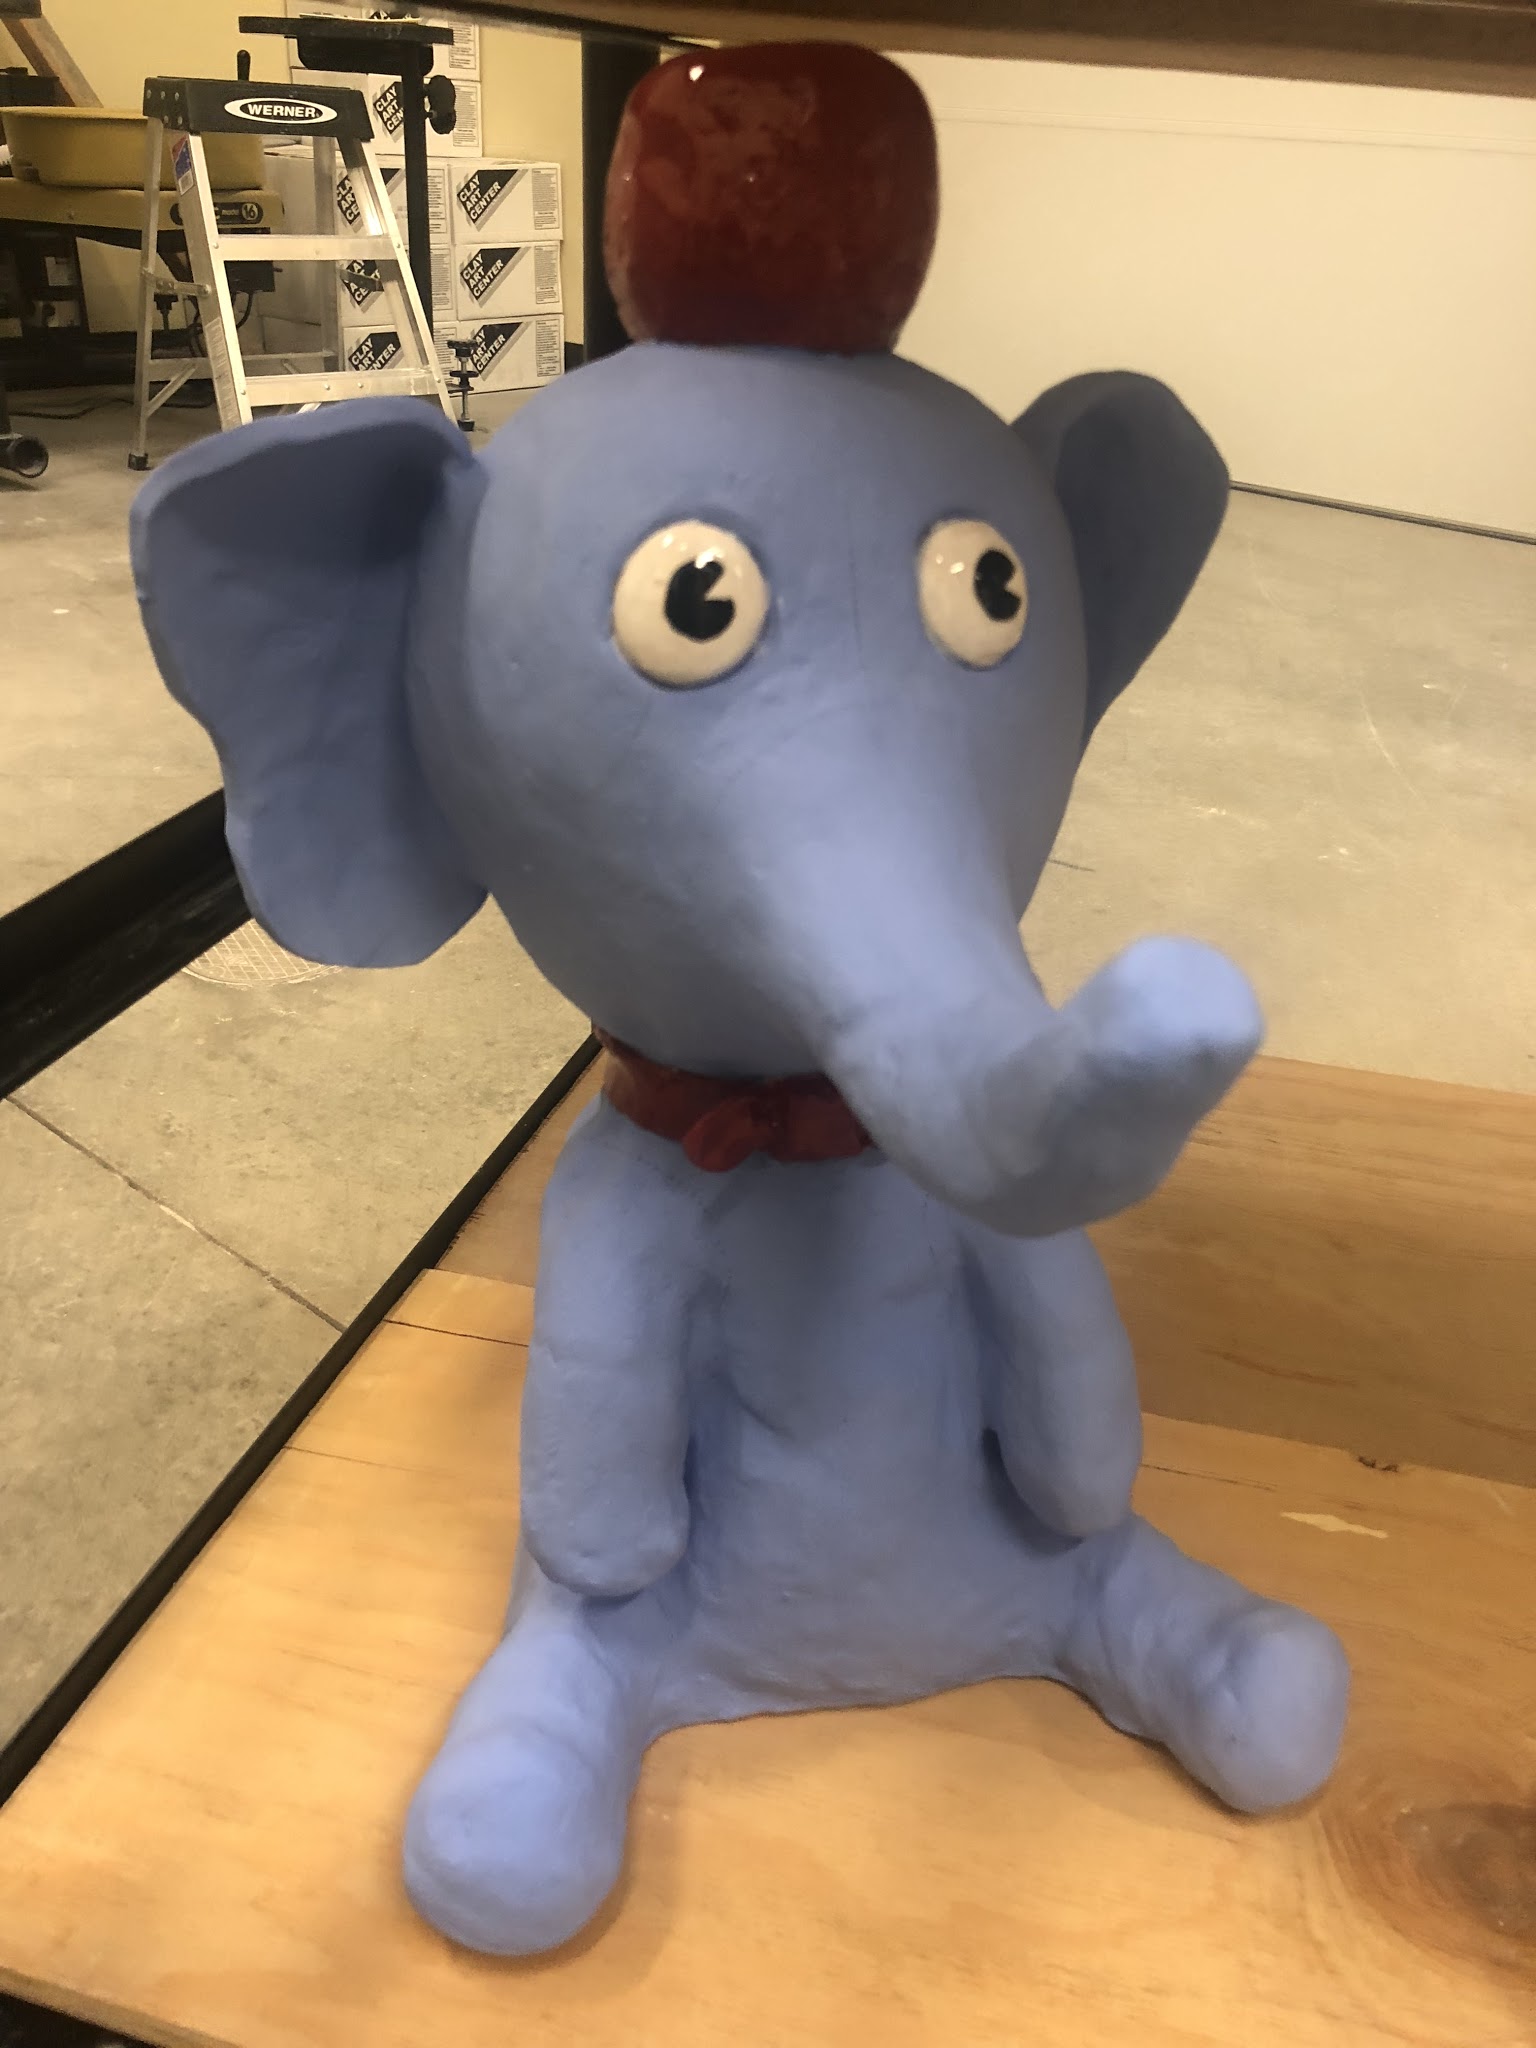
This stuffed elephant sculpture by Margarita Cruz (Winter 2018) was built almost entirely in one day. Circumstances beyond her control prevented her from attending class, but she watched all the videos, then came in and just worked really hard for hours one day to get it done.
In an online class, technique demonstrations are about as good as in an in-person class, especially since most of my main demos have been moving online over the past several years anyway. The written assignment directions are probably improved quite a bit from when the class meets in person and students have ready access to rubrics right away (rather than whenever I get around to sharing them). I've actually improved my specificity in communicating to students things like how thick the wall should be, and I've added demonstrations to show them how to do many of the "little" things that sometimes get demonstrated in class, like how to measure wall thickness, flip a wide scupture, and substitute tools.
a video from a playlist on carving solid, this one captures some of the "little" things that might otherwise be demonstrated in class
But I can't peek over the students' shoulders and casually let them know that they have more carving to do. I can give them this feedback when they meet with me or once they have submitted their assignments, but once they've submitted something for grading, this kind of feedback seems like criticism rather than support. Importantly, I can't catch them and stop them in the moment before the piece is going to collapse and help them brace it and understand what happened. This I do on-campus both during and between classes when students are working in the studio.
Segmented bowls, carved from one solid log (see video above), class example
Also, vitally, they've lost some significant amount of their in-class interactions with classmates. They still can interact with classmates in critiques and other discussions, but there isn't the kind of automatic time spent working together. For several years, as I've been working to flip my classes, I've discovered that the flipped modality, especially in the Hand-building and Intro to Clay classes has allowed students to take on some leadership and peer support roles in the classroom. For the past several years, I've had students work on different proejcts in the same space, meaning that one group of students is working on the 3D printer, while another group is using the extruder. This means that students learn the tools and techniques in different order from their classmates, then are able to support their classmates who are getting to those tools and techniques later.
Notan Cut Paper, Jordy Marquez, 2D Design, Fall 2020
Obviously the working on different tools part doesn't translate well when students don't have access to many of those tools, but I think there's some level of discussion between classmates that happens in a live class but is difficult to replicate online. So in my online studio classes I haven't really figured out how to look over students' shoulders and I haven't figured out how to get students to support their classmates. My classes are asynchronous, and thus don't have a designated meeting or work time where I can see them working. Some online classes meet synchronously, and maybe that's what I should be doing, but that's now how I've set up these classes.
Line Project, Marvin Mendoza-Rosas, 2D Design, Fall 2020
Design Class Online
Last quarter, my other new online studio class was Two-Dimensional Design. I hadn't taught the Design class in years and never had any elements of it online, so I designed that class from scratch, including projects, check-ins, and timing that were planned for online first, rather than modified from a face-to-face class. In the Design class, I had weekly projects, with 1 or 2 "planning assignments" that directly related to the projec, as well as a set of interactive content lessons and sketchbook assignments designed to help students learn each week's composition or formal element of art terminology.
Notan Project, Kyle Win, 2D Design, Fall 2020
In the clay class, on the other hand, I kept the project timing basically the same, with 2-3 week projects, demonstrations and interactive lessons. My changes were mostly to do with techniques and with creating new demos and information about projects to put online. Since students didn't have access to the same equipment as they do on campus, I couldn't reuse the projects, and since we couldn't learn basic technniques, clay processes, recycling, and kiln loading in the studio, I had to move all that online as well. I reduced the size of projects a bit, to try to account for traveling with clay for firings, and added to the section on taking quality photographs because photos (and video) are the only ways students can show me their work.
Notan Cut Paper, anonymous student example, 2D Design, Fall 2020
In both fall classes, I required students to check in with me roughly every other week. This was a quick ~10 minute check-in via Zoom (or phone or email if their schedules and/or internet connections couldn't accomodate Zoom) for me to check that students have started working, answer questions, and help make sure they were moving in the right direction. I knew I wanted to make up for the lack of face-to-face interactions, but a 10-15 minute check-in each week with each student would be ~9 hours of my week spent doing check ins. As I write this, it occurs to me that some sort of group check-in might work (and I could maybe give the students a chance to check in with their classmates, too).
Color Collage by Jordy Marquez, 2D Design, Fall 2020
I've been particularly concerned with scheduling in flexibility, not just because the class is asynchronous, but because so many students seem to have such complicated schedules. From what I've seen, during the pandemic it appears more of my students are working full- or part-time and taking at least a full load, while also helping the family or raising kids. It's really alarming, actually, and I both see where it comes from (they've got bills and responsibilities, and they think they can make it work), but know it is unsustainable. I worry that students are going to burn out, but I'm really saddened that students are not getting as much out of their college education and experience because they are exhausted from trying to do it all at once.
Color Collage by Kyle win, 2D Design, Fall 2020
This quarter, several students have informed me that they are taking 4 classes (a normal full time load is 3), while also working. And, of course, we know they are also dealing with the additional stress and uncertainty of living and working during a pandemic. I suspect that the thinking goes something like this: "since my classes are online and don't have a meeting time, I can add them in anytime." But the thing with a college level class is that you can move the work around, but you still need the time! Students who have taken on too much come to their classes exhausted and unable to function. They can't understand as well when they are tired, and I assume the same thing happens in their job and their families, too.
Color Collage, anonymous student example, 2D Design, Fall 2020
In the fall, I noticed that the Design students were more consistent in turning work in on time. I realized that their class had more built-in check-ins than the clay class. Besides the biweekly check-ins with me, they had a number of other opportunities to get feedback and show me that they were working. Their interactive lessons and sketchbook assignments functioned as both an early deadline to get started on the week's work and a check to show us both if they understood the content. My feedback via Zoom and email answered the questions they asked, and the submission feedback answered those they didn't. The Design students also had what amounted to a kind of weekly progress check via their planning assignments. They didn't just submit the project, they did the planning work beforehand and got feedback on that planning work before moving onto the project itself. Not all of the students made the connection that the planning assignments were planning for the project, but the vast majority did and I believe that helped them space their work over the course of a week.
Segmented triangular vessel, carved from solid, class example
I imagined that the clay students would follow along with the building demonstrations early in the week and get started on the project early enough that they could spend time on it every day or every other day for a couple of weeks. In reality, I think this often didn't happen.
Notan Project, Israel McDonald, 2D Design, Fall 2020
This quarter, in the clay class, I decided to build-in more of the required checks. Students still have two-week building projects, but I have added a mini-building project each week. Some of these preparation assignments, like the interactive pinch-building demo on day one, would have been done in class normally, but others were added as a way for me to check that they can do the technique and check that they've started the project. I'm not sure I've hit upon the most elegant solution, but it's an improvement over last quarter.
Line Project, anonymous student example, 2D Design, Fall 2020
Why I Blog
Writing about my classes, like writing about my work often helps me think through the various elements of an issue. When I started writing this morning, I thought I was writing a blog post about the carving project I added this quarter. I've never had students carve from a solid block of clay before. They've hollowed out solid sculpture using carving methods, and I've had at least one student try Ayumi Horie's dry throwing technique, but this quarter's was an entirely new technique designed specfically for students working at home.
one of a series of demonstrations (new this quarter) I made showing this solid carving technique
Maybe I'll talk about this technique in future, but as I wrote I realized that the bigger issue on my mind was (and is) what is missing from the current online studio that I think is important to capture. I'm not sure if you caught it, while reading, but my "aha" moment (or at least a glimpse at what could be an "aha") came around the 10th paragraph (right above Jordy Marquez's orange and blue collage), when I connected three separate bits that have been floating around in my head: 1) Important stuff happens in casual conversations in groups in the studio 2) I don't have time to meet each student individually each week and 3) I'd like to have a more casual way of peeking over students' shoulders to make sure they are on track.
Line Project, Kyle Win, 2D Design, Fall, 2020
I'll have to think a bit more about how this will work, but right now I'm thinking that instead of just checking in with me, students could have a required check-in with classmates in which they share pictures of their work space, what they're working on, and talk about what's going well or not. It could bring in the quality conversation of a critique, without the tension and expectations of a graded project. It could also help take the sole burden of feedback off of me, while helping empower the students to support each other. Stay tuned, I guess.
Artwork Note: All student examples are used with student permission, anonymous examples are from students who asked to remain anonymous but gave permission for their artwork to be shared here. Clay class examples are my work (since their project is due tomorow).