Showing posts with label summer 2015. Show all posts

Sunday, September 17, 2017

Small Sculpture and Cracking Glaze

this sculpture with two others in 2015

I've been working on a couple pieces of sculpture since 2015. I built them in 2015, applied underglaze in 2016, but couldn't finish them until this year, maybe, because their surfaces are causing me an unusual amount of trouble.

the first layer of underglaze in 2016

The one that has caused me the most trouble is a simple vertical sculpture with three bulb shaped attachments. There's no problem with the structure itself, but I could not get underglaze to stay put. When I first applied underglaze, it seemed fine. I fired it in place, but when I went to apply a second coat of a contrasting color, the first coat started to crack off.

two layers of slip cracking off

I can't remember fired underglaze cracking off any other work I've done besides this sculpture and another made at the same time. Generally, if glaze or underglaze won't stick to a surface it is because there is wax, grease, or dust on the surface, but none of those substances should survive firing and scrubbing. I picked off the underglaze that was cracking and scrubbed the whole pot before reapplying another layer of underglaze, but after a second firing, that too cracked off in multiple places. 

slip cracking off

At some point in 2016, I got mad and just covered the whole thing with throwing slip. I didn't expect this to solve the problem, but I was annoyed and didn't want to look at the piece anymore. The throwing slip cracked too, of course.

 
wet slip (you can see the circles of underglaze through the slip) and dry, cracking slip from 2016

This year, I decided to wash off the slip and see if there was anything to be done for the piece. Bits of hard, fired underglaze were still cracking off and where they cracked, they left a sharp edge and change in thickness that would show up through a new coat of underglaze. 

grinding off the underglaze

I decided to use a wire wheel to grind off as much underglaze as I could. Grinding off the underglaze was satisfying but messy. Mostly the underglaze cracked off, sometimes it required grinding, and in one section, the red underglaze was adhered so well that grinding didn't budge it--at least the amount of grinding time I was willing to commit didn't budge it.

the red that wouldn't grind off

At the tight corners, the wire brush was too thick to reach the underglaze. As it wasn't cracking, I decided to leave it alone. The transition between the raised level of the underglaze and the raw ceramic was more gentle than where the underglaze cracked off, so I guessed the depth change wouldn't show through the next layer of underglaze.

the wire brushed sculpture

I kind of like the ground texture of the raw ceramic. The sand and grog has become visible as the smooth ceramics surface was ground away. The rougher texture makes the surface look like cement, but the overall result doesn't feel like something I had much control over. The hard-to-reach crevices show up purple and blue and the hard, irregular red section looks out of place.

the wire brushed surface

I decided to reapply a red underglaze over the body and purple over the already purple bulb/leaf shapes and just fire it with a gloss over the top of everything. The piece is now "finished." It doesnt' appear to be cracking, but neither is it all that exciting to look at. Though a lot simpler than many of my other pieces, its surface required much more effort than what shows up in the piece now.

the "finished" piece from 2015

As I was getting pictures ready for this post, I pulled the masking tape off of the other vertical sculpture from 2015 (seen in back right of the first picture in this post). I had masking tape in place to hold on a bike part I had epoxied in place to complete the piece. When I pulled off the masking tape, it pulled a cracked section of glaze and underglaze off the surface of the sculpture. Sigh.

glaze cracks show up (today!) in the other sculpture from 2015


Saturday, April 16, 2016

First Firing of 2016

Over spring break, a few weeks ago, I was able to spend some time in the studio--enough time to apply underglaze and glaze to about half a kiln-load of work. This week I stole some time in the studio again and was able to prepare the other half of the load. I'm firing today. I'm still quite a ways from having all of last summer's work glazed, but I can almost see the end.

  
two sculptures in process on my crowded workspace

Last summer I didn't really finish any new sculpture during the summer, though I built a few small pieces and started some parts for a wall installation. I spent a considerable amount of my time preparing for the move to the new studio and preparing for, attending, and finishing work from my summer workshop at Archie Bray in Montana. 

my crowded glazing station

The academic year didn't get much less busy, as one could conjecture from the infrequency of my blog postings. I have new administrative duties as head of the art program and there have been some issues with regards to the new building and new studio, our department added a credit to most of our studio classes, and I took on a new-to-me art history series which required fairly massive prep time. But the most exhausting part of my year had to do with the tenure process. This was my third and final year and I was surprised by how emotionally exhausting it was at the end. 

an experimental underglaze decoration on a sculpture piece

Now the tenure process is complete and I have a lighter teaching load this quarter as a balance to the heavier load necessitated by the increased studio credits the rest of the year. I keep anticipating that I will be able to spend a whole day or a whole afternoon in my home studio, but that time is elusive. The academic and administrative duties that require my attention will swell to fill any available time. I need to actively carve out time in my studio, then jealously guard that time or it will disappear into a thousand other activities. 

small flowers to be added to a sculpture from this summer

In light of all this, I think a firing in April is fairly good progress. I'd like to see the results of my glaze application before I finish the last few pieces, but I am optimistic that I might be able to finish my outstanding (in the sense that it hasn't been finished, not necessarily in the sense of quality) work from last summer before classes are over.

glazed sprigs to be added to a summer scupture

This summer, like so often, I wish to maintain my studio autonomy, but I have already said yes to a couple of studio projects that are not my sculpture-making. I think they will be good projects, beneficial even, but not exactly my creative work. I'll write about both of these projects eventually.


Monday, August 24, 2015

New Clay Studio Tour (Mostly Moved In)

Last week a group of volunteers joined me at school to help put the new YVCC clay studio in order. Despite the fact that we had to spend some time at the old building moving boxes before we could finish in the new space, we made a lot of progress in the new building. 

Main Studio

The main classroom has wheel-throwing and hand-building spaces, as well as a teaching station. These seem like the obvious things for a clay studio to contain, but the old studio combined these three functions into the same space as clay storage and mixing, glazing, glaze mixing, and the kilns. 

the main clay studio from the back corner--photo by Richard Telfer
The new studio feels large. It was difficult to capture the sense of space in a small photo, but the wide-angle and panoramic pictures give a better sense of the space. If you are on the YVCC campus in the fall, stop by to admire the space for yourself.

a panoramic view of the main studio, from the black wedging tables on the left to the teacher station on the far right

This main room has plenty of space for 17 wheels entirely separate from the six hand-building work tables. There is also space for the slab roller (which hasn't yet made the trip across the street) and the extruder (ditto). 

the main studio viewed from the hallway door--photo by Richard Telfer

The front area of the main classroom includes sliding whiteboards (ones that don't require me to climb onto the table to use them), storage shelves for my example pieces, and a teaching station with computer, DVD, VHS, and camera. 

The main studio viewed from the door to the kiln room--photo by Richard Telfer

The projector screen comes down automatically from the ceiling, as does the projector, which is protected from dust behind a hinged ceiling tile. The camera is stationed on the ceiling above the teacher's wheel so that I can show a zoomed-in top or front view on the screen while I am throwing.

on the ceiling you can see the camera and five hanging reels for the pottery wheel cords

There are cabinets, counters, shelves, and sinks all around the main classroom. Right now most of the shelves have display items in them and items are beginning to be sorted for the drawers and lower cabinets.

all the drawers were opened by my daughter so we would know they worked

In putting things away it was nice to have built-in locations for everyday items like the example pieces, towels, and aprons, but it was also nice to find specific homes for things that have never had a real spot in the old studio. For instance, the extruder dies have always been kept in a box on the floor below the test kiln that was kept below the extruder. Now the extruder dies have a drawer to themselves.

 
a space for chucks and towels above the sinks; extruder dies in a drawer


In the old space there was one "library" area with three or four shelves for books and magazines. This space also stored chucks, tape, and paper. In the new space most of our magazines and clay books fit easily into three shelves in the main classroom. The glaze books are stored in the glaze room and some technical books can be stored near the kilns. In the main studio there is plenty of space for adding more titles and additional magazines over the coming years. Additionally, students can actually pull out magazines to peruse since the whole bunch isn't wedged in so tightly.

the new pottery library, with space to expand

While putting away the magazines, one of my volunteers discovered that we have magazines dating back as far as 1951. I joked that the new space should be able to contain our magazine collection for the next 64 years. 


Glaze Room

The glaze room is the most exciting thing going right now. In the old studio there was almost no space assigned specifically to glazing. Glazes were kept under a table and pulled out for glazing. The buckets needed to be pushed back after glazing because there wasn't enough room to walk through the classroom with the buckets out. Sometimes students couldn't use certain wheels because the glaze buckets were in that space. When students glazed, they splashed on wheels and were stepping over each other's buckets to each the sink or their work space.

There was one counter with shelves and drawers for storing dry glaze materials. There were also dry materials stored in buckets under several tables and in cupboards and drawers in a variety of locations around the studio. Glaze mixing happened on a counter after students were asked to move their bags and coats. There was no ventilation for the glaze mixing area. Though students wore masks when mixing glaze, the airborne dry glaze materials were not removed from the space as they should have been.

a view of the glaze room from the spray booth--photo by Richard Telfer

The new studio has a glaze room. This is a long room with shelves, drawers and cabinets as well as work surfaces. The room was designed to be a much more appropriate size for storing our materials, mixing and applying glaze. The room has space to work and I could easily imagine half a class using the space without getting in each other's way. 

moving the dry materials to new buckets

The best feature of the room, from my perspective, is the venting. The new room has a built-in vent system in the middle of the room that is so quiet you have to pay attention to notice it's on. Last week, when some of my students were transferring materials, we discovered that we can actually see the dust being sucked into the air vent.

the vent is pulling the cobalt dust into the slit and out of the room (but you can't really see it in the picture)

For the first time ever, I can see all of our dry materials. We replaced the cracked and breaking, small, white buckets with new blue buckets and lids that fit. Each of these is labeled and arranged alphabetically on shelves in the studio. For several ingredients, we had more than one container in the old studio. Probably this happened when we misplaced the bag of dry material and bought more. Now we have space for all the buckets, as well as the excess, on the shelf. Eventually we should be able to eliminate the excess because we can see what we already have.

in the process of replacing white buckets with blue

The glazes themselves have a new home as well. The new studio has a raised platform for glaze buckets underneath the wall of dry materials shelves. The step means we don't have to lean down as far to reach the buckets. It also means all the glazes can be kept visible and accessible at all times, rather than being pulled out and put away before and after every glazing session.

the glaze room, with glaze buckets along the left side on the raised step--photo by Richard Telfer

The class glazes have always been stored in old pickle buckets and scrounged five-gallon buckets from restaurants. We ordered new buckets to match and to because the old ones are also cracking and have issues with the lids not fitting right. I also printed improved labels for each glaze. Unfortunately all the new lids seems to have disappeared. I am hoping the lids show up before the quarter begins.

here's the new buckets, but where are the lids?

The drawers in the middle island in the glaze room are meant to store our larger quantities of dry chemicals. In the center of the island, there is a low section where a glaze bucket can go when glaze is being mixed. In this low section the bucket is near the sink and the ventilation and is at an easy height for adding chemicals and mixing the new glaze.

the glazing island with vent in the middle and sink on the right--photo by Richard Telfer

Next to the dry materials shelves and above the glaze buckets, there is storage space for slips, under-glazes, brushes and other glazing tools. The far end of the room has room for the spray booth and a smaller shelving section where I can keep glaze books, raku glazes and glazes for other temperatures than those we usually use in the studio. The advantage of a separate shelving area is that I can visually restrict access to these glazes for students who are not yet familiar with different firing temperatures in the studio.

glaze room from the doorway to the main studio, with spray booth (not yet vented)--photo by Richard Telfer

This room is already miles better than what I had in the previous studio. I have work yet to do in here, but I am excited about showing it off to students and seeing how the improved space impacts our glaze mixing and glaze application processes.


 Clay Storage and Mixing

Next to the glazing room, there is a small space for glaze mixing. This space is currently the farthest from complete. We are waiting for the clay mixer to be installed and vented. There are a few items such as the pug mill, still to be put away. This space also houses the washer and dryer and some storage shelves. This room is entirely separate from the other clay studio spaces so that doors can be closed when clay is being mixed. This will help contain both the dust and the noise.

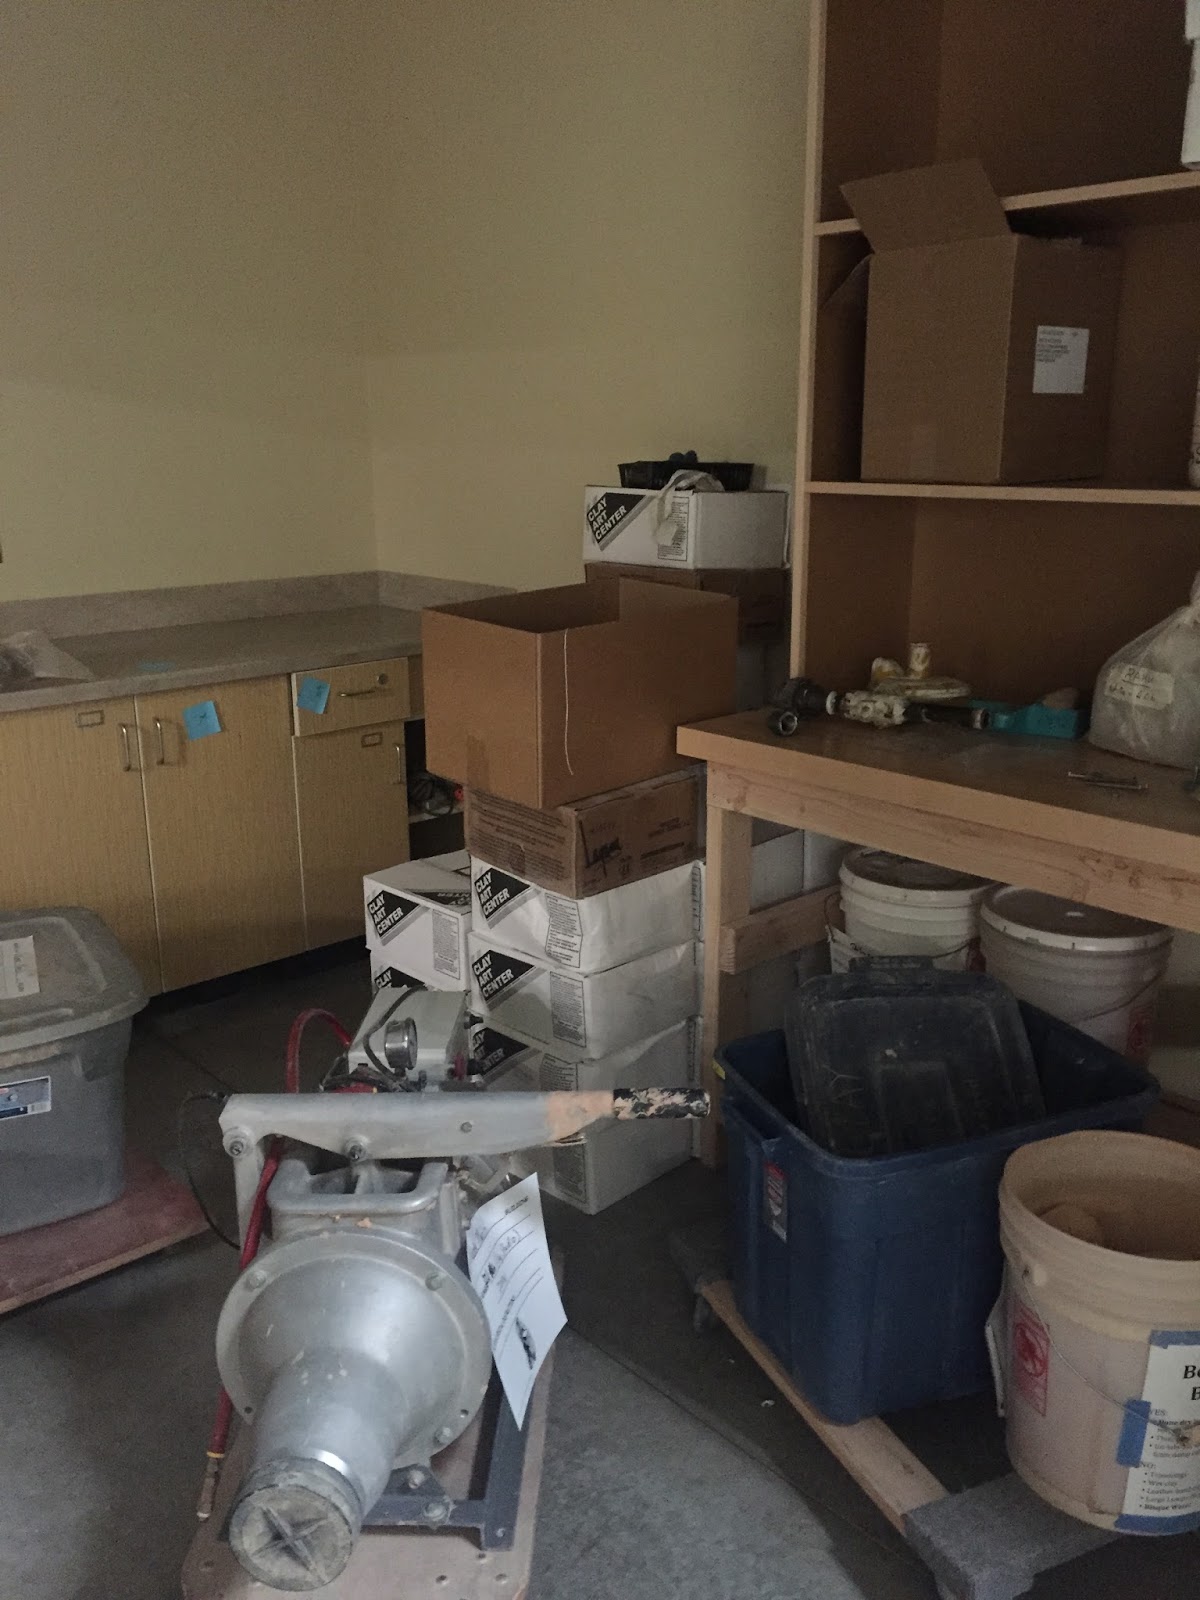
our (temporarily) very messy clay storage room


Kiln Room

a panoramic view of the the kiln room, looking into the main classroom (left) and the clay storage room (dark space in the middle)
The kiln room, next to the clay room and off the main classroom, is separate and spacious in the new studio. In the old studio, kilns were vented for safety, but the heat was contained in the main studio. The kilns were installed in the same area as the pug mill and rolling ware shelves on the side of the room opposite the wheels.

kiln room--photo by Richard Telfer

The kiln room now contains two electric kilns and a test kiln as well as the glass kiln. The biggest advantage of the new kiln room is that the heat and noise of the kilns should be kept separate from the rest of the studio, allowing us to regulate the main studio temperature. I look forward to teaching in May and June in a studio that is not sweltering. Though the kilns were part of the way we kept the studio warm during the winter, I suspect the new building has a more well-regulated heating system than the old building. 

kiln furniture cabinet 

In the kiln room there is plenty of room for rolling ware carts and a built in cabinet for kiln furniture (shelves, stilts, posts, etc). From the kiln room there is an exterior exit as well as an exit to a small contained kiln yard for the raku and pit kilns. The raku kiln needs to be rebuilt before it can be used. it is possible that it will not be ready until later in the year.


exterior kiln yard with pit kiln and raku kiln in pieces


Wednesday, August 5, 2015

Cone 6 at home

My kiln goes to cone 6! It's an old kiln that I got as a hand-me-down and I've never actually tried to fire it this high. Cone 6 is about 2232 degrees Fahrenheit or 2269 if you fire faster. I don't have pyrometer at home, so I'm not sure how fast I fired the kiln.

cone 6 glaze tests with underglaze and several different glazes 

I usually fire my home kiln to cone 04 which is just 1945 -1972 degrees Fahrenheit. The lower temperature requires glazes with a lower melting point and even clay with a lower vitrification point. 

 
cone 04 glaze on the left, cone 6 glaze (fired at Archie Bray) on the right

For the Archie Bray workshop I attended earlier this summer, we used cone 6 clay and cone 6 glazes. Now I have quite a few bisqued bowls and cups made with this clay. If I were to fire the cone 6 bowls with cone 04 glazes, the bowls would be likely to leak because the clay body would still be porous.

my little old kiln

So, I purchased some cone 6 glazes with the idea that I can fire these pieces to a higher temperature and, at the same time, experiment with some more glazes. I keep seeing semi-transparent celadon glazes used by nationally recognized artists, including those at the the Archie Bray, and even local artists (Bernadette Trabue Crider has carved celadon pottery at Oak Hollow Gallery in August).

my cone 6 glaze options

So I purchased two types of celadon, one that is green, another almost clear. I also purchased some darker pre-made glaze samples and I used my trusty underglazes. The nice thing about transparent glazes is that I can use my underglazes in combination with these glazes, which means I don't have to make hugely significant changes in my glazing process.

not a very full kiln

For this firing, my kiln was loaded very loosely. Since I didn't know if the kiln could actually reach this temperature and I had never used these glazes, I didn't want to glaze a bunch of pieces and have everything fail.

the cone in the sitter after firing

Happily, the firing went well, the cone melted in the sitter and the glaze tests came out just fine, everything melted well and the colors were basically good. Now it's time to get down to work and really glaze the remaining work. I have about one kiln load of low fire work (cone 04 clay) and about two kiln loads of cone 6 work. I have begun glazing the low temperature work, but not the high temperature work.

cone 6 bisqueware on the left, the mess that is my glazing process on the right


Friday, July 31, 2015

Bubble Plates

This weekend my daughter was playing with bubbles in the backyard. Earlier this year at CORE Gallery, another artist, Keunae Song, had an exhibition of bubbles on glass. Her exhibition included glass objects with evidence of bubbles on them and videos of the bubbles popping on the glass.

iron bubble plate

I assume her bubble mixture included enamel or frits or paint because the result was a permanent record of the bubbles on the glass object.  After seeing Song's work, I wanted to try recording bubbles too. I've done bubble paint projects with kids before, including my own (this stuff is unbelievably messy--stay away).

bubble plate production set up

When I taught kids art classes for the Ambroz Center in Cedar Rapids, we put paint and bubble solution in old film canisters, inserted a straw into the film canister and popped a hole in the top of the lid. The kids blew into the straws and bubbles poured out of the top of the canister. The kids caught the colored bubbles on paper and traded papers to capture a rainbow of bubbles.

first bubbles popped

Initially, I tried mixing some underglaze into a small canister of bubbles, but it was grainy and wouldn't stay mixed. Once my daughter got involved, I added some iron oxide to a small cup of bubble mix and just kept stirring. I blew a few bubbles but my control of the bubble cup was quickly usurped. I was relegated to bringing more plates out to the bubble blower.

more bubbles falling

This process was fun to watch. I tried to take some pictures to capture the fun of the bubbles landing, then popping. It seemed that big bubbles that stayed on the surface for a while before popping yielded the darkest circles of color. (Perhaps because the color had time to settle to the bottom of the bubble, rather than being sent up into the air with the force of the early pop?)

bubbles landing

The plates collected their fair share of extra splatter from the iron and bubble mixture. We tried some cups but they tended to have lines running down the sides when drips landed on the surface and weren't able to dry quickly.

the one in the middle popped

What I don't know about this project is whether there was enough iron oxide in the mixture to show up well after firing. I have a few plates in the kiln now, being bisqued. I assume the iron will be visible without a glaze, but to make the plates useful, I plan to add a clear glaze over the top. It may be that the iron is too faint to show up through the clear glaze, but I plan to try anyway.

the set on the top popped

This process could conceivably work with other colorants, but I would question the inclusion of a kid once the colorants became more potent. This kid was old enough to know not to suck on the bubbles, but there was still airborne iron/bubble mix in the air when they popped and knees and hands still needed to be washed afterwards. Iron speckles are almost indistinguishable from freckles, by the way.

iron bubble wand in action