Showing posts with label techniques. Show all posts

Sunday, September 10, 2017

Ball Opener

picking out PVC pipe fittings

I made and started using this new tool, called a "ball opener" last month. I didn't know anything about the tool until I watched this Tom Whitaker video on YouTube:


The tool looked easy to make and I thought it might help some of my students, so I gave it a shot. 

my CPVC ball opener

In the video, Whitaker talks about using CPVC. I had some initial trouble finding the parts so I picked up PVC pipe and fittings. Then I found the CPVC and decided to make a version from both materials. The PVC is a little thicker and I was able to find a cross shaped center piece with four openings. The CPVC is thinner (though they are both labeled as the same size) and I only found a t-shaped center.

my double-ended PVC ball opener

Putting together the tool was really simple. I used a mitre box to cut the pipe and my husband had some primer and cement to attach the pieces. I made a mess with the primer, but the whole process was fast and easy.

adding water to the hole I started with the ball opener

The ball opener is designed to be inserted into a centered ball of clay on the wheel. The tool is pressed straight down in the center of the clay. Because the center pipe is slightly shorter than the side pipes, it will not hit the wheel head, but will leave a 1/4" or 1/2" floor in the clay. Then the tool can be pulled towards the body, opening up the ball of clay and leaving a flat floor.

opening out the floor with the ball opener

In the video, Whitaker suggests that using the tool is simple, which is true, and that the tool doesn't bounce around at all. I found that the tool did bounce, but I suspect some practice on my part will help with that. In my initial test of the tool, I only used it for roughly 15 pieces.

pulling the walls up with the ball opener in the reclaim bucket

Initially, I thought this might be an acceptable tool for beginning students. I figured it wasn't really necessary for me because I know how to throw. What surprised me is that it immediately improved my results. Out of 15 pieces I threw with this tool, 15 dried and fired through the bisque with no cracks in the floor. Without the tool I don't lose much, but I probably lose 10% to small s-cracks in the floor. 

oops, my recycled clay had some junk in it

I used both tools and both ends, which means that some of my floors were closer to 1/2" with a 1/4" wall, but still, no cracks. I even threw with some reclaim clay with no cracking. Additionally, throwing with this tool was faster. Usually it takes me longer to drill the hole, open the floor, and compress the floor. These steps were rolled into one fast step with the ball opener. 

feet with not cracks

The results were pleasing. I think I may make a dozen or so more of these tools to take to school. They won't work for bowls with rounded bottoms, but they might be a relief for students making cylinders. Students should probably still learn the old-fashioned way, but this is such a simple tool they could make one themselves for use after YVC.


Saturday, October 11, 2014

Shows Coming Up, Shows Coming Down

Today is the last day of the 10x10x10 show in Tieton. The Mighty Tieton website says there is an artists' reception from 12-5pm today. I'm not sure if that means artists are taking work home today, too, but I plan to check it out. It'll be the first time I get to see the show.

My piece in Tieton
If you're out and about today in Yakima, there is a reception from 2-4 at Oak Hollow Gallery for the new show, featuring work by Duane Heilman and Jane Fassel. Jane took classes with me a while back and then took at least one workshop with nationally recognized raku experts. Her naked raku has moved beyond what I can do and is worth a look. 

Jane Fassel's "Naked Raku" (I borrowed this picture from Josie Fast at Oak Hollow Gallery. Thanks!)

I also got word that my work will be in the Central Washington Artists Exhibition at Larson Gallery. I have two pieces in that show. The reception will be held from 3-5pm on November 1.

"Scylla Bionica" for the Larson show

Early next year I will have a show at CORE Gallery in Seattle. The show is scheduled for February, but I don't yet know the dates. I'm still waiting to hear when my Storefronts show in Seattle will be; I may only know a month ahead of time.

"Charybdis Bionica" for the Larson show

Friday, August 9, 2013

Sprigs and Stamps

My sculptural work almost always utilizes homemade sprigs and stamps for surface decoration, but it occurred to me last week that I've never actually written a full explanation of how these tools are made. I refer to them in passing and I have made a video demonstrating the technique but never a full explanation here on the blog.

a piece with layered sprigs (yellow and green) and stamped texture (red)

Stamps
A stamped effect can be achieved with most anything one can find, including sticks, pen caps, toys, toothpicks and any number of clay tools. I have boxes of such materials around the studio and am constantly collecting interesting bits of detritus to use in my studio from around the house, in the yard or  while out on a walk with my family.

stamped impressions from a mechanical pencil and a Handi-Snacks stick

Stamps can also be made out of clay. Just like any bit of material can be impressed into the wet clay to create a texture, any bit of material can be impressed into wet clay that is then fired and used as a stamp itself. Fired clay, which is technically called ceramic once it has undergone a chemical change inside the kiln, is stronger than unfired clay and can be pressed into wet or leather-hard clay over and over gain without cracking or deteriorating. 

impressing a ceramic stamp into leather-hard clay

A ceramic stamp fired to a relatively low temperature is also porous, meaning that it absorbs some of the water from the wet clay into which it is impressed. The wet clay shrinks enough to pull away from the ceramic stamp easily. A plastic stamp might stick to the wet clay, causing an imperfect transfer of the stamp's texture.

this stamp was made from repeatedly pressing the end of a pen or similar tool into pinched wet clay

Sprigs
Sprigs are basically small molds that can be used to shape wet clay into desired textures. I use sprigs to quickly (ok, relatively quickly, I can spend hours adding sprigs to one piece) recreate complex textures that I then layer or arrange onto my sculptural surfaces. Sometimes I fill a surface with sprigs, sometimes I alternate sprigs and impressed (stamped) textures, and sometimes I juxtapose sprigs or stamped textures with smooth surfaces or non-ceramic additions.

long sprigs made from pea pods

Clay sprigs work well for the same reasons that clay stamps work well. The wet clay retains the details of what was used to make it. I often make my sprigs by pressing clay onto organic materials including oranges and strawberries which would not hold up well over long use. 

sprig made from the end of a strawberry

The fired ceramic sprigs are strong and porous, allowing them to be used over and over again without breaking. Sometimes if I use a sprig mold for too long, I need to let it dry because it has become saturated with moisture and wet clay starts to stick to the wet ceramic.

pressing wet clay into a sprig mold

Using the sprigs is very simple. I simply press wet clay into the mold. If I were to leave the clay alone, the sprig would absorb the moisture, causing the clay to shrink and pop out of the mold. I usually score the back of the clay while it is in the mold and either pry out the wet clay or press the clay and sprig mold onto whatever I want to decorate.

using a scoring tool to remove the wet clay sprig from the ceramic sprig mold

The wet clay pressed into the mold retains much of the texture and shape of the sprig mold in reverse.

wet clay sprigs can be added onto wet or leather-hard clay 
I find that the change in material and texture, as well as color, changes viewers' associations with otherwise familiar textures. People often do not always recognize the sprigs as strawberries or oranges when they are flattened and layered in clay and glaze on my abstract sculptural forms

the completed form with sprigged decoration

Making a Sprig
Making a sprig mold is as simple as using it. This is probably why I have overflowing drawers full of sprigs all around my studio. I often choose to make sprigs from whatever natural and manufactured materials I come across, figuring it is easy to make them now and decide later, after they are fired, whether they will be useful.

wet clay ball

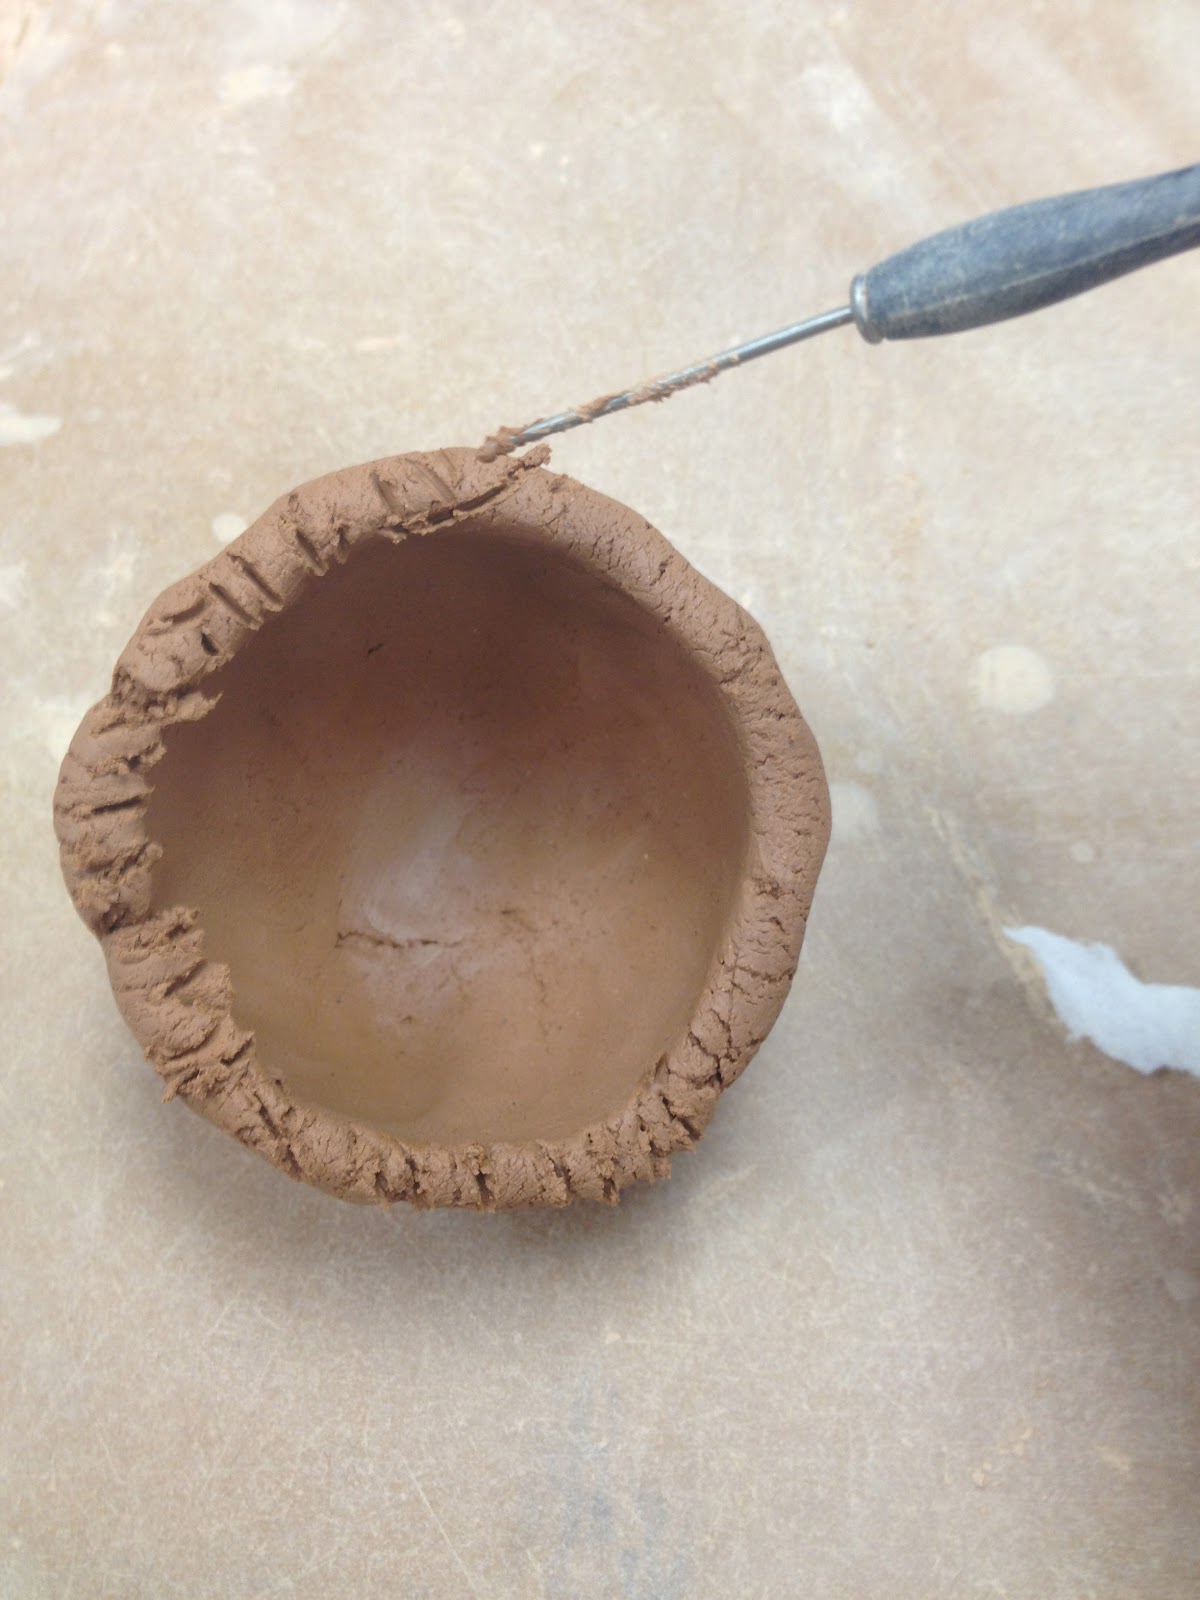
I start with a piece of wet clay, that I roll into a smooth ball. I usually press this ball into a small bowl using my thumbs or fingers to alter the shape. Depending what materials I am pressing the clay onto, I may need a different size or shape ball or bowl of clay.

pinching a wet clay "bowl"
I then carefully press the ball or bowl of clay onto whatever I wish to use to make the sprig. After the sprig has been fired, it will be used to create a smaller, monochromatic version of whatever it was that formed the mold.

preparing to push the wet clay bowl onto a pinecone
On something like a pinecone, both ends and the side can be used to make three different sprigs, or more. It is important to choose materials that do not have undercuts. If the clay used to make the sprig mold has to wrap around the original material, it will have to be bent back or broken to remove it.

pressing the wet clay onto the pinecone
If a form does have an undercut, sometimes I will simply pry off the wet clay from an undercut, leaving the resulting shape altered by the motion of pulling it away. Other times I will rock the mold back and forth slightly to make a wider impression than the original shape. I also rock the clay slightly to create a wider opening if the original material has very straight walls. Regardless, the clay mold must be removed from the original material or it may crack while it dries or be impossible to remove later.

peeling the clay sprig from the pinecone
It is also important to keep the rim (the exposed edge of the sprig) relatively thick so it is less likely to crack before firing or during use. This rim also creates a logical edge for excess clay to be removed during forming.

completed sprig (before firing)

After shaping, the sprigs dry pretty quickly. I usually fire them to cone 08 or 06 (though sometimes I fire them in an 04 glaze firing if that's what is in the kiln). I have made sprigs as big as 3 inches wide and as small as the end of a Sharpie pen. I rarely wash the sprigs, but they can be scrubbed clean if clay starts to stick inside them.

sprigs and the original materials used to create them


Friday, July 5, 2013

Masking

I still have some work leftover from last summer that needs to be finished. A couple years ago I finished some functional work by layering underglaze colors over masked sections of the forms. With this technique, the naked clay is visible with distinct edges left by the tape I used to resist the colored underglaze. I was really happy with some of my results.

This is my favorite masking tape resist piece.

Also that year, or maybe the year after, I used the same method on pieces thrown using different clay. I don't think the red clay worked as well because there was less color contrast between masked and unmasked areas. I also did several pieces with a layer of underglaze under the mask, but I ran into the same problem of limited contrast. Those pieces are very dark.
I don't like this one as much.

Last summer I threw and prepared some pieces with a fired underglaze layer. I had intended to mask and layer underglaze over these pieces, but I ran out of time in the studio. This week I have begun masking and underglazing several pieces.

Masking tape resist cut-outs applied to purple underglazed bowl (thrown by my mother)

Last time I did this, I used sections of blue painter's tape cut with a knife to mask the underglaze. This works well, but certain types of shapes are easiest to make and round or thin shapes are a little harder to work with. In my experience the masking tape really needs to be applied to fired clay or underglaze. If I try to apply it to unfired clay, glaze or underglaze, the tape sticks to the powdery top layer and comes off or at least peels up at the edges.

Red and yellow underglaze applied over blue painter's tape resists on my mother's other bowl

This technique works reasonably well on fired work and usually the tape stays down with little wrinkling or gaping. Where it does start to come away from the piece, the top layer of underglaze sneaks underneath the edge of the tape, leaving an irregular edge or bubble of color intruding into the masked area. Anyone who has ever  painted wall or trim in a house using painter's tape knows about the irregular gaps or bits of paint that sneak past the tape edge (and make perfectionists seethe). 

masking tape resist removed, leaving slightly rough edges

The little drips and irregular edges on my functional work can be scratched away with a knife. I also sometimes blend them away with a clean wet brush with stiff bristles. Cleaning up the edges is annoying, but not unmanageable and yields nicer edges.

resist lines cleaned up after masking tape was removed 

Last summer my husband brought me some thin blue tape, like the kind used for car detailing. In my studio cleaning frenzy this year before the home tour, I seem to have lost the tape. I was able to find some thin yellow masking tape and have been using that. The yellow tape doesn't seem to stay down quite as nicely and the blue, but it is working reasonably well.

thin masking tape applied, awaiting second layer of underglaze

The thin tape naturally yields a different style of design compared to the cut sections of tape. On several pieces I simply started wrapping the tape around the piece, allowing it to react to the form of the vessel or altering the angle slightly. After the tape had crossed several times, I painted underglaze over the fired underglaze and tape edges. On several pieces I applied two colors of underglaze onto the tape layer with colors alternating based on the sections delineated by the tape lines.

underglaze applied over masking tape lines

Peeling away the tape after the underglaze has dried is pretty easy. Once I pick up a corner of the tape with an end of a knife, I can peel most of the tape line off in one continuous motion, leaving the based underglaze color exposed where the tape had been. In contrast, peeling off the cut sections of blue tape means picking at the corner of each individual shape and peeling each little bit of tape away individually.

removing masking tape resist

I've been working on several different color combinations this week and all have two to three coats of underglaze over top of the tape and fired underglaze layer. Unfortunately the fired work from last year was done on different clays and may have been fired to different temperatures. At any rate, some of the pieces absorbed the fresh underglaze better than others. It may turn out that the top layers of some of the underglazes, after firing, are semi-transparent or streaky. There isn't much I can do at this point, other than be careful about my application and clean up.

resist lines removed, underglazed piece awaiting glaze application

Streakiness risks aside, I knew that the masking tape methods would work reasonably well. However, earlier this year I purchased a couple different kinds of liquid masking products from a clay supplier. I wanted to see if these products would work better than the masking tape. I do a lot of layering of glazes on all my work and I thought it might be nice to use these products to help cut down on the quantity of firings I use to set various layers of underglaze color. I also thought these material might be easier to manipulate than the tapes.

Laguna Latex Resist and Duncan "Mask 'n Peel"
So far I am not impressed with the products, though I have only done a few tests using these products in concert with other masking techniques. I suspect they are intended for more direct application. Apparently they are also intended for people who cannot smell. 

blue plate with yellow and red label-masked underglaze

In an attempt to to test the materials, I applied some sticky labels to the interior of an underglazed and fired plate. The labels can be used just like the masking tape as resist with a standardized size. I applied some of each of the commercial resists to the top of the labels and the surrounding plate. My idea was that I could then peel off the labels and glaze the gaps inside the resist lines. I was trying to resist the resist. Unfortunately both types of commercial resist stuck strongly to the paper and peeled off without any give. 

a wad of labels and stinky toxic resists

I suppose I used the commercial resists in an inappropriate way. Eventually I'll use it to freehand some decorations, but I do not like the material so far and it seems excessively pungent and toxic for how I like to work. One of the resists, the larger container from Laguna, comes with dire warnings about toxicity. Potters are urged to wear gloves and a respirator and wash their hands thoroughly after use. The Duncan resist does not come with such warnings, but both resists smelled terrible. I wore a respirator for both (after I figured out how awful they were). Both resists also were hard on my brushes. They did peel off the clay well, unfortunately ruining all my planning.

beginning to peel off Mod Podge masking layer
However, I still wanted to use my "resist the resist" method to decorate the plate, so I tried another resist material that I happened to have on hand, one that didn't smell so bad and that isn't quite so toxic. This second material worked wonderfully as a resist:

my new resist
To get the Mod Podge to work as resist, I simply painted a thick layer of of it over my (newly applied) paper labels. I needed to score some of the labels to get them to to peel off without taking the Mod Podge with them, but they peeled off reasonably well and the Mod Podge stayed put. After I painted on the underglazes, the Mod Podge peeled off more easily than the masking tape did. The only trouble I had with the Mod Podge resist was as the edges where I had applied it too thinly. I probably could have painted an extra layer in these areas to help pull it off the plate but instead I decided to fire the plate an extra time before applying a clear glaze to the surface of the plate (just to be sure). As an added bonus, I know from experience that Mod Podge washed out of brushes even if you forget to wash them right away.

Mod Podge resist mask being peeled off (and taking the underglaze with it)

Sunday, March 3, 2013

Second Grade Clay Rattle Project

This coming Thursday I have agreed to do a project with some second graders at a local school. My initial plans were altered as I started to think about the logistics of directing 60 or 70 kids in one project. I don't want the project to be so complicated that the students will get lost or frustrated. I won't be able to directly assist all the students or correct individual mistakes, so I need to make the project simple enough for the kids to follow and do with little assistance.

turtle "rattle" made as a test of the methods I plan to use

woman whose skirt is a rattle, also made as a test

I also need to make the project interesting enough to keep the students engaged and to provide a challenge for those students who finish the basic project early. A good kids clay project, in my opinion, is one that "works" for a kid who is able to do only the bare minimum, providing that kid with an object that they can be proud of. A good project also needs to be flexible enough to interest the kids who find the basic steps too easy. Kids need to be able to decorate, add to, or improve on the basic design.

start with a ball of clay (two, actually)

 I also need to be able to do this project with minimal equipment, tools and hand-skills.

flatten the first ball of clay

The project I have chosen to do with the second graders is a small bell or rattle. I have done at least 3 iterations of this project with students over my years of teaching. The only tool that is absolutely necessary is a toothpick or needle tool and the only other requirements are clay and slip (or water).

squish together any cracks or irregular edges so they are flat and round

It is also nice to have a scoring tool, a paintbrush, some stamps and some scraps of paper. Opportunities for additions and modifications are essentially endless, but the central form of the project is pretty simple to make.

create a pinch pot with a second ball of clay, squeezing the clay at the bottom first


The project requires students to roll out two balls of clay and flatten one. They need to create a pinch pot with the other, and this is the most complicated skill required of them. To create the pinch pot, they need to start with a round ball of soft clay, push their fingertips straight down into the clay and then gradually increase the size of the opening by squeezing and turning the ball of clay. The key is to start squeezing at the bottom and leave the top rim thick until the end. If kids don't listen or understand this step, they will make a pancake pinch pot with no space inside for the rattle.

score the edges of the base and the pinch pot

Students then score (or scratch little lines in) the edge of the pinch pot and the outer edge of the flat piece of clay. It's a good idea to punch a hole in the flat piece of clay now, though it can be done later too.

       
make balls of clay and (optional) wrap them in toilet paper


Students make little balls of clay (to be the rattling sound makers) and wrap them in paper. The little balls of clay don't need to be wrapped in paper, but it helps prevent them from sticking if kids get slip on the balls of clay. The rattles won't make any sound when they are wet. During firing the paper will burn off and the balls of clay will become hard. After firing, when someone shakes the rattle, the hard ceramic balls of clay will hit the hard ceramic interior walls and make noise.

poke a hole in the base (now or later)

The little rattling balls of clay are put in the middle of the flat piece of clay. Students need to slip the attachment by adding water or, preferably slip (watery clay) to the seam. I recommend the kids put slip on the edge of the pinch pot so that they aren't too messy with the slip. I also recommend slip rather than water because students (and teachers) can see the slip better and know that the whole piece of clay won't be getting soggy.

add slip (watered down clay) to scored edges

The pinch pot is pushed onto the flat base, trapping the little balls of clay inside. A little pressure will help keep the pinch pot attached to the base. A little slip may squeeze out the edges. It can be wiped away. Excess clay can also be trimmed away if the base is too wide. 


place the pinch pot on the base, lining up the scored edges and trapping the clay bits inside

As I was making a couple test pieces, I was concerned that the project might still be too difficult for such a large group of students. I don't have regular access to dozens of second graders, but I do have access to one preschooler, so I brought my daughter into the studio to try the project. I figured if one preschooler could do the project without help, then 70 second graders could do it with minimal help. Also, I hear second graders can read and follow multi-step directions, so I plan to bring pages for each table that show step by step illustrated directions of the process.

it's a good idea to work on paper 
score the edges using a needle too, toothpick or scoring tool
add slip with a brush, don't get slip on the clay balls or in the middle of the base
put the two pieces together. it doesn't have to look perfect so long as it sticks

My daughter was able to make the form. She had the most trouble with the pinch pot, but I didn't need to take it away or have her start over again. Of course my daughter couldn't resist decorating her rattle. She added a body and arms, decorated with a clay stamp and drew in a face. Her piece wasn't as round as mine, but she was able to make a passable pinch pot without my assistance and all her attachments were strong. Her piece will not explode during firing, since she put a hole in the base when she was almost done.

scratching in the face
The most important thing I will need to check, or have my clay student assistants check, is that each piece of clay is attached securely and that each rattle has a hole in the hollow area to allow the hot expanding air to escape during firing. It is also important that no solid clay pieces are thicker than about an inch.

adding the air hole
I always tell kids about the "wiggle test" and the "rule of thumb."  The "wiggle test" means that if I gently wiggle the clay now (when it is wet) and it comes off, it will fall off later. Usually students have forgotten to score and slip their attachments and they can do that now. The "rule of thumb" means that no piece of clay can be thicker than their thumb. If it is thick, it risks exploding in the kiln.

decorating with a clay stamp
The only other risk in this project is that students will be frustrated that they can't make the clay do exactly what they want. I plan to distract the students with clay stamps and other tools they can push into or stick onto their clay. The fun of new tools should help appease the frustrated perfectionists.