Showing posts with label coils. Show all posts

Monday, December 26, 2022

Coils, Glazed & Finished: Fall 2022


coil spaghetti and meatballs by Yarelli Sanchez (the meatballs are hollow)

During the first and third project of the quarter in Hand-building, students were split into groups and they either worked with coils and slabs in the first 3 weeks or they worked with the 3D printer and extruder first, then switched later, to use those two techniques for the third project.

student work, coil form with sprayed copper red glaze in reduction


Coil building is the first hand-building technique I remember learning and the technique that I still use the most in my home studio, though in my own work I throw and pinch a lot and sometimes extrude, too. 


other side of the coil piece by anonymous


Coil building, along with pinching, feels to me like the fundamental clay building technique. I'm not sure if that is colored by personal preference or how I learned, but coil building as a technique is one that tends to be relatively easy to manage right away (without a lot of practice), meaning that relatively few students break or collapse their coil builds and have to restart. With slabs and the printer, it isn't particularly unusual to have to scrap the first attempt because the clay was too wet and heavy, or too dry. 


third view of the coil piece by anonymous


Over the years I have had students struggle with coils when they were trying a complex shape or when they were building that dramatic shape too quickly. I remember a student in the old building who kept trying to build an exceedingly wide bowl out of wet coils, but she didn't support the coils as they got wide and didn't let them dry once they started to sag. She wanted to build it all in one go without letting the clay stiffen up a bit before continuing. She may have been adding water to the coils which just made them heavier and more likely to collapse at that angle.


extra small coil piece by anonymous


Most students don't have such a difficult time getting started with coils, but I like to push them out of the comfortable zone. My coil project requirement is tht the work they create needs to be asymmetrical. Coils lend themselves to repetitive layers and subtle changes and the expected form is usually a round bulbous vase shape. But coils are versitile and can be used to create a wide range of forms.

Valeria Alvarez replicated another student's coil avocado from a previous quarter


By asking my students to build an asymmetrical form, they have to come up with an idea that is unexpected. I love this project because it allows so much freedom for the students, both allowing them to explore that freedom, but also forcing them to create something with that freedom (which is sometimes harder than working within tight constraints).

Thai See's crying coil sculpture (find her @Thaiidraws on Istagram) 

With this coil project, the students may choose to leave the coils visible or blend them to create a smooth or to create a base for an alternate surface texture or design. With visible coils, students must score and slip between each layer of coil. They must also take care to roll even, consistent coils, or make the visual decision to have the coils vary in thickness.

Duck with egg by Carlos Garcia Alcantar


With blended coils, the student can skip the scoring and slipping (I always do) and simply squish the wet clay together as they build. Blending coils like this is similar to making pinch pots, but you are constantly adding on more clay.


coil duck with egg by Carlos Garcia Alcantar

This quarter student approaches to this project were particularly diverse. Carlos started building his duck from about where the waist is currently. The legs were much different and the duck was sitting. Partway through the build, however, he decided to take off the old legs and base and start building new legs. 

This piece is entirely coil built and about 20" tall.

Building a standing form with just two legs is a bit risky because two small bases is less stable than three. I was worried, but Carlos made his duck/human feet large and he balanced the big arms and egg with a similarly impressive duck butt and tail. I was pretty surprised how well the duck stands on its own.

Carlos Garcia Alcantar, duck (behind)

Carlos attached the legs and feet to the body late in the process, but because of his careful planning and control of drying, everything attached well and the build was stable. Carlos kept his duck covered in plastic (and a warning not to touch) until critique, so he had kind of a grand reveal moment during that class.

Thai See, coil sculpture (side)

Thai was another student who rebuilt and revised her sculpture. In her case, she built the face first, and kept changing her mind about how she wanted the rest of the structure to be. In the end, she built a kind of body/shell for the face, with the unexpected additions of worm coming out the one side.

coil kracken by Brooke Mason

A couple of students, Brooke and Yarelli, treated coils as both building tools (the assignment) and independent parts of the sculpture. I worry sometimes when students decide to do this because it can be risky. In Brooke's case, the little coils that twist and turn everywhich way are less supported and strong than coils that are attached to one another. These coils can break during drying or when loading or handling before glazing.

side view of the "broken" spaghetti bowl by Yarelli Sanchez

In Yarelli's case, I was worried about both the thickness of the spaghetti piled inside the bowl and how well attached each of those coils is to it's neighbors. I was actually a bit surprised that the foot or the bottom of the bowl didn't explode during firing, but Yarelli explained how careful she was during building. 

Amanda Goodrich's shark eating a squid

Amanda's shark eating a squid sculpture came together with a surprise near the end. I saw her building on the shark body, but it seemed like I turned away for a moment, then suddenly there was a squid, already built, in the shark's mouth. 

Amanda's contrasting glaze is very helpful for distinguishing the shark from its snack


Now that I'm looking at them together (remember, students didn't all make the coil projects at the same time), I realize how many sea creatures we had this quarter. Thunder started us off with an abstracted blue and green octopus sculpture. In contrast to Amanda's squid and Brooke's kracken, the octopus sculpture focuses on the head and leaves out most of the legs.


I think Thunder was telling us about how the legs were short because it was a baby. Thunder used a mix of underglazes for his color, but, unfortunately the glaze didn't fully adhere to the underglaze and he had a couple of dry spots where it crawled away.

Octopus by Thunder Morales

Students mostly used glaze or underglaze plus glaze in the high fire kiln for their coil sculptures. Yarelli and Julia were the only exceptions. Yarelli used underglazes in a low firing for her spaghetti. She sprayed on her glazes and used tape as a resist to keep the overspray off of the broken part of the wall that had apparently fallen into the spaghetti.

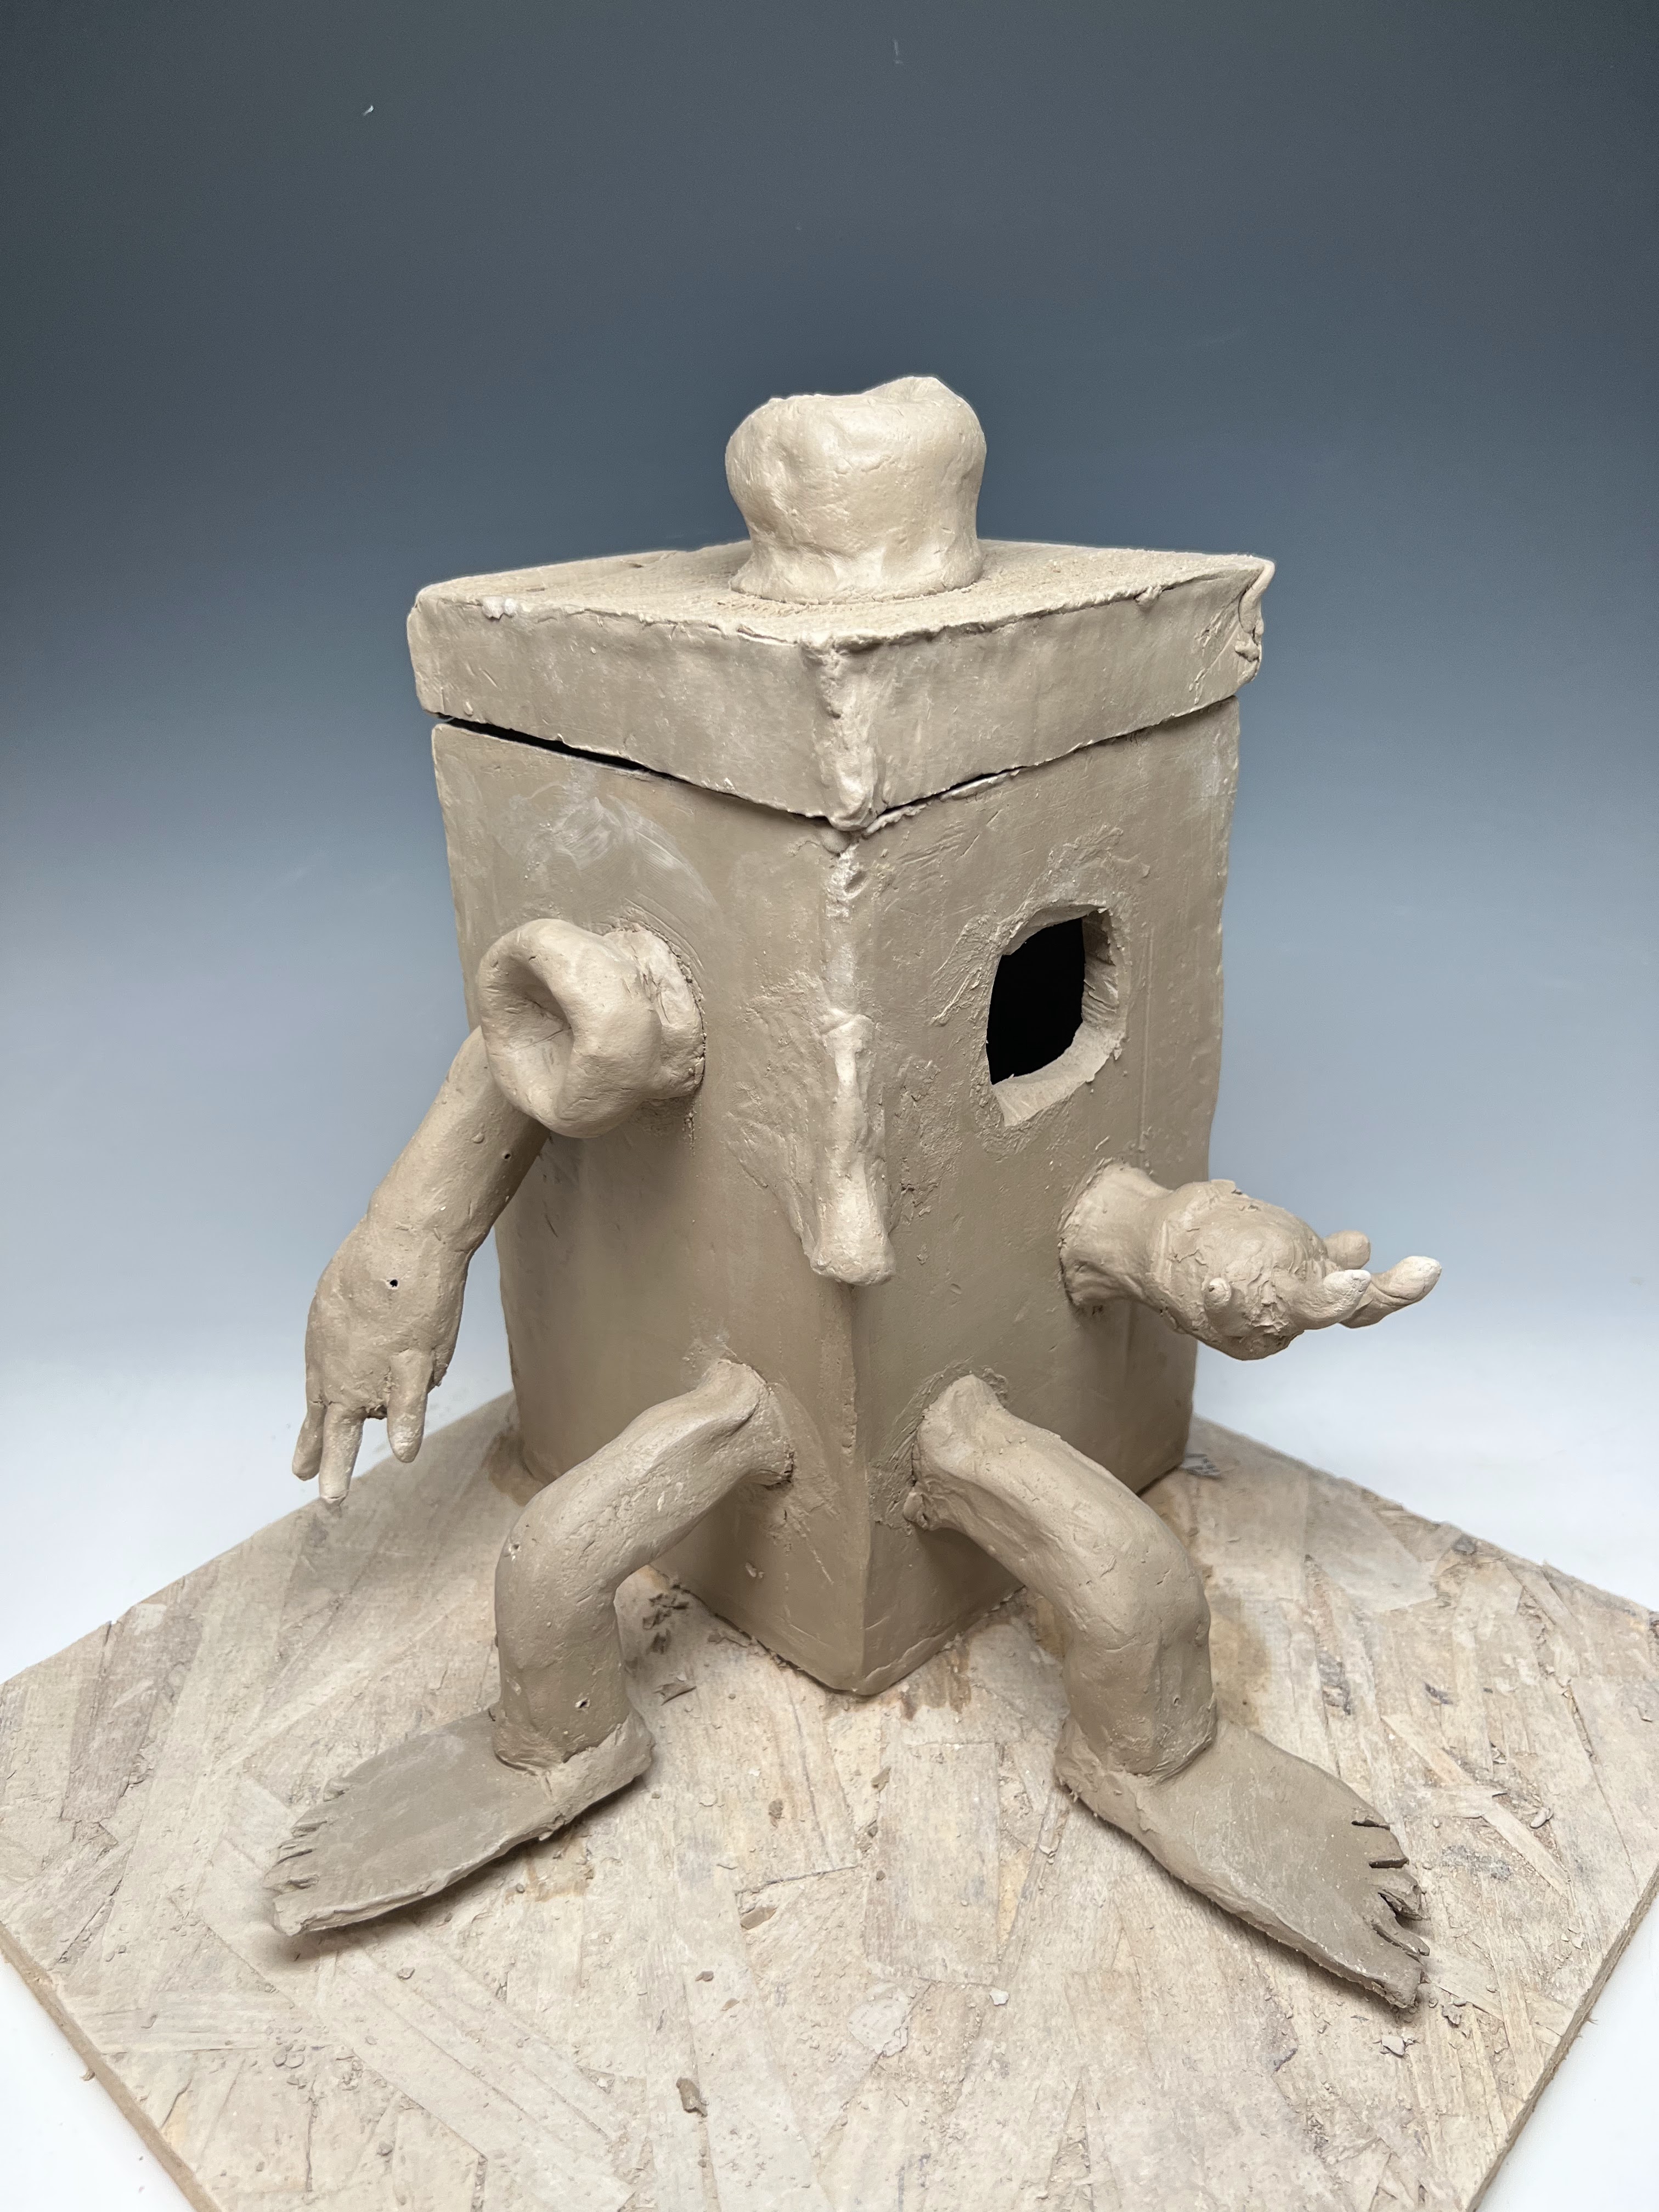
Teapot by Carlos Garcia Alcantar


Brooke and Thunder also used underglazes, but in the high fire kiln. Anonymous used the sprayer to apply a high temperature glaze to their large sculpture and probably dipped the small vase. I believe everyone else painted on their high temperature glazes. I remember one day when the counter in the glazing room was surrounded by students with paintbrushes.

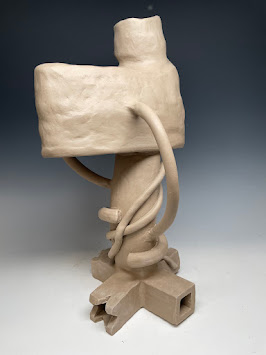
Coil form (after raku tragedy) by Julia Snow

Julia chose to put her coil form in the raku firing and use horse hair to decorate the piece. It actually survived the trip from the raku kiln to the shelf (via tongs) just fine, and I don't remember seeing any cracks on the piece during the critique. After critique, Julia left the work on the table. On the day of the thrower's critique, I started to worry that she wouldn't be back to move her stuff, so I moved it.

Coil form base, Julia Snow

Unfotunately for me, I lifted this piece by grabbing just one of the branch shapes. As I moved it to the cart, with someone else in my other hand, the bottom detatched itself from the part I was holding and the whole thing went crashing to the ground. Even worse, Julia walked in just a few minutes later to move her stuff.

The part I was holding when it broke

She took pictures of the work in its broken state. I'm not sure if she plans to repair it or not. The raku firing process can be stressful, and unfortuantely some cracks aren't visible (or didn't get noticed) until something else strains them. In this case, it was the weight of the sculpture itself, pulling against the crack.

Sunday, December 11, 2022

My Awesome Hand-builders Part 4

student work drying before the last firing
 

This is the fourth post I've written about my hand-building class. My throwing class this quarter is also great, but I was able to write these hand-building posts in a batch, and I haven't done theirs yet. If you haven't seen them yet, go back and check out the previous three posts about the hand-building print, coil, slab, and extruded projects, as well as their solid portraits.

Lego Minifig by Jordan Golob, printed from multiple pieces on the 3D printer


Coming soon, I'll share some work from the throwing class and glazed and finished work from both classes which finished up last week.

Pegasus by Thunder Morales


The hand-builders had their critique on Monday. It was lots of fun to see their finished, or in some cases nearly finished work. The hand-builders are required to glaze 4 of their 5 projects and they can paint the other one.

Works drying in the studio before the last firing


In our studio this quarter, students were able to fire their work with high fire (cone 10) glazes in a reduction or oxidation atmosphere. They could also low fire their work with underglazes and clear glaze at cone 04, or they could raku, horsehair raku, or pit fire their work.

3D printed shelves by Derek Arneecher


This quarter no one chose to pit fire, but several student did raku. In the hand-building class, I think all the students who raku fired their work used horse hair instead of glaze. One student didn't like the results and ended up using underglaze and low fire glazes over the top.

Slab castle by Manuel Delgado


I suspect that the timing at the end of the quarter impacted how students chose to finish their work. It's a balance, in a 10 week class, to make sure that students start glazing early enough to learn the glazes and get all their work done, without taking time away from their building projects.

extruded and altered piece by Brooke Mason


I usually introduce glazing around week 5, and force them to glaze something then. I make them glaze early so that we can run a kiln load and they can see their results before glazing the rest of their work. During his final critique, one student described the process as me rushing him to glaze his first pieces so we could load a kiln. I suppose it is true, but he also was glazing his last pieces during the last few hours of allowed glazing time last week, which makes me think that it is good that I didn't let him skip that first firing.

Coil form by Manuel Delgado


In a shared studio, with 35 students making anywhere between 8 and 60+ objects in a quarter, that's a lot of stuff to fit in a kiln, especially when the lower numbers correlate with larger projects.

Teapot with facial features by Carlos Garcia Alcantar


Most of the hand-builders created 5 scultptures, a mug, and 2-4 pinch bowls for practicing glazing. Some students made multiple objects for one project, including a set of dice, several lidded boxes, or a group of printed forms that were mean't to be shown or stacked together. 

Carlos decorated his coil teapot with a nose, eyes, and mouth, as well as spout and handle.


Some students also created extra pieces. I know of one extra mug, one extra portrait, one extra coil piece, and an extra printed object. Carlos created his coil teapot because he wasn't sure his coil built duck was going to work out. It did and his duck is delightful, but his teapot is also idiosyncratic and great fun.

Rotting pumpkin by Jordan Golob


The quality of the work in this quarter's class was really quite impressive. Not everything worked perfectly, but I think all of the students completed all of the building projects, which maybe sounds normal, but I often have students who just never get the work done and end up skipping a project or the project just breaks.

Kraken, partially glazed, by Brooke Mason


The only piece that broke beyond repair before critique was dropped as it was being loaded into the kiln. Unfortuantely the student didn't get a picture, but luckilly I had seen it before it went in the kiln. 

Lidded slab bathtub by Thai See 


We did have several pieces that broke before, during, or after firing. Maybe I'm making excuses, but I figure some level of breakage and repair is ok in a hand-building class. I build in an epoxy demo into the class calendar and expect that a few students will be using it at the end of the quarter. 

Thai @Thaiidraws on Instagram scared me with those delicated feet


I don't remember an epoxy demo as a standard thing in my first ceramic class, but I definintely do remember learning to use epoxy from my ceramics instructor in undergrad. Since I use epoxy regularly by design in my mixed media work, it makes sense to build it into the class. Also, I figure, if it's good enough for Beth Cavener, it's good enough for my students!

The lady and her knee are the handles to pick up the lid of this lovely bathtub


This year several students did their repairs before class. I love to see that because then I feel that we really see the finished sculpture at critique. There was even one sculpture with hair epoxied in place for critique.

Jordan Golob created this teapot (betcha didn't guess it was a teapot)


Final critiques were finished on Wednesday. We had one more kiln we needed to fire, but all that was done by Friday. I don't have class again until January, but I've felt like returning from the cancer break, as well as the pandemic interruption, meant that this quarter's classes, while pretty great in terms of output, had a few hiccups as far as the online expectations and I'd like to make some adjustments over the break.

She was inspired by a teapot by Ray Bub, but really moved in a different direction as she began to work. 


Of course, I'm probably always making adjustments over the break, so maybe the breaks have less to do with it and it's just how I teach. My colleague was on sabbatical this fall, but last week, there he was in his office, prepping classes for next quarter, because they're always a work-in-progress for us.

Sunday, November 27, 2022

My Incredible Handbuilders (part 3)


Slab box by Amanda Goodrich


In the last two posts, I shared photos of works in progress from my Clay1: Hand-building students. I've got more today.


3D Printed Tardis by Julia Snow


There really was quite a lot of diversity in the forms students chose to create, including lots of things that I simply hadn't seen before. Teaching the class over and over for years and years means that some forms tend to recurr. 

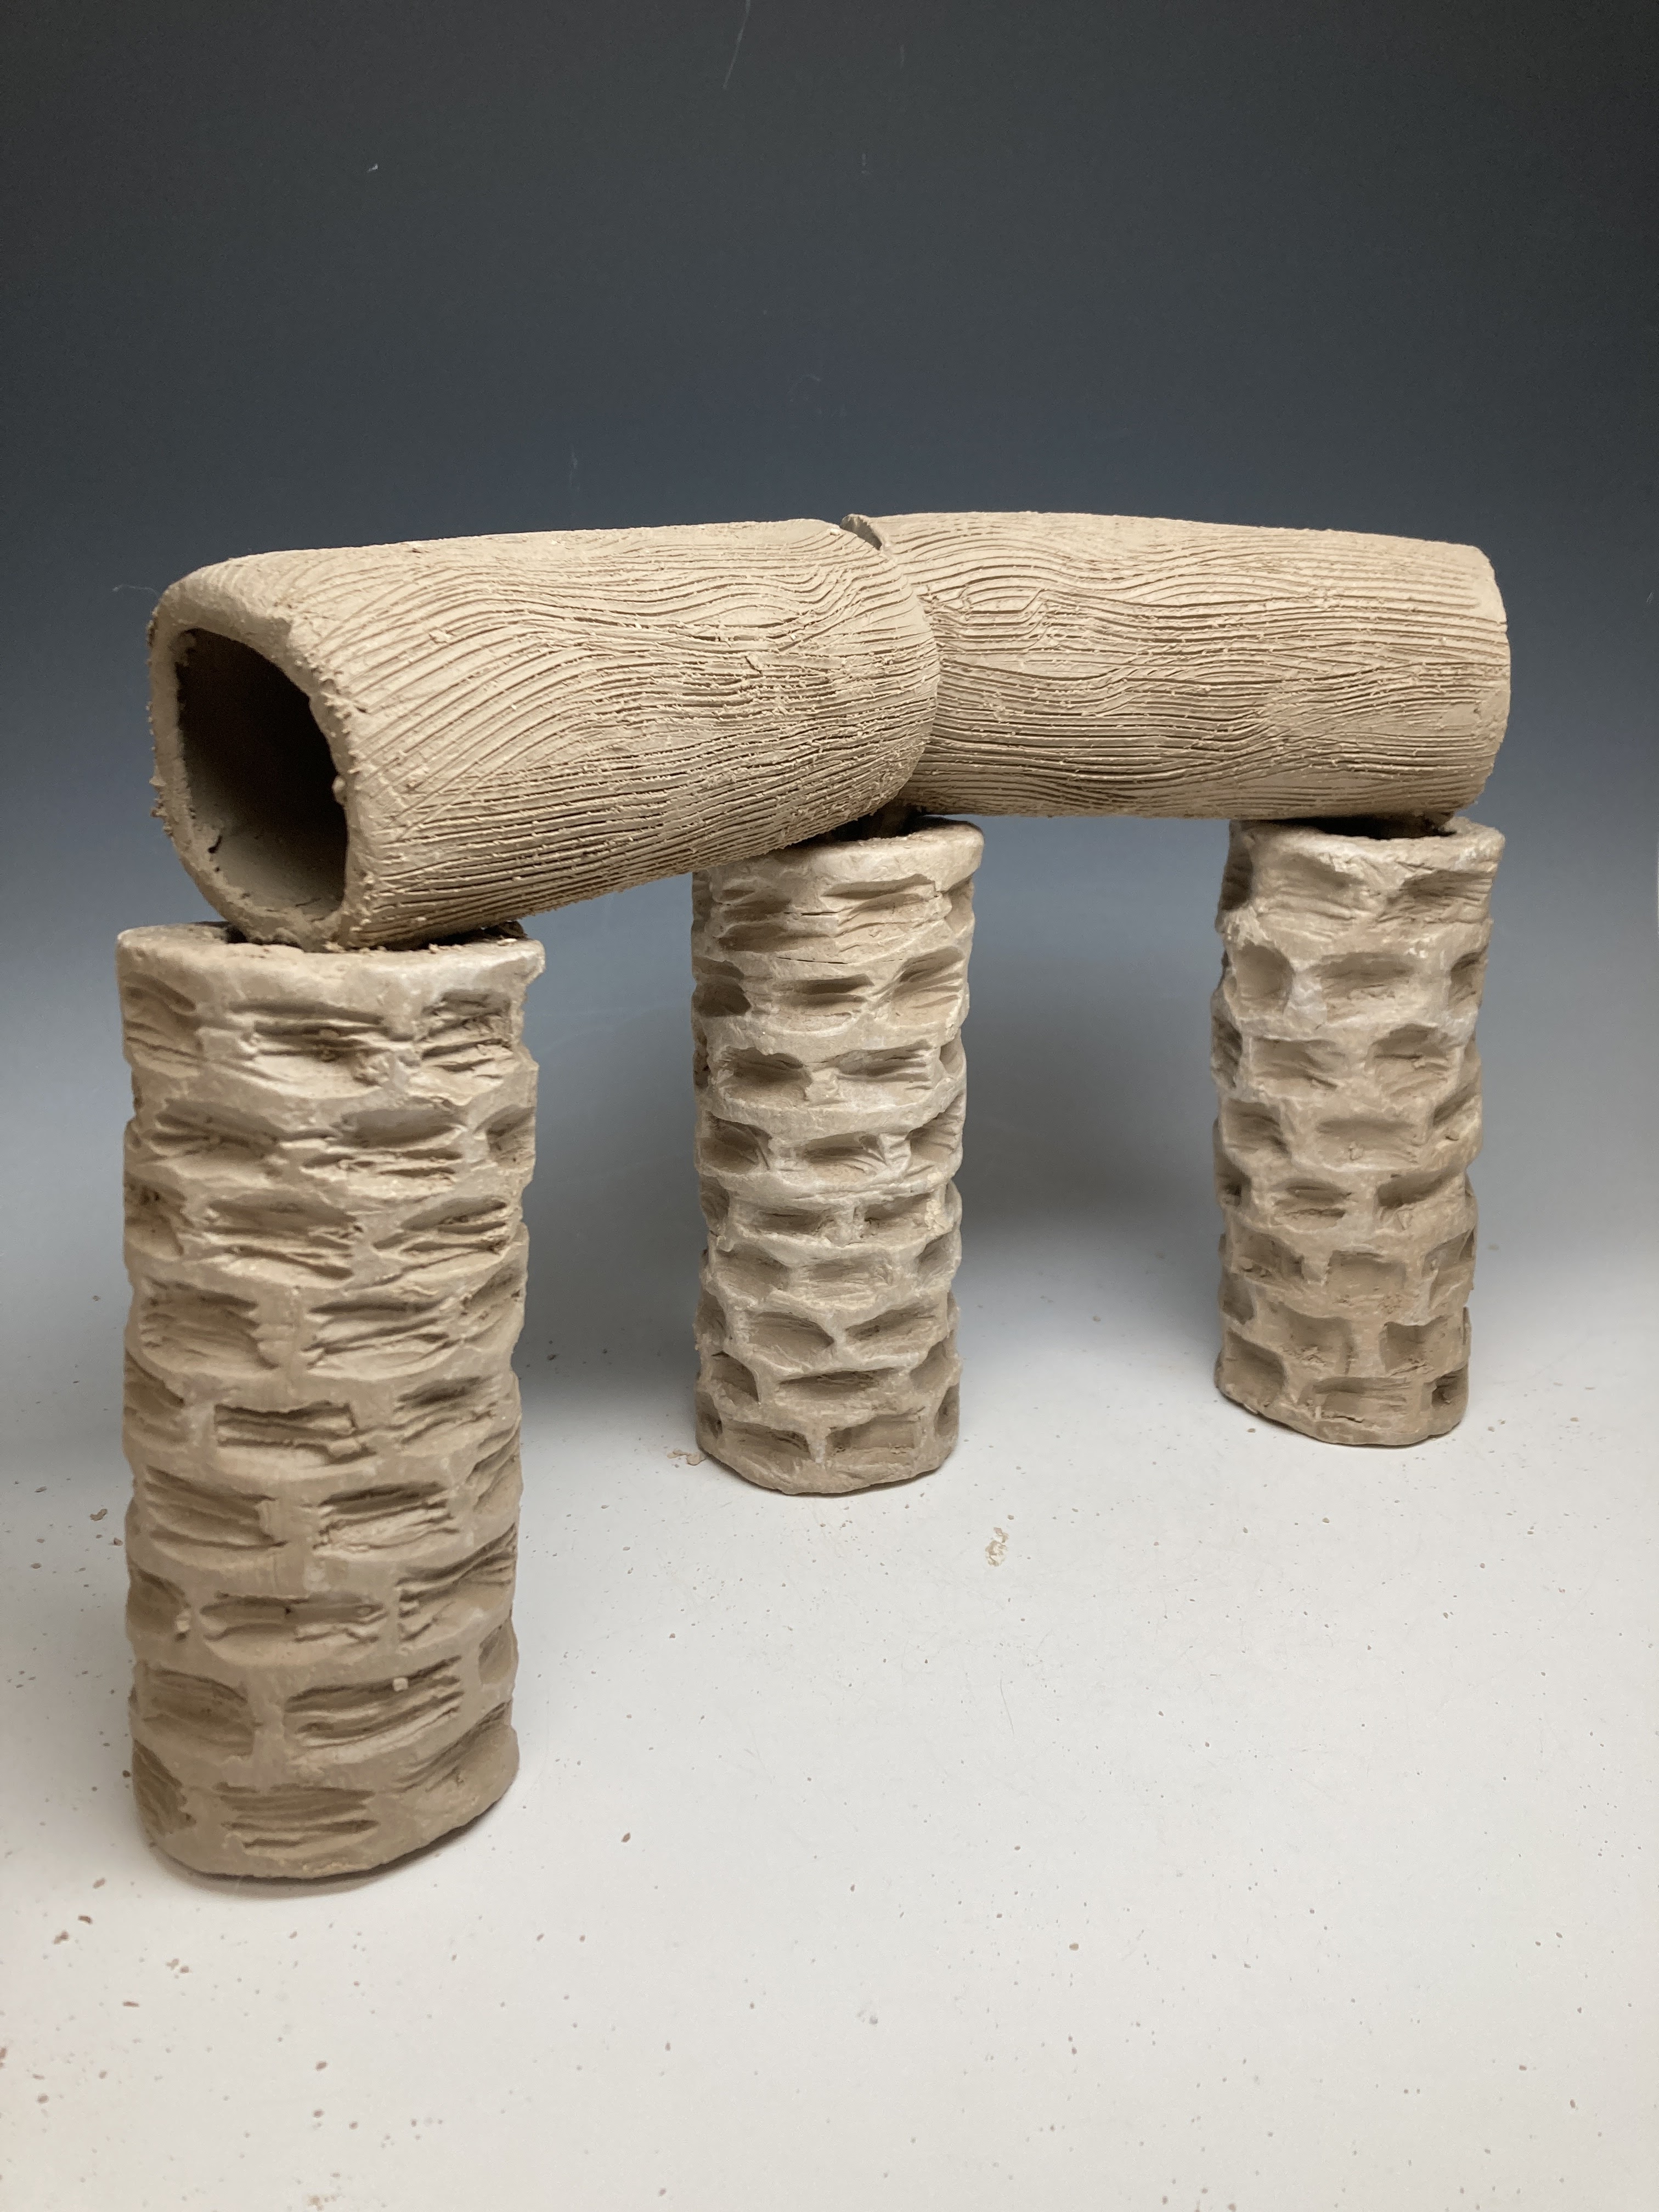
Chia "pet" stonehenge section by Julia Snow


In fact, the coil building assignment prompt tries to fight against this by requiring students to create an asymmetrical form. We are so used to seeing round coil build vases and pots, so asking students to not create something round immediately forces them to break away, at least a little bit, from that familiar form.

Coil shark eating a squid by Amanda Goodrich


During their critique, students can talk about how or why something was made and they can talk about their inspiration. Last week we saw works inspired by stonehenge, archaeology, poisoner's teapots, ceramic artists we saw in class, and Lego. 

Amanda's approach to the asymmetry prompt was fun to watch. She built the squid separately, so there was a sudden transformation when it was put in place.


Though they didn't necessarily discuss it during critique, I think we also saw influences from Gothic architecture, comic books, sugar skulls, scientific imagery, and Picasso.

Though a bit difficult to see on a screen, the contrasting texture of the squid tentacles and the shark coils is a nice touch.


One of the things that might seem like a given, but is actually pretty impressive, is that all 25 of my clay student atteneded their most recent critique and had their projects completed or nearly completed. 

The Jomon pottery inspired coil texture of the shark feels like a fresh approach to the subject, but also reminds me of Northwest Coast Native American designs or bronze age Chinese metalwork decorations.
 

The fact that everyone was done with their building and throwing assignments meant that we had lots to talk about. The fact that the projects were done or nearly done, meant that nearly all of critique time was spent talking about design decisions and techniques, rather than time management challenges and what they would have done if they'd had time.

Amanda's carved decorations reminded me strongly of window tracery in a Gothic cathedral


This coming week is the last week of classes. Monday we will load up the (hopefully) last bisque firing(s) and get everything fired so that students can glaze. We've got a lot of work not yet loaded, so I'm getting slightly concerned about how everything will get finished in time, but this is fairly normal for this class, especially when students are doing large and complicated work and when they are making lots of pieces.

Coil built duck by Carlos Garcia Alcantar


Last night I had my first anxiety dream about loading and firing kilns. In the dream, I was just trying to get students to bring their work to the kiln. That's it, the whole dream.

This duck started out with very different legs, but Carlos made majors changes and improvements to the stability of the structure as he built


I went into the studio last week to check on a couple of things and have thus far resisted the overwhelming temptation to go into the studio this weekend to unload and load, just to get things moving faster.

Thai See's crying coil form


I had still been doing occupational therapy (OT) for lymphedema until mid-November when my occupational therapist had to have surgery. I won't see her again until late December. I had been gradually increasing my exercise, weights, and lifting, while also trying to keep up with my lymphatic massage and stretching on my own. 

Thai @Thaiidraws started with the face, then built the rest of the support later


I can tell that my body is swelling a little bit on the side where they removed the lymph nodes, but it's hard to know how serious it is. I can feel it, but it's difficult to see. I was trying to reduce how much I was lifting, but it's hard to know what is causing or contributing to the swelling and what is appropriate work-related activities.

Carlos Garcia Alcantar's box is a delightful blend of the wild and wacky we see in his duck and teapot

Over the break, I decided to extrude some pieces myself at home and discovered that operating the extruder handle is pretty similar to some of the stretches and exercises that I'd been doing for PT.

The sugar skull inspired carving has some lovely variety and is juxtaposed against a stairway

Concern about my arm and swelling is probably a good portion of the reason I haven't gone in this weekend to unload and load a bisque myself. When I go in on Monday, students will help load and I know I won't overdo it on my arm.

And there's the arm and nose on the other side

I know that Monday is going to be hectic in class. We are planning to raku fire during class. We are going to unload and load bisque kilns first thing when folks get in (before class). Students are going to be expected to glaze all their bisqueware and we are also going to start loading the high temp gas kiln with glazeware during class. All of that and class is less than 2 hours long.

Yarelli Sanchez's slab built mushroom house 

By the end of the week, a number of students should be able to leave class early, since we'll be done glazing, waiting on kilns to fire or cool, and students will only be responsible for clean up jobs, painting or epoxy as needed, and an online test.

this base and lid is a challenging shape to get to fit right

The hand-building critique is the next Monday (the first day of finals week) at 10 am and we will likely be unloading the glaze kilns before class that day. If we have too much stuff to get through kilns, we might be loading or firing Monday, which means that work might not be done in time for final critique.

Coil built spaghetti by Yarelli Sanchez

I always tell my clay students that they can't cram for the final in the way they could in a math or history class. The clay and the kilns won't let them. I started talking to them about how close we were to the final critique about 4 weeks ago. They were asked to get their work from projects 1 and 2 glazed before finals week, and told why it mattered for getting work finished in time.

the bowl was coil built first, then the coiled spaghetti and hollow meatballs were added later

Unfortunately, most project 2 work was not glazed, some was only bisqued last week. And some project 1 work is also not fired or even ready for firing. 

The cracks add some nice variety to the back side of the work

The good news is that hand-builders in my class are allowed to high fire, low fire, raku or pit fire, and they are allowed to paint one item using acrylic or other "cold finish" techniques that don't require a kiln or firing after the bisque. For that reason, some work on the shelves may not need to find a spot in a kiln this coming week.

And as I told her during critique, I'm only a bit scared about how thick the bottom /back might be