Saturday, October 31, 2020

Online Studio Courses

When YVC moved online in March, I moved my three clay finals online, but was still able to get on campus that week to load and unload kilns and try to get the studio in decent shape for not being used until fall. Of course I didn't realize, in March, that students wouldn't be using the YVC clay studio for a full year (at least). Since then, getting to campus has gotten harder. We have to get permission for each trip and at various times faculty have had to fill out forms, check-in, get our temperature taken, and check out online.

Shiverball wants to know "why are you still home?"

In the spring quarter, my teaching load consisted of classes that I'd already taught online. I happened to have just two classes that quarter (because my studio classes have more class meeting hours, I meet my annual load earlier in the year), and neither one was a studio or clay class, so I didn't have to solve the issue of moving a studio online. I was also leading contract negotiations for the union in the spring and early summer, so I was able to fill up any extra time time pretty quickly.

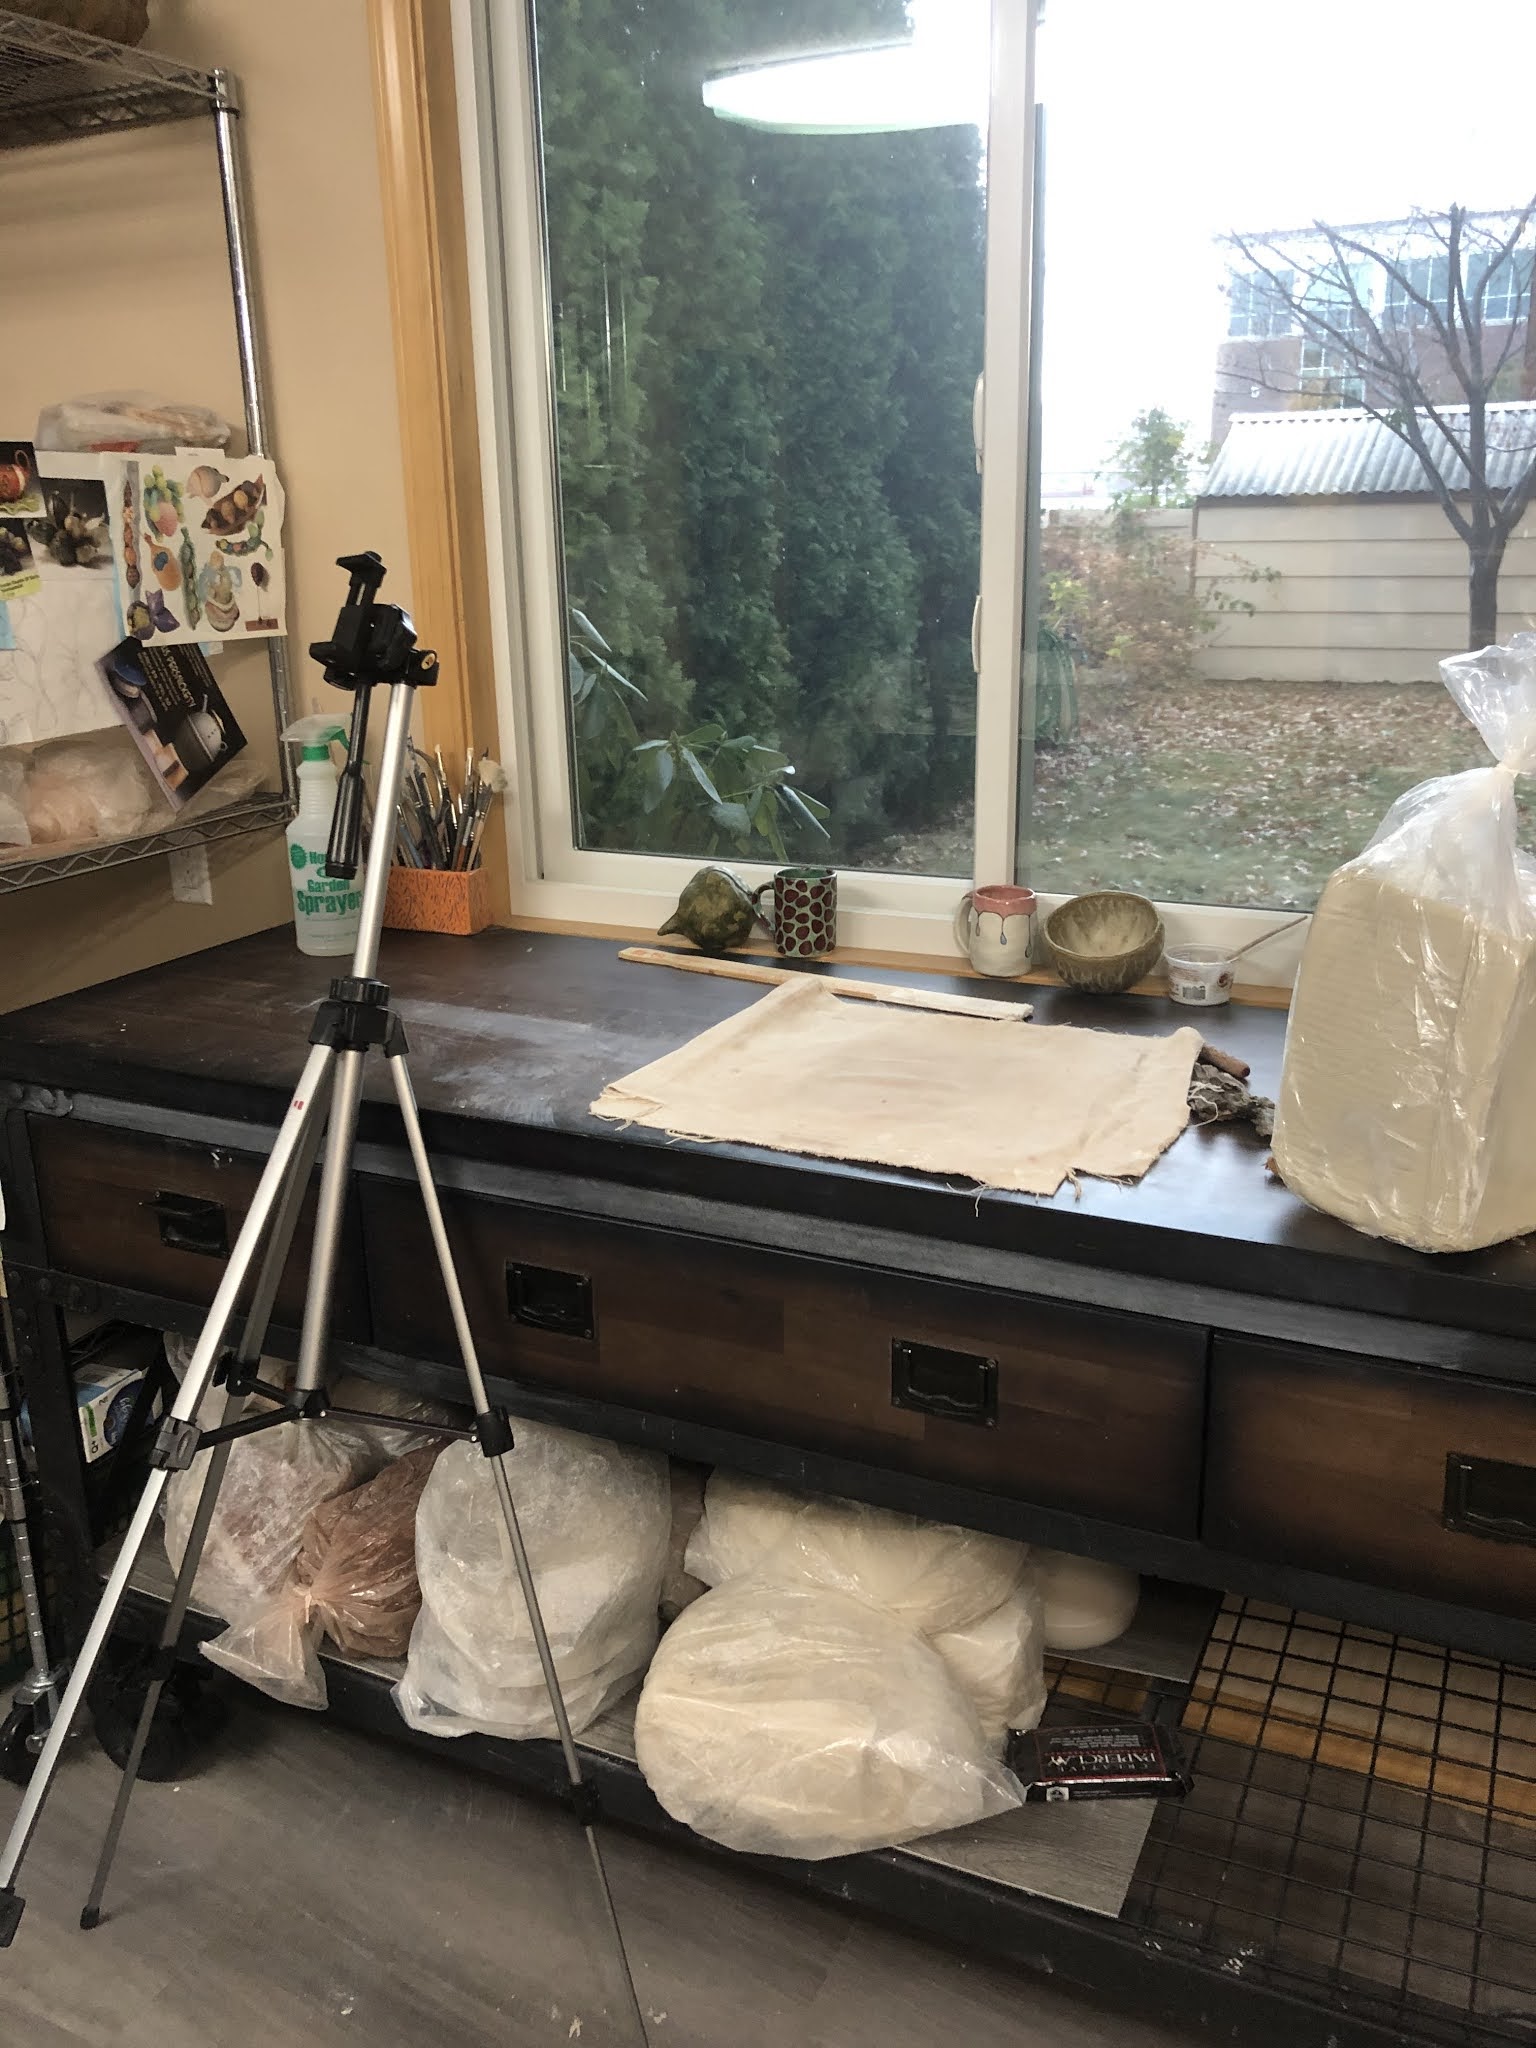
YVC Clay studio in early October, with Winter 2020 student work ready to be packed for curbside pickup.

This quarter I am teaching a totally different schedule, including converting two studios to online, which has had me running full speed for months. In September, as we were looking at course enrollments, my department realized that we could add an extra drawing class, but that meant shuffling instructors. I haven't taught a drawing class to adults in more than 15 years, and I've never taught drawing at the college level, so instead of having me take the drawing class, we ended up swapping classes around and I took a Design course from our adjunct who added a section of drawing. With a couple of weeks to go before the quarter, I was suddenly planning to teach 2D Design, Art History, and Art Appreciation all entirely online.


Ripped paper collage demo from back in the day, one of the few things I was able to use for my 2D Design online.

I've taught all three classes, but its been years since I taught Art Appreciation or 2D Design. I had never taught 2D Design online, and the last time I taught Art Appreciation online my now middle-school daughter was a newborn (literally less than a month old when I started) and the learning management system was entirely different. 

Some sketches I did to prep and plan one of our Design projects this quarter.

As I was prepping Art Appreciation and Design, I started to feel a sense of dread for the start of the quarter. I had stopped teaching Art Appreciation because I was getting bored teaching the same thing over and over, but when I did teach it, it was a very hands-on class. We had guest artist demos and we visited Larson Gallery and all the public art on campus. Students were constantly drawing on the board or working in groups or standing up to present to the class. Moving such an active class online seemed daunting and a bit depressing. I was also trying to use an OER textbook/textbook alternative. 

I guess I might be biased because I like books. After spending all day on the computer, I'd rather not read on the computer, too.

Open Educational Resources are a good idea, at least in theory. They are meant to be free alternatives to expensive textbooks, but the quality for Art Appreciation, in my opinion, is a little uneven. I started working with a couple of OER resources shared on the Canvas Commons, but a lot of editing was needed. In fact, I ended up using bits of one of these OER for the Design class, though I'm not sure how much it's worth, as I did a lot of editing and I supplemented quite a bit with stuff I developed. There were typos and misspellings, but worse were the missing images. At one point, I read a section over and over trying to understand what they were describing before realizing that an image must have been eliminated or changed without any changes made to the text. The text was describing an image that wasn't named or visible, but was similar to what was included, which threw me off for a while.

Some work of my own I might finish some day, maybe in December

I was also worried about teaching Design. I was originally hired at YVC to teach Design, Art Appreciation, and Functional Pottery. I was pretty comfortable, at age 26, teaching pottery and Art Appreciation, but the design class was a bit of an unknown territory for me. At the end of my graduate program, I applied for 60-some college teaching jobs all over the country. Most of the positions were clay positions, but there was a healthy mix of design, general art, sculpture, and drawing responsibilities, too. Design wasn't that much of a stretch, given that design principles are discussed in all entry-level art classes, and I'd taught plenty of community art classes of all sorts to kids and adults, but when I took the YVC job, the Design class was the most intimidating. I'd never taken the class myself. My undergraduate program didn't required Design (called 2D Fundamentals) for art majors and my graduate TA was in clay, so I never even sat in on more than half an hour of a Design class. (The floor plan for my undergraduate art building was open, so it was possible to be "in" the 2D Fundamentals class when walking through the building or finding materials or tools for another class.)


Some of my design projects ended up featuring things from my house. I recorded a demo video for design in my clay studio, then ended up using Bludoph as my example drawing.

A little over a week before the quarter started, with my stress and anxiety about Design and Art Appreciation mounting, I was in a meeting that incidentally included mention of someone's daughter taking a clay class at a university. After a great first week, the university classes were forced to "pivot" to online because of COVID. The daughter was disappointed in her clay class now because it was all writing and research. 
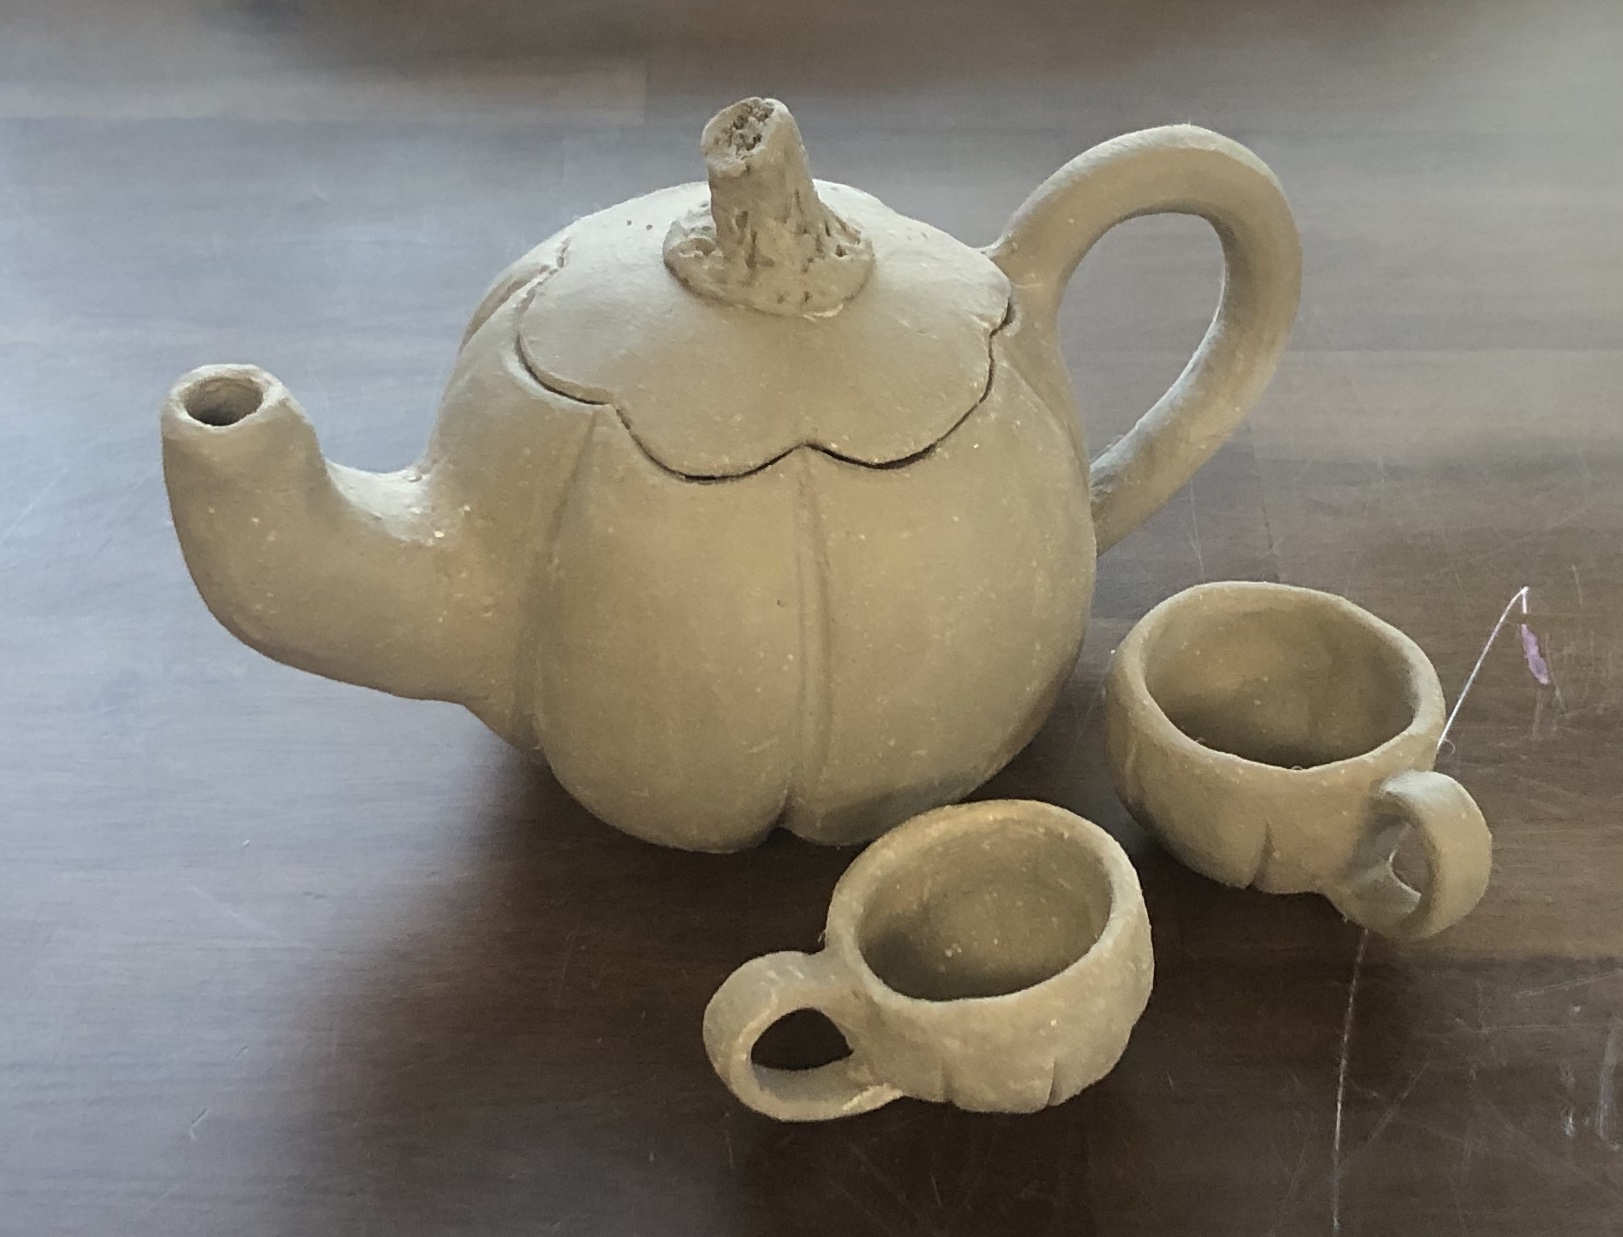
Basic plan: get them clay, have them make stuff

I called my mom to complain, nearly crying with frustration because I knew I could teach an online clay clay class that was more engaging than this one sounded. I'd even presented a plan for what we'd do for studio kits and alternatives to firing and glazing. I'd presented this earlier in the summer and was told that I couldn't teach it. Since it had been a few months since initially made the proposal, I contacted my boss and laid out my plan. She immediately gave me permission to teach Hand-building online and I had about a week to get studio kits ready, get students signed up, and design a class!


Studio kits ready to be distributed (PVC pipe rolling pin, canvas, brushes, tools, and glaze jars)

For some reason, getting permission to teach the clay class energized me for teaching the Design class, too. I was writing class plans in the hair salon while my daughter got her haircut and waking up in the middle of the night to write down ideas. The hand-building class I had taught many times before, but never online. For the past few years I've been making a ton of videos to use in my "flipped" clay classes. These are great resources and I have thanked past-Rachel many times for doing the work which would have been absolutely overwhelming to try to do all at once this fall (especially from my home studio). I'm also grateful that I had help making these videos back in the day. 

Students have to submit their work online, too, which means first they need to learn to take quality photographs

But putting video demos online and putting a whole class online is a whole different thing. Besides the fact that ALL directions have to be online (and some students aren't going to read them anyway or watch the video explanation), but so do all reminders, all submissions, all tips and tricks, and hints, and help! There is so much that happens in a face-to-face studio class that its difficult to even quantify. At least, it was difficult to identify before we all lost it to the pandemic, now I'm sure I am not alone in realizing what's missing when teaching the "same" class online.

I did not have a pre-existing video demo of how to wrap up your greenware so that it could be driven to campus for firing.

I had to make adjustments to videos and video playlists that relied heavily on studio tools the students wouldn't have at home. My Hand-building class usually uses the slab-roller, extruder, and armatures, not to mention kilns and glaze equipment, none of which the students would have access to at home. They don't have access to nearly as many small tools, either. Of the four projects I usually use, I could only keep one, coil-building, nearly intact. The slab & texture project and videos had to be significantly revised, given that students cannot access a slab roller or our studio forms, texture rollers, and textured fabric collection, not to mention slips, slip trailers, and underglaze. I had to completely scrap the extruder, 3D printer, solid building, and mold projects that I've used over the years.

A screenshot of part of the kiln loading interactive lesson.

Additionally, I can't force students to bring work back to campus, so I can't require them to fire or glaze their work, though I am offering that as an option. Of course students who do drop off their work for firing can't come in to load kilns with me. Instead, I've created an interactive kiln-loading lesson for them to do at home. My vision of it was super awesome: I imagined students being able to click on pictures of work and drag them onto shelves. Alas, the technology (that I'm aware of) doesn't seem to be there yet, so the interactive lesson has more video demos and click on the right part of the kiln, than interactive multi-layer "loading." 

One of the images in the interactive kiln loading lesson: which kiln post should be used?

The most challenging thing to build-in to the online class is all the stuff that never made it into any formal plan or paperwork. Of course I give students assignment parameters, but I spend an enormous amount of time during class making adjustments, talking to students, pointing out issues before they become problems, etc. In an online class, I cannot be looking over their shoulders and I can't spot problems. And then can see me make a slight adjustment to a neighbor, ether. I do require the online students to check in with me and show progress, but around the end of week 2 I discovered that the clay folks in particular had an extra hurdle. In order for me to be able to given them feedback, I need to see the work, and not only that, I need to see images of the work that communicate useful information about the form of the work. It turned out that students desperately needed more help taking photographs that show the actual form and texture of their work. It's tough to judge thickness from a photo. It's even tougher to judge distance from a slightly out of focus photograph taken from directly above with the camera shadow falling over half the piece. 

Pictures like this make it really difficult to assess the quality of the work

Ironically, the Design class (which I was more worried about) has gone more smoothly, in some respects. I suspect that is because I had nothing built. I reused a couple of bits and pieces from the last time I taught it (before ~2013), but most of this quarter's class I made from scratch. Making it from scratch meant I didn't really have any expectations and from the start I built-in more manual checks (where students had to submit plans, sketches, or photos of progress before they could proceed). Overall I think the Design class benefited from the fact that I was more worried about it and that I wasn't imagining what it would be like in the studio.

I gave the designers lots of images, to begin with, about how to submit and how to do projects, and eventually lots of video demos, too.

As I am revising this, I've just finished planning week 7 (of 10ish) and I've just about finished grading week 6. Three weeks of prep looks more or less manageable from this vantage point, and I even have plans in my head for each of those weeks. I have a really exciting plan, I think, for the last clay project, but I've never done it before, so...fingers crossed.


Saturday, October 24, 2020

Work From Home, Computers & Renovation Projects

Yakima Valley College is online for nearly all classes this quarter and for winter quarter, just like we have been since March. At our house, this means three people (and three cats) are home, together, all the time, two of them trying to do school, and the other one doing fairly extensive home renovation projects.


The cats did not approve change. Furniture moving, window seats disrupted, hiding spaces uncovered. Why doesn't everybody just lie down and rest instead. Unless you're going to feed us?!

In spring, my "work-from-home office" was mostly the dining table with my work laptop. I tried using my desktop Mac, but the room we use as an office has literally two plugs and one light, so if I used Zoom or tried to record a video, the lighting was really bad (worse than the lighting in all the pictures in this post, even). My desk also faced the wall, meaning that everything (and everyone) in the room showed up in my background. I couldn't use a Zoom background either, because the poor lighting caused my face to be treated as the background. And, I couldn't add a light, because the two plugs in the room were already in use.

One of the two plugs in this room. seems legit.

So, I mostly used my work laptop at the dining table. I was able to sit with my back to the wall and a lovely Kristin Michael (psst, this is a link to her Etsy shop, go buy her Scout ham stickers!) print behind my head. Usually I packed everything up in a stack on a chair beside me when it was dinner time. Occasionally dinner happened next to a Zoom meeting I was attending ;-)


Kristen Michael print in my dining room/zoom office (I never seem to notice how bad the lighting is until I take a photo.)

During the summer and into this fall quarter I have still be using the dining table/laptop/Kristen Michael setup for Zoom meetings, but I also continued to use my Mac for some stuff, especially union stuff. In fact, I got into a habit that at the time seemed efficient, but in retrospect should have alerted me to trouble. When the Mac would be really slow to load a program or a page, I would walk into the dining room and work on something else using the laptop. When the laptop, likewise, slowed down, I'd walk back to the Mac in the other room. I figured I was getting exercise and being efficient, but things might have been more efficient, if not more physical, if either computer could handle what I needed it to do.


Current dining room/office setup (ugh, that light)

Of course I also have used my phone a lot. My home clay studio doesn't get very good WiFi, so I use my phone to record videos, then I come back into the main house to upload the videos directly to YouTube, bypassing my iMac which takes 16 years to open iMovie. I was hoping to use these spy glasses I bought for video demonstrations, but they stopped working and I haven't had the energy to figure out if I can get them working again. I've also started uploading images of Design work directly from my Phone because iPhoto on my computer takes just 2 years to open, but another year to actually let me do anything.

The walls are blue except where they are grey, the floor has paint everywhere, the window trip is dirty white, the wall just above the windows is white, and the walls have stripes from the lath and plaster. (We don't always have a crowbar hanging on the wall.)
 

In around the second week of the quarter I was in a 10 minute meeting with a student where I got kicked out maybe 4-5 times. I then had to attend another meeting with colleagues using my phone. (Zoom on a computer is annoying. Zoom on a phone is the worst!) I assumed the issue was the internet, so I called Spectrum, and spend valuable work time waiting on hold and resetting the router. At that point, the work laptop speed improved, but not my desktop (or my phone). So I called Apple and after about a week or two of trying things I finally admitted that my 2012 iMac is no longer a fully-functioning machine. 


yeah, sure, that's what color that desktop picture is supposed to be

Just today, I have been writing this blog on my Mac (obviously, it's not school work), and I could not get it to load images except for screenshots. Apparently I can upload photos from my phone onto my blog. My daughter keeps laughing at me for using two computers for everything. Shows what she knows; I've been using three!

Surprisingly valuable tool this quarter: tripod with a cell phone mount. It is tipped forward to I can record from above.

A few weeks into the quarter, I am accustomed to things being super slow, needing to walk between rooms, and looking at tiny pictures on my work laptop. I even stopped booting up my Mac. The other day, in a last ditch effort to will the machine into new life, I booted it up and did some grading. The laptop screen is about the size of a piece of computer paper. The iMac has a 21.5" screen. And what a difference that size makes when grading artwork! I can actually see what they've made.


One of several pictures/videos showing students how to make-shift a clean photo background in their home work space


This past week I ordered a replacement desktop (with an even bigger screen!) and I have marked the day of its arrival in my planner in great anticipation. I am very much looking forward to relearning how to work without artificial delays (lol, remember the internet in 1996?). SoftChalk, which I use A LOT for all three classes, crashes regularly on my Mac, but using it on my laptop is barely better as the text becomes very, very, excessively wide (editing view is different than how it shows up in a browser). Editing Canvas pages on my laptop makes me cry, because I sometimes accidentally brush my fingertip or my sleeve across the trackpad and all the editing I've done for the past hour (or two) will magically disappear. Neither computer will consistently allow me to highlight text in Canvas's SpeedGrader features.


SoftChalk is neat as an interactive, but annoying too. I've been making one lesson per week for Design, based on lessons for Art History, but it isn't possible to copy/paste tool tips, images, and activities so I have to do a lot of re-making. Just today I discovered two erroneous tool tips in this two-week old lesson that copied incorrectly from a different lesson. Sigh. 

Granted, some of the blame belongs to Canvas (and SoftChalk). I am convinced that some of Canvas's idiosyncrasies are designed specifically to be cruel to teachers. Every other civilized app or program auto-saves (Outlook, Google Docs, Blogger), why can't Canvas? Outlook saves things I don't even want saved; Oh, you clicked the wrong button because your computer is slow and now there's a blank email addressed to L (not an abbreviation), I supposed you want Outlook to save that blank email FOREVER. But Canvas allows me to lose an hour of text and edits if I don't remember to save at regular intervals (even though students might get an alert about those intermediate saves if I'm editing a published page). 


This basement crawl space has been converted into Legoland (plus train tracks and RC cars)

There's been another huge change in my working space this week. My husband, who took a sabbatical before the pandemic, has been working on house projects ever since. He painted the house, redid my clay studio, did an extensive project to reclaim the basement crawl space (terrible picture above), and is now starting on the computer room.  Which means we needed to clear out our desks, computers, file cabinets, bookshelf, and other stuff from that room. This also allowed us the opportunity to ask each other why we have so much stuff.

The custom-built bookshelf is too tall to fit in the clay studio, and to big for any other wall in the house.


As of Thursday, our dining table is smaller (we took out a leaf), and my Kristen Michael computer space is inaccessible (because we moved the table. My computer desk is now taking up nearly half the dining room, and my school books are now in a drawer in the file cabinet (because the bookshelf is outside). Meanwhile the custom made bookshelf is outside, the books are in a pile on the floor, and my husband's desk is in the living room.

The view behind my desk. Only the Tieton River poster (by Justin Gibbens) shows up in the Zoom, but there's a Cheryl Hahn painting in the top right (and my daughter's cat in the rain below).

In someways, though, even a doing room desk is an upgrade. I now have access to two (count em!) two plugs, allowing my laptop to be on the same desk as my desktop--and both are plugged i! I can use the same desk for Zoom meeting (with a Tieton River Canyon poster in the background and both a ceiling light and a window lighting my face). I can alternate between standing and sitting set-ups without moving the computer. The main disadvantage is that the cats don't have room to sit in the window next to me.


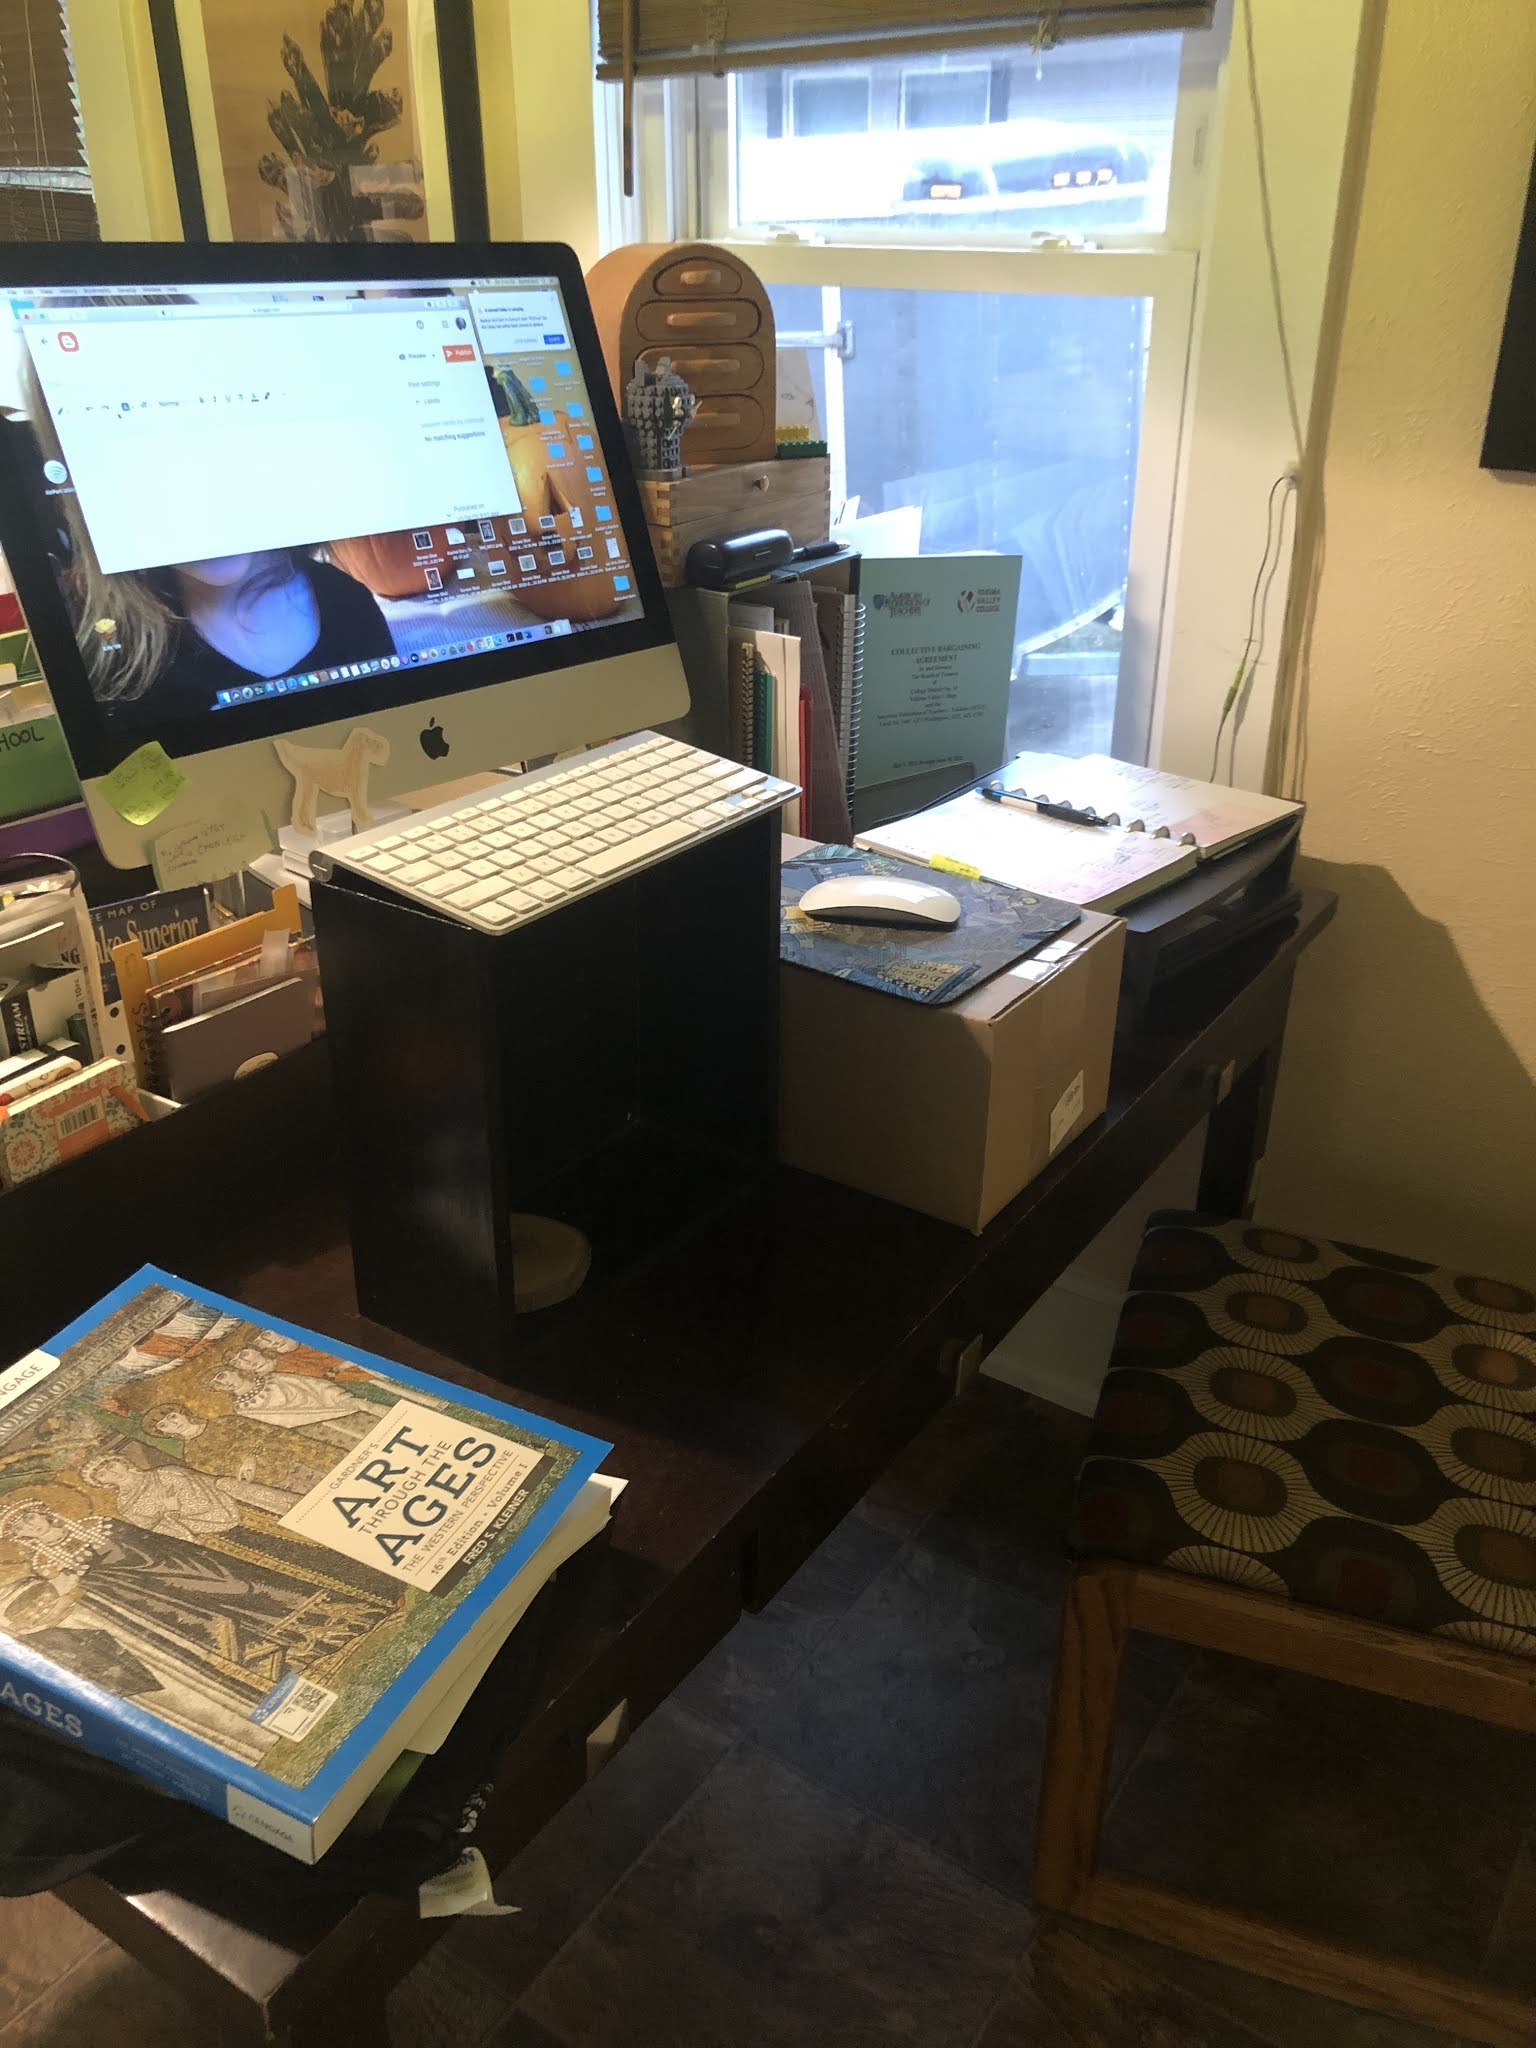
My homemade standing desk (utilizing small pedestals and a cardboard box). My laptop is under the planner next to the window.


I'm pretty excited about the computer room renovation, actually, even if it does mean that all of our other rooms are extra crowded right now as they swell to accommodate books, files, desks, etc. The main problem with the room is the aforementioned lack of outlets. The floor in the room is pretty bad, too. When we moved in there was fairly ugly blue carpet that matched the baby blue walls (and the baby blue carpet in the bathroom). We abused the carpet pretty badly because we didn't like it, and finally pulled it out to reveal hardwood underneath. The hardwood, though, has paint all over it, and stains, and even carpet staples we never took out. We've had a rug over it, but it was always something we intended to refinish or replace eventually.


The wood would look nice, I suppose, if it weren't covered in paint.
 

The baby blue walls are my least favorite in the house. The color is what I describe as soggy baby teddy bear. It makes me want to put doilies on tables, buy Precious Moments figures, and carpet my toilet seat lid. The color makes me think of the kinds of sappy, droopy, soggy teddy bears that get put on baby blankets and onesies. I think the intent, there, is that they be perceived as cute (or maybe they were a futile attempt to convince people that babies sleep a lot) but they always made me cringe.


I've reached the end of my edits for this post, which, unfortunately, means I need to go find a place to put these books.

Monday, September 14, 2020

Spy Glasses in the Studio

Rocking the spy glasses in my studio

I got myself some new glasses for the new school year. These may look like ordinary (overly large) specs, but they're actually a studio tool for teaching online during a pandemic. Just about a week ago I found out I'll be teaching my hand-building class online. Actually, I begged my boss for permission to teach it online because I was dreading a no-clay quarter.

Photo from the new glasses. I blame the color on the wildfire smoke. In regular daytime lighting the color does not appear dim like this. 


So, teaching clay (and design) entirely online means I'm going to need to make some more videos. I'm very grateful that I have made so many clay videos in the past and I can reuse quite a few, but the existing clay video strengths are pretty much opposite of what will be needed at the start of the online class. In a typical hybrid online class, I start with the students in person, so most of them don't need to see, say, a video demonstration of how to make a pinch bowl. Then the videos demonstrate how to use tools in the studio. But now, with an entirely online clay class, our first day of class, as well as all the subsequent days, will be online. So I need to make a close up video of making a pinch bowl, as well as other videos of setting up a home work space, and a number of clay handling demos that students might have otherwise gotten during class time. 

This video was done on my phone because the glasses do not react well to movement.


Now, the trouble with the videos I've already recorded is that they don't show enough close detail. With someone else filming, the view is naturally somewhat removed. And it's hard to hold the camera and make a pinch pot with two hands. So I bought myself a set of "spy glasses" or camera glasses. My daughter's art teacher mentioned using spy glasses for wheel throwing demos, and I was struck with how great that idea sounded. It isn't really feasible to attach a regular camera or phone to one's head, but glasses belong on one's face already. I could get a GoPro and strap it to my forehead, but the angle would be too high and I'd have to look below where I was working. The glasses, theoretically, give a view of the clay and my hands that matches what the students will see when they are using their own hands.


The glasses, plugged in for downloading, and the tiny manual

I purchased these glasses a few weeks ago and have spent the past two weeks climbing the learning curve. The glasses seem decent. The video and audio quality is pretty good, at least with good lighting, they're comfortable (even when I'm wearing them over my regular glasses). Uploads have been mostly fine and not particularly complicated. But the glasses certainly aren't flawless. The manual is sized for a doll and was written by someone with a loose grasp of English grammar. Luckily, there are only two buttons and a total of maybe 8 actions one could do with the glasses, including turning the camera on and off, taking a picture or video, taking the microSD card in and out, uploading content, and reseting the camera when "...the product is affected by improper operation or unknown reasons..." (page 03, Reset).


Page 02 and 03 of the manual

The directions (and punctuation) for some of these actions may qualify as Dada poetry

From page 02 (of an 08 page manual):

 "Short press the Power button to turn on, the blue indicator light.
the photo file."


From page 03: 
"In the standby state, long press the Camera key 3 seconds release the hand, the indicator light blue flashes three times extinguishes the machine to enter the automatic recording state..."


And on the last page of the manual, all text is underlined:    

"If for whaterer erason you have any issues with our product please to not hesitate to email us with your order # information."


...just, for no "erason" a mostly blank set of pages with all underlined text


Ok, but I should be more patient; I did not pay a ton for these glasses and who cares if they didn't format or edit their manual. The product actually works fairly well much of the time. The frustration has been mostly in that the camera doesn't always indicate that it is or is not recording. I have a number of pictures of my lap and the side of the table, and I also recorded at least two instances of the clicking sound the button makes when it is supposed to be ending the recording. I also have a video that ends with a walk into the kitchen and me complaining to my husband that the camera stopped recording (spoiler: it didn't). I got confused because the indicator light has about a 60/40% change of actually indicating what is happening.

This is two videos, pieced together, recorded on the spy glasses, notice that I'm sometimes operating below the view of the camera.

I also have been struggling with where to focus when making the recording. If I look through the lenses, at the table where I am "working" the glasses generally record the area above (or behind) where my hands are, so I've taken to sliding the frames down the bridge of my nose, aligning my eyes with the top edge of the frames, and using that as a target for where to record. Since the lenses are non-prescription and I don't always wear contacts, this serve the dual function of allowing me to look through my real glasses while wearing the camera glasses. I have thus negated their function as "spy glasses" but since I am alone in the studio anyway, no one cares. I wouldn't say that I've completely figured out where to aim the glasses or my face, as can be seen in the video above, but I'm getting better.

my studio and the East facing window, earlier this year

I have also found glasses do not do well with movement. I initially tried to record video walking into and looking around my studio (the other video in this post that was re-recorded on my phone), but on the glasses was jerky and hard to watch. I have since been trying to keep my head unnaturally still. I also discovered that the glasses require pretty good lighting to work well. Luckily they don't require an internet connection, so I can use them in my newly remodeled studio which has big beautiful windows to let in natural light. When the entire West coast isn't covered by smoke, that natural light is pretty nice.

the other, South facing window in my newly remodeled studio


I hope I have worked through the worst problems, and will continue to improve in operation of the glasses.  The glasses have quit functioning entirely twice. Restarting them worked once, and replacing the microSD worked another time. I am hopeful that that's the worst of it and those tricks will continue to solve problems. I might also need to practice meditation before troubleshooting, perhaps the Dada poetry manual will help. 

Wednesday, August 26, 2020

Glazing Mugs, Plates, and Lemon Squeezers

My kid's reaction to a calendar snafu on the first day of online school

I was able to bisque and glaze almost a full kiln last week. Studio work this summer been slow, but work has gotten done. I used up all my porcelain clay and ordered more about a month ago. I ordered it from Tacoma and they sent it USPS to a different address in Yakima. Strangely they sent the other stuff I ordered to my house. Then they had to send they back to Tacoma before sending it back to Yakima for me. 50lbs of the clay made it to my house a week or two ago. The other 50lbs appear to be trapped in the USPS black hole. The clay has left Tacoma, but the tracking doesn't identify any more movement. I assume no one at USPS wants to pick up this 50lb box during the chaos and I don't blame them. 

bisque ware waiting to be glazed, mugs, plates, citrus squeezers and bulbs

Because I used different temperature clay for different projects, I wasn't able to fire the bulbs in the same firing as the plates, mugs, and citrus squeezers, so those haven't gotten done. I keep thinking I will make time to throw some more so I can fill a kiln to fire the mugs and bulbs I finished after this last firing, but I haven't done it yet. Instead I'm working on online classes, doing union stuff, and procrastinating. Today, I am also trying to calm down my kid, whose reaction to online school has been stomping, crying, and generally freaking out. First there was an error in the timing of the first class, then the link to the second class doesn't work. After solving the first issue, she allowed up to 12 minutes for her teacher to help on the second, but just in case he didn't reply, she started freaking out immediately. Um, so my hope for the school year is that this 7th grader learns patience?

porcelain plates from the second firing, and one stoneware clay on the top right

I'm pretty happy with the plates from this batch. In the first round my glaze application was irregular on some, and because I was worried about glazes dripping in the kiln, I put the plates on stilts. This was a dumb solution, because not only did I not put enough glaze on to drip, making the plates look a little splotchy, firing on stilts also warped the plates. This time around I used more glaze and did not stilt the plates, so there's less splotchiness and all the plates are flat and even.

porcelain plates in yellow, pink and peach

I also changed the shape for most of these plates because they were done on request. The person who ordered them wanted small plates with a flat flared rim. She liked them, so three of the six porcelain plates have been sold since I took these pictures. Four of the plates were done in a groggy sculpture clay, which is serviceable, but mutes the glaze colors and doesn't look as nice.

On all the plates I drizzled other colors inside. The reds and a sparkly glaze look particularly nice in person, but the photos didn't capture the colors as well.

I also glazed three screaming face mugs I made with the porcelain clay. I used dark glazes to highlight the features and wrinkles, and a semi-transparent glaze for the entire exterior. I am not excited about the result. The faces look too white and too plain. Part of the problem is the limited number of glazes I had (partly because I used some up on the plates) and part of the problem is that I didn't leave enough of the dark glazes in the wrinkles and indents. I have ordered some new glazes so on the next batch I can bring more color, assuming the glazes also don't end up in USPS limbo.

My kid's reaction to an error in a Google Meet link on the first day of school

I think these faces would look better if I layered more colors. I usually do this with my underglazed sculpture, putting down a base coat on bisque ware before a second firing, then layering a wash of contrasting color over the first. I haven't tried that with these glazes, but I'm considering it. Underglazes and glazes handle differently, but it's worth a shot.

screaming face mug with minimal color in the eyes and eyebrows


I did minimal mixing of colors in these mugs, but I was tentative compared to my "usual" work. I also did some mixing/layering in the new lemon squeezers, but for some reason the yellow and blue showed up best and overwhelm the other colors (or maybe I forgot to use much other than blue and yellow). I know I used the red/pink on at least two pieces and now it is barely evident.
 

most of the citrus squeezers from the second batch, in both porcelain and sculpture clay

Something else happened in the glaze firing for these citrus squeezers. And this requires a bit of back-story. When I was in college, my clay professor told us that anytime we had a contained air pocket, it needed to be pierced so that the air could escape. If not, it would risk blowing up in the kiln. This is pretty conventional wisdom in the clay world and I know I've repeated it often enough. I remember one instance when I remembered too late that I had forgotten to pierce an air hole in a piece. When I opened the kiln I was surprised to see the piece had not exploded. At the time, my professor and I guessed that it was because I was using a raku clay, which is more porous than other clays.

more blue and yellow squeezers

Many years later, I joined a clay community on Facebook. One of the regular topics that comes up over and over again is that air pockets don't cause explosions during firing, only wet clay does. The reasoning goes that air is so small that it either doesn't need to escape or escapes through the walls of the clay. I allowed students to test this theory in class. Usually the pieces didn't explode, but sometimes they did. When asked, the folks in this online clay community assumed that these students must have soaked the pieces before glazing, or the pieces were simply too thick, or there was unaccounted for moisture left even after a long candle (candle means preheating the kiln to drive out excess moisture) or long drying time.


the bottoms of these two squeezers expanded due to expanding air inside during firing

It's difficult to rule out all these options with student work, but the results seemed inconclusive. This still bugs me, so I periodically test the theory. In my first citrus squeezers, I pierced the forms, leaving an unnecessary/essential escape for any heated air. This time around I did not pierce the forms. None of the pieces exploded in either firing, but in the glaze firing the bottoms of two of the pieces, which I had set on stilts in the kiln, expanded during the firing, going from a slightly concave base to a slightly convex base. Meaning that an air pocket inside did, in fact, expand during the firing and was unable to escape, suggesting that my online clay community, despite regular repetitions, is incorrect on this topic.

Sunday, August 9, 2020

Face Bulbs Redux

I like this one where I expanded the mouth in exchange for removing the eyes entirely
Besides throwing plates and citrus squeezers and face mugs, I've also spent a bit of time this summer making face bulbs. I had started these in 2018, and enjoyed making them. I'd say their quality varies significantly based on how much time I am able to devote to each one, and, unfortunately, I'm fairly sure I've left a few half-finished in plastic on my work table for the past two weeks.
I tried to vary the age, gender, and race of the subjects I referenced in making these bulbs. I think I captured the older jowls on this man, but apparently I forgot about teeth.


I spent three days at the end of last week "at" a Zoom workshop, which one would think would be less time consuming than a live workshop, but somehow is just as exhausting. I think there's a lot of value in the in-between times of a live workshop, where you can have important casual conversations about the content during lunch or during breaks. I think these in-between talks are refreshing, while a series of Zoom workshops just leaves me drained. 

This one I did early in the summer. The hand is large and heavy, but I think the message is clear.

I was hoping to get the rest of the bulbs finished last week, but I was worthless after the meetings. I did manage to fire a bisque kiln, and today I have imposed a union ban on myself (so no working on union tasks) so I can get some glazing done. Good thing too, because the stress of writing this blog post is unusually high. Blogger has changed its format over the past few months and today I can't get it to allow me to type plain text--it turns every new line into linked text--and it keeps arbitrarily rearranging my justification.

Speaking of anger and hate speech, this one is based on picture of Trump, who appeared to be mid-curse.


The bulbs, like the face mugs, are trying to capture the general feeling of the past 4 years, and this year in particular (also Zoom and uncontrollable text formatting, I guess). Before COVID, I had been planning to make these screaming faces, but I also had been thinking of having the mouths spewing flames and snakes, as metaphors for the ubiquity of hate speech and general anger in the country today. I also planned to have mouths covered and bound, a bit like I had done in 2018.

It seemed ridiculous to make faces in 2020 and not include one with a mask, though now I wish I made one with the mask worn under the nose.

Once COVID started, it seemed like simply screaming captures one part of what we are all feeling, while specific imagery related to frustrations around speech, racism, and the politicization of mask wearing also fits in. I had planned to make some faces with enlarged coronavirus shapes coming out of the mouths, but I simply ran out of time. 

I made a press-mold from some bindweed we ripped out of the yard, but without the twining vines, its hard to recognize, maybe color will help.

I did attempt some pieces with weeds growing out of the mouths, but I'm not happy with how they turned out. I'm not sure the plants are recognizably weeds and I didn't make them appear to grow in any convincing way. Additionally, there's some issues with fragility in the vines. Ultimately I think I'd be better off making the weeds from another medium, like Sculpey, but I can play with glazing in these beta tests.

Here I added the vines, but I didn't attach them particularly well so they're going to break.


I haven't been working with these faces long, once you factor in the breaks. In general, I think the forms and expressions are improving, even if individual bulbs are duds. I keep saying it, but I'd like to spend more time on them. Without a show coming up as a deadline, and with a number of other responsibilities encroaching, I'm not even sure that I'll get these glazed before school starts. 
I'm generally happy with my progress on squinty eyes and most of my later noses. proportions are funny on these, since the bulbs themselves aren't head shaped. 


My time was so interrupted towards the end of July, that I left two of these out to dry without even remembering to put the hanging hole in the back. Luckily I was able to carve it in, but I was kicking myself when I first picked them up to load the kiln.
This one is the screaming mouth with no eyes. I was really annoyed when I flipped it over on the way into the kiln, but I guess I'm glad I checked before loading.