Wednesday, July 31, 2013

Press Mold Bulbs

One of the potential problems with writing a blog about my process in the studio is that much of my day to day work is pretty repetitive. Yesterday I make almost a dozen pieces, but each one was made using a press mold of the same form. So, basically, this is what I did all day.


I have a couple plaster molds I made years ago to simplify the process of forming these "bulbs."


I pushed a thin layer of clay into both sides of the two-part molds, which are keyed to line up the halves together.


I added a layer of dark slip to the interior of both sides before closing the mold.


I scored and slipped the edges of both pieces of clay before pushing the molds together. Roughing up the edges and adding liquid clay (slip) helps the two pieces of clay to stick together inside the closed mold.


Once the two halves of the mold are together, the porous plaster absorbs some of the moisture from the wet clay, causing the clay pieces to shrink inside the mold and pull away from the wall of the mold slightly.

When the mold is opened up, the "bulb" form should pop out easily.


The seam is visible and needs to be smoothed, but the form is strong and can be decorated and altered. Lather, rinse, repeat.


My goal this summer is to form and fire 100 bulbs to use for a wall installation in a show next year. I've formed roughly a third of the pieces I need to make. I am waiting for most of the pieces to dry and be fired. I have two more in the mold drying right now.

an older iteration of my "bulb" installation

Saturday, July 27, 2013

Back to the Studio

I was in Wisconsin and Michigan last week for my friend's wedding and associated vacation time. (I scheduled some posts during the trip so it would look like I was working.) When we arrived in Milwaukee I noticed that the airport shop with the cheese-heads, overpriced snacks and Packers gear had started selling t-shirts for clay artists. How considerate.

This is obviously a t-shirt for ceramic artists, right?

This week I did get back to the clay. I was able to work in the studio all week, though I'm feeling a bit gloomy about how slowly things seem to be progressing. I recycled some clay, made some bulbs from molds and worked on two larger pieces. I started the two larger pieces with clay I don't like and I'm not sure if they are worth finishing.
bulbs for a January installation


The bulbs I am making from molds are to be part of a wall installation for my show in January at Columbia Basin College. I need 100 of them. I formed about a dozen this week and I had another dozen from last summer that weren't quite finished. They are in the kiln today.

my awesome homemade spray booth (always wear a mask, everyone)

Part of my depression about getting work done in the studio this week stems from the fact that I don't really like glazing, but in order to reclaim some work surfaces (not to mention motivation), I need to get it done. I glazed most of my functional work yesterday and it is in the kiln today. I am finishing off most of my small incomplete work from last summer and hopefully having all that done should make me feel better as I start new work next week. Also, I should be able to get it off of my countertops.

peeling tape resist off yet another boring functional piece

In part because of the incomplete work, I seem to have cluttered up every space in my studio so extensively that I don't have room to put out and examine the bike parts to plan my pieces.  The mess makes me sad and slow to work. I should probably go clean, but I feel too gloomy to start (the classic paradox).

Tuesday, July 23, 2013

Mulberry Paper layers

A few weeks ago I spent some time working on mulberry paper layers on some older fired work. I have quite a few pieces I want to work on, but the process isn't very exciting, so I've been slow about getting it done.

lots of orange mulberry paper

I used the mulberry paper on a few functional boxes and some sculpture. In most cases I used the mulberry paper because I thought the large plain sections of the form were too boring and I wanted a contrast of textures, soft and hard, shiny and matte. In other cases, the underglaze was worn or damaged and I wanted to protect and recover the worn areas.

lidded box with movable yellow section

One lidded box that I created a year or two ago has a section contained in the lid that is movable. Unfortunately, the movement has worn the underglaze color and the blue color has worn off onto the yellow. I can't glaze this section without risking fusing the movable piece to the lid, so I decided to try covering both surfaces with mulberry paper.

opened box with yellow movable section

I am not finished with all the work I want to cover, but I wanted desperately to get into the studio, so I took a break from working on these pieces. 

partially applied decorative paper

I also finally tried something I had started thinking about last year. I put flocking on the end of a small green mulberry paper covered piece. The flocking went on just fine, though I accidentally bumped it after it was applied, leaving a dent in the surface. The flocking seems thin; I painted on Mod Podge and then just dusted the flocking over the top. I like the contrasting texture and may experiment with the method some more in the future. I think this material is probably best for small somewhat protected sections of forms that may not be bumped or scraped during shipping or transport to and from shows.

the texture of the blue glaze is visible through the think black flocking


Friday, July 19, 2013

Some finished work

I finished the first bit of work in the studio last week. I am still glazing work from the end of last summer, I threw a few pieces and fired a load of work including my pea pods from the Tieton Mini Maker Faire
pea pods after first (bisque) firing

The pea pods all survived the firing just fine, though the underglaze required some touch-up. I will underglaze the exterior of the pods and then fire these again in the next load. I may also experiment with my stinky new resists to keep the pod color off of the peas.

functional resist and underglaze work

In the kiln I also fired some underglaze and resist decorated functional work, some of it with overglaze applied. Those without glaze need to be touched up and re-fired. The others turned out okay, but a little streaky. I tried a new batch of underglazes and I'm not sure whether the streakiness comes from the new glazes, the original bisque firing temperature for the work or sloppy application. 

my mom's thrown pieces with my glazing

I don't get as excited about functional work, since there is so little surface texture to highlight. These forms perhaps do better with layered glazes or a gas firing, but the functional work still doesn't keep my interest as well as sculptural work. 

bolt sprigs on thrown and altered form

A week ago I threw with some clay leftover from the Clay Bells Ring class at Larson Gallery. I purchased the clay for the class because it was white, low temp sculpture clay. It worked well for the pea pods and I was happy with it, but, unfortunately it is terrible throwing clay. I threw about seven pieces but the throwing was tricky and the shapes didn't work how I had hoped. I finished two, but the rest dried before I had time to work with them off the wheel.

plastic pea sprigs on thrown and altered form

The two sculptural pieces I finished this week are designed to hang on the wall, but to stick out a little further from the wall than some of the pieces I had in the last installations. I am planning to experiment with some non-ceramic forms in the perforated end of the blue wall hanging piece (above).

Tuesday, July 16, 2013

Baby Gifts

Before I started working on stuff in the studio, I spent some time working on a gift for my brother and sister-in-law who are expecting a baby. As happens with most of my projects, I conceived of the idea and allowed it to become a significantly bigger project than I originally anticipated. I finally had to give myself a self-imposed deadline just to finish working on the project or I would draw it out indefinitely.


The main idea for the project was to make my sister-in-law a book as an alternative to the terrible pregnancy and early childhood advice books that I read when I was pregnant and after my daughter was born. Mostly my book is a silly alternative, warning her not to pay any attention to the stupid advice that shows up in those books.


The first page is a "what to do when you're reading 'What to Expect When You're Expecting'" kit. It includes scissor and a black marker to redact the stupid advice and a page to tape across her computer to remind her that the internet advice is also stupid and not worth seeking.

 I didn't want the book to be all negative, so I included some jokes and some real advice. I also included a game that hopefully will make her feel better. The directions are to mark an X everytime someone gives you stupid advice. I started the middle box with my own X, earned just because I'm giving advice myself.

My daughter also helped decorate the book. I discovered that after I drew the illustrations, they were visible from the reverse side of the paper and I hadn't really planned anything for this space, so we both decorated pages with simple baby illustrations and whatever my daughter felt like making.


Some of my advice was real and hard-earned (Take time off from work; don't try to teach an online class right after the baby is born). Some advice may be obvious to everyone but still I didn't realize the importance until too late (Carry food with you at all times. Even if they say there will be food. The dog might get it during the night and then there won't be anything for breakfast except frozen lasagna and a jar of olives and then you'll wish you packed a granola bar). And some advice is just stuff I stumbled upon at the last minute (baking cookies as you go into labor means you will have fresh baked cookies after you come home with the baby). 


Mostly I wanted to tell the prospective parents that we are thinking of them and wishing them luck and also that I don't mind if they call in the middle of the night because they need help. They live on the other side of the country, so, as much as I would like to, I can't offer to babysit anytime they wish.


I also finally broke down and started looking at Pinterest the other week, so in breaks while the glue was drying on the book, I decided to make the baby some S'mores themed onesies. I stole the idea for the campfire one from a felt version online, but the onesies came in a pack of two, so I created the graham cracker version to match.


Thursday, July 11, 2013

Demolition and Mechanical Parts

One of the most fascinating events of the last weeks has been watching the Davis High School demolition. Apparently we are not alone in finding the process interesting; our alley has had quite a few extra photographers parking their cars in front of our garage to take cell phone pictures of the process. Cars driving down the alley go unusually slowly and I notice the drivers seem to be facing sideways instead of watching where they are going.

"Mommy and Daddy" claw machines (as named by my daughter)
Earlier in the week my daughter and I spent about 20 minutes just watching the process. The machines being used for the demolition of the three stories nearest our house are not ones I have seen before. Years ago I watched my old middle school being smashed by a crane with a heavy ball swinging into the walls. That demolition was fun to watch because of how unpleasant middle school in that building had been. The Davis demolition is slower and more precise. I assume the slower pace has been to prevent damage to the parts of the building that are meant to be preserved.

gripping and twisting

At least three tall machines with claw-like ends are being used for the demolition. The machines seem to come in three sizes corresponding to the three different stories of the process. The other day we watched two work in concert, one breaking the ceiling and pushing debris from the top floor, the other breaking the wall and the top floor after debris was pushed away by the other machine.

biting and cutting

The machines reach up and grip a section of wall, roof or floor with their claws, then the claws pinch, grip or twist the material, pulling the building down section by section. They also seem able to pinch to cut pipes and other materials that aren't cleanly broken by the twisting action. Watching the two machines work reminded me of watching lumbering, awkward dinosaurs on TV, but it also reminded me of a hardworking group of ants, especially the carpenter ants in National Geographic Magazine or The Discovery Channel. The pinching claws reminded me of an earwig.

the claw

The machines seem massive, brutal and yet controlled and methodical. I highly recommend that everyone in Yakima stop by to watch the process for a while. I don't have a good sense of how much is left to to be taken down, since they've already removed more than I expected, so get over here soon. Yesterday one of the smaller claw machines was up on a hill of debris like it was playing "king of the mountain" (notice how I am unable to avoid anthropomorphizing the equipment). Today I can't see any more of that old section of the building from my studio window.

waiting claw
I feel like I should be supporting my discussion of cool demolition equipment with someone that relates to the actual work happening inside the studio, so I will suggest that watching the machinery is research for my sabbatical work combining mechanical equipment into my ceramic sculpture. Last summer I started thinking about the mechanical forms as prosthetic supports for the exotic and strange plant forms of my work. At the time I was actually looking at backhoes and other machinery for ideas about the structures and joints of the moving parts.

SRAM Supported Botany

Tuesday, July 9, 2013

Possession at Duluth Art Institute

I just found out my work will be in an exhibition in Minnesota this fall.

Possession opens September 5 and runs through November 2, 2013 at the Duluth Art Institute. Duluth is pretty far north, but if anyone is in the area, there will be a reception September 19 from 5-7pm. The gallery will be open Monday through Saturday 10-5 and Sunday 1-5.

Infestation, my work for Possession

A women's ceramic show in Minnesota sounded attractive, but for this one the draw to apply was the names of the jurors. The show is arranged by Minnesota Women Ceramic Artists and the jurors this year were Margaret Bohls and Eva Kwong. My ceramic-centric readers should know these names. Both artists are well-known, internationally recognized artists. When I first started making ceramic sculpture in college people compared my work to that of Eva Kwong. For this reason, I've been aware of her work about as long as I've been aware of any ceramic sculpture. I even looked at the Kent State graduate program mainly because of her. Kwong's sculptures are often smooth, simple forms covered patterns of dotted slip or glaze. She also has done wall installations with many of these simple dotted forms collected together.

sculpture by Eva Kwong, from her profile at access Ceramics

Margaret Bohl's work has been featured in Ceramics magazines and at ceramics shows and conferences for years. When I think of her, I think of functional work, I picture the work formed with slabs of repeated diamonds which each seem to have been pressed out from inside. The surface reminds me of an ornate quilt, making the forms feel soft and delicate.

work by Margaret Bohls from her website: www.margaretbohls.com


Speaking of the Midwest, my mom just drove a couple pieces up to be part of a show in St. Croix, Wisconsin later this year. I had mentioned this show earlier in the year as a continuation of a show I did in 2006. The traveling educational show, Paradise Lost? Climate Change in the North Woods was put together by artists, musicians, poets and scientists to explain, show and educated visitors about climate change. The show traveled Wisconsin, Michigan and Minnesota from 2006 to 2009. It seems bizarre to me that 5 years later the public still lacks understanding about climate change. 

Zebra Mussels (image from an NPR article about water bills in Texas)

Incidentally, the two shows mentioned here are related. The piece that will be in Duluth was created with a particular Great Lakes image in mind, that of zebra mussels infesting and clogging pipes or any other available surface as they invade the lakes of the midwest. Though their entrance into new bodies of water is not caused by climate change, the zebra mussels are able to take over greater territory because the changing temperature of lakes in the region allows them to live comfortably in lakes and other bodies of water where they might not have flourished before.

Friday, July 5, 2013

Masking

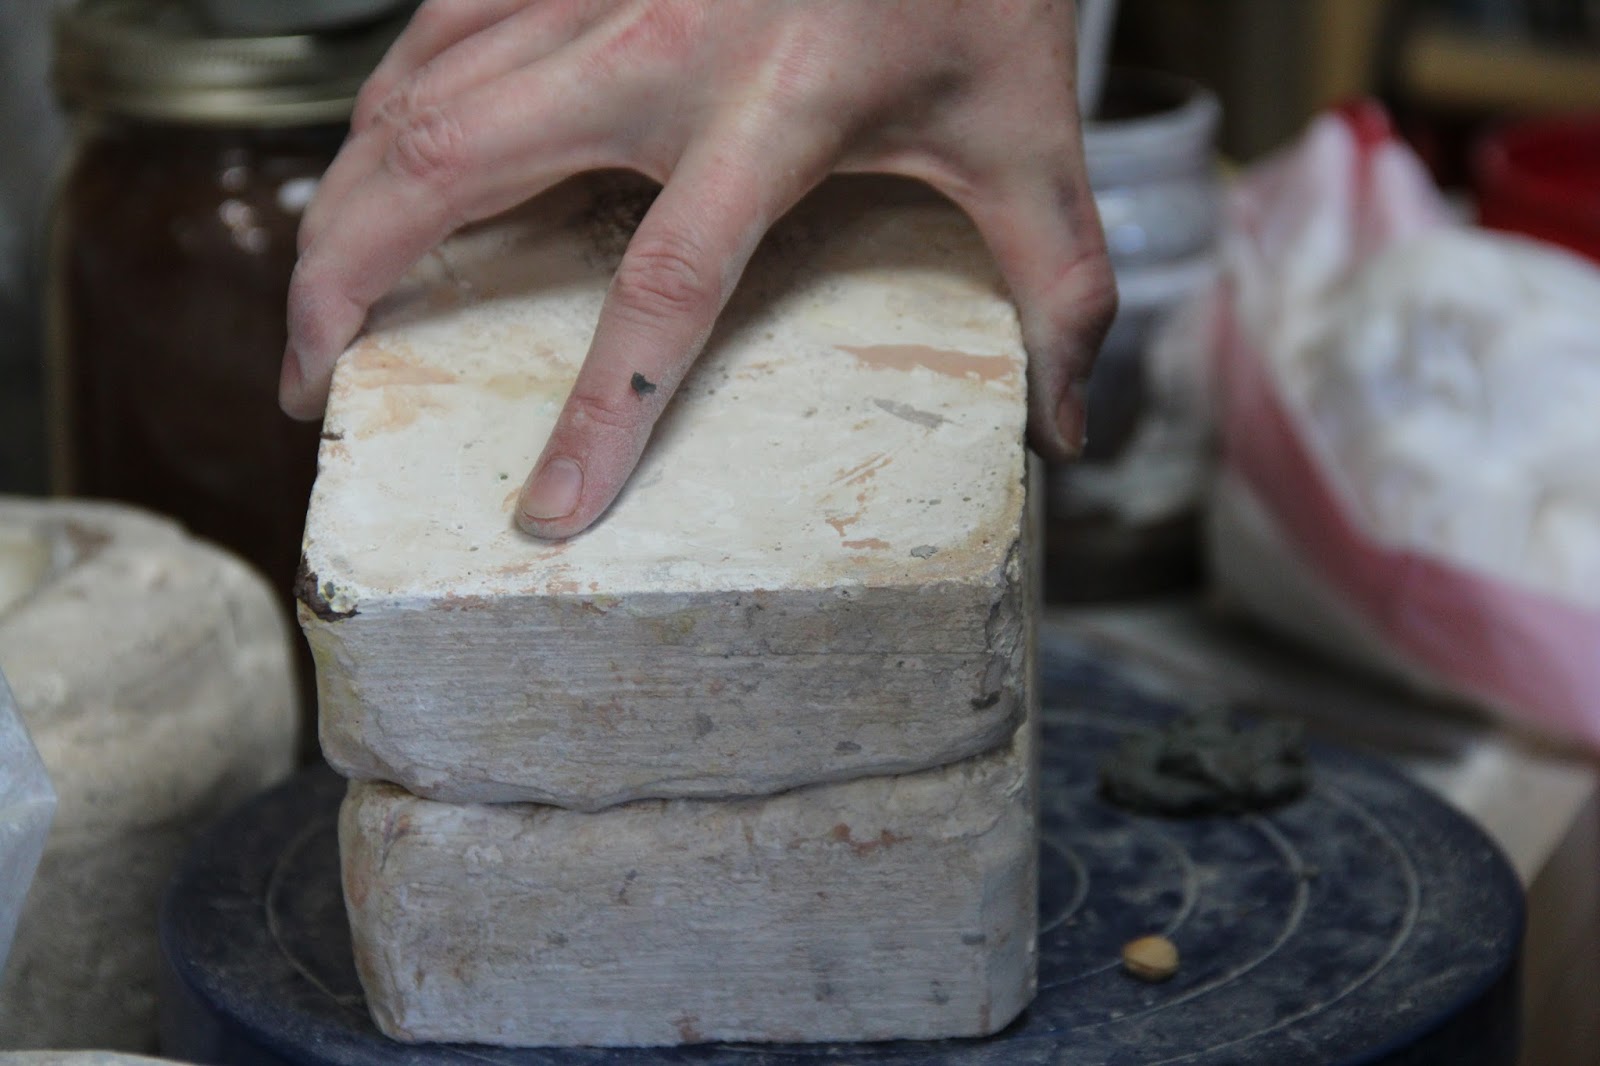
I still have some work leftover from last summer that needs to be finished. A couple years ago I finished some functional work by layering underglaze colors over masked sections of the forms. With this technique, the naked clay is visible with distinct edges left by the tape I used to resist the colored underglaze. I was really happy with some of my results.

This is my favorite masking tape resist piece.

Also that year, or maybe the year after, I used the same method on pieces thrown using different clay. I don't think the red clay worked as well because there was less color contrast between masked and unmasked areas. I also did several pieces with a layer of underglaze under the mask, but I ran into the same problem of limited contrast. Those pieces are very dark.
I don't like this one as much.

Last summer I threw and prepared some pieces with a fired underglaze layer. I had intended to mask and layer underglaze over these pieces, but I ran out of time in the studio. This week I have begun masking and underglazing several pieces.

Masking tape resist cut-outs applied to purple underglazed bowl (thrown by my mother)

Last time I did this, I used sections of blue painter's tape cut with a knife to mask the underglaze. This works well, but certain types of shapes are easiest to make and round or thin shapes are a little harder to work with. In my experience the masking tape really needs to be applied to fired clay or underglaze. If I try to apply it to unfired clay, glaze or underglaze, the tape sticks to the powdery top layer and comes off or at least peels up at the edges.

Red and yellow underglaze applied over blue painter's tape resists on my mother's other bowl

This technique works reasonably well on fired work and usually the tape stays down with little wrinkling or gaping. Where it does start to come away from the piece, the top layer of underglaze sneaks underneath the edge of the tape, leaving an irregular edge or bubble of color intruding into the masked area. Anyone who has ever  painted wall or trim in a house using painter's tape knows about the irregular gaps or bits of paint that sneak past the tape edge (and make perfectionists seethe). 

masking tape resist removed, leaving slightly rough edges

The little drips and irregular edges on my functional work can be scratched away with a knife. I also sometimes blend them away with a clean wet brush with stiff bristles. Cleaning up the edges is annoying, but not unmanageable and yields nicer edges.

resist lines cleaned up after masking tape was removed 

Last summer my husband brought me some thin blue tape, like the kind used for car detailing. In my studio cleaning frenzy this year before the home tour, I seem to have lost the tape. I was able to find some thin yellow masking tape and have been using that. The yellow tape doesn't seem to stay down quite as nicely and the blue, but it is working reasonably well.

thin masking tape applied, awaiting second layer of underglaze

The thin tape naturally yields a different style of design compared to the cut sections of tape. On several pieces I simply started wrapping the tape around the piece, allowing it to react to the form of the vessel or altering the angle slightly. After the tape had crossed several times, I painted underglaze over the fired underglaze and tape edges. On several pieces I applied two colors of underglaze onto the tape layer with colors alternating based on the sections delineated by the tape lines.

underglaze applied over masking tape lines

Peeling away the tape after the underglaze has dried is pretty easy. Once I pick up a corner of the tape with an end of a knife, I can peel most of the tape line off in one continuous motion, leaving the based underglaze color exposed where the tape had been. In contrast, peeling off the cut sections of blue tape means picking at the corner of each individual shape and peeling each little bit of tape away individually.

removing masking tape resist

I've been working on several different color combinations this week and all have two to three coats of underglaze over top of the tape and fired underglaze layer. Unfortunately the fired work from last year was done on different clays and may have been fired to different temperatures. At any rate, some of the pieces absorbed the fresh underglaze better than others. It may turn out that the top layers of some of the underglazes, after firing, are semi-transparent or streaky. There isn't much I can do at this point, other than be careful about my application and clean up.

resist lines removed, underglazed piece awaiting glaze application

Streakiness risks aside, I knew that the masking tape methods would work reasonably well. However, earlier this year I purchased a couple different kinds of liquid masking products from a clay supplier. I wanted to see if these products would work better than the masking tape. I do a lot of layering of glazes on all my work and I thought it might be nice to use these products to help cut down on the quantity of firings I use to set various layers of underglaze color. I also thought these material might be easier to manipulate than the tapes.

Laguna Latex Resist and Duncan "Mask 'n Peel"
So far I am not impressed with the products, though I have only done a few tests using these products in concert with other masking techniques. I suspect they are intended for more direct application. Apparently they are also intended for people who cannot smell. 

blue plate with yellow and red label-masked underglaze

In an attempt to to test the materials, I applied some sticky labels to the interior of an underglazed and fired plate. The labels can be used just like the masking tape as resist with a standardized size. I applied some of each of the commercial resists to the top of the labels and the surrounding plate. My idea was that I could then peel off the labels and glaze the gaps inside the resist lines. I was trying to resist the resist. Unfortunately both types of commercial resist stuck strongly to the paper and peeled off without any give. 

a wad of labels and stinky toxic resists

I suppose I used the commercial resists in an inappropriate way. Eventually I'll use it to freehand some decorations, but I do not like the material so far and it seems excessively pungent and toxic for how I like to work. One of the resists, the larger container from Laguna, comes with dire warnings about toxicity. Potters are urged to wear gloves and a respirator and wash their hands thoroughly after use. The Duncan resist does not come with such warnings, but both resists smelled terrible. I wore a respirator for both (after I figured out how awful they were). Both resists also were hard on my brushes. They did peel off the clay well, unfortunately ruining all my planning.

beginning to peel off Mod Podge masking layer
However, I still wanted to use my "resist the resist" method to decorate the plate, so I tried another resist material that I happened to have on hand, one that didn't smell so bad and that isn't quite so toxic. This second material worked wonderfully as a resist:

my new resist
To get the Mod Podge to work as resist, I simply painted a thick layer of of it over my (newly applied) paper labels. I needed to score some of the labels to get them to to peel off without taking the Mod Podge with them, but they peeled off reasonably well and the Mod Podge stayed put. After I painted on the underglazes, the Mod Podge peeled off more easily than the masking tape did. The only trouble I had with the Mod Podge resist was as the edges where I had applied it too thinly. I probably could have painted an extra layer in these areas to help pull it off the plate but instead I decided to fire the plate an extra time before applying a clear glaze to the surface of the plate (just to be sure). As an added bonus, I know from experience that Mod Podge washed out of brushes even if you forget to wash them right away.

Mod Podge resist mask being peeled off (and taking the underglaze with it)